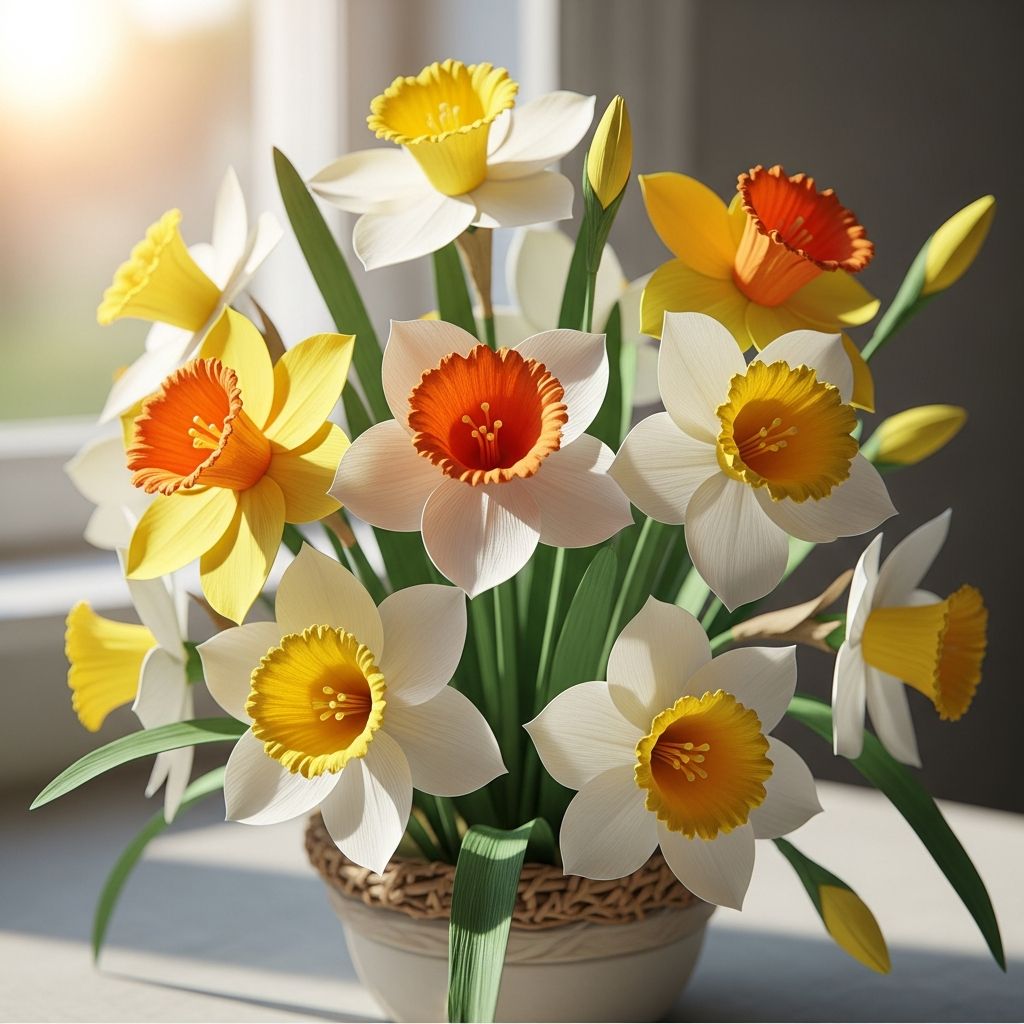
Paper daffodils are a simple, colorful way to welcome spring into your home, classroom, or craft space. With just a few basic supplies, you can create a bouquet that looks cheerful, never wilts, and can be customized in endless ways.
Why Make Paper Daffodils?
Daffodils are often seen as symbols of new beginnings, making them perfect for spring decorating and seasonal activities. Paper versions capture the bright color and fun shape of real flowers while being durable and reusable.
- Great for decorating mantels, shelves, party tables, and classroom bulletin boards.
- Easy enough for kids, yet flexible enough for adults who enjoy detailed crafting.
- Inexpensive, using mostly materials that may already be in your craft drawer.
Gathering Your Craft Supplies
You can adapt this project to what you already have at home. The list below suggests common options and simple substitutions so you can get started right away.
Basic Materials
- Colored paper (yellow and white for petals, orange for the center, green for leaves and stems)
- Green drinking straws or wooden skewers for stems
- Glue stick or white craft glue
- Scissors (child-safe scissors for young crafters)
- Pencil and simple round objects (like a small cup) for tracing
Optional Extras
- Markers, crayons, or colored pencils to add shading to petals
- Small pom-poms, beads, or buttons for the flower centers
- Tape (clear or masking) to secure stems
- Thicker cardstock if you want sturdier flowers
Overview: How the Flower Is Built
Before cutting into your paper, it helps to picture how the daffodil will come together. This craft uses layered shapes that build from the center outward.
| Part | Paper Color | Main Shape | Purpose |
|---|---|---|---|
| Trumpet center | Orange or bright yellow | Long rectangle rolled into a tube | Creates the signature daffodil trumpet. |
| Outer petals | Yellow, white, or a mix | Six pointed or rounded petals | Forms the flat star-like part of the bloom. |
| Stem | Green | Straight straw or wrapped skewer | Supports the flower and makes it easy to display. |
| Leaves | Green | Long, thin leaf shapes | Adds realism and helps fill a bouquet. |
Step-by-Step: Simple Paper Daffodils
This approach is designed to be forgiving and family-friendly, so slight differences in cutting or rolling will still result in charming flowers.
Step 1: Create the Petal Base
The petal base forms the flat part of the daffodil behind the trumpet. You can keep the shape very simple while still making it look floral.
- Draw a circle on yellow or white paper using a small cup or lid as a guide.
- Cut out the circle, then lightly fold it in half and then in half again to find the approximate center.
- Unfold the circle and cut six evenly spaced slits from the outside edge toward the center, stopping before the middle.
- Round or point the ends of each section to turn them into individual petals.
If you are crafting with children, pre-draw the circle and petal shapes to make cutting easier and quicker.
Step 2: Shape the Trumpet Center
The daffodil’s trumpet stands up from the flat petals and defines the flower’s character. A simple rolled strip makes a surprisingly effective center.
- Cut a rectangle of orange paper. A common starting size is about the width of two fingers by the length of a hand.
- On one long edge, make small fringe cuts, like tiny teeth, without cutting all the way through.
- Gently curl the uncut long edge by rolling it around a pencil and then letting it relax.
- Roll the rectangle into a tube, overlapping the ends slightly, and glue or tape the seam.
You can bend or flare the fringed edge outward with your fingers to mimic the ruffled edge of a real daffodil.
Step 3: Attach Trumpet to Petals
Now that both main pieces are ready, it is time to connect them so the flower looks complete.
- Cut small triangles into the bottom of the trumpet tube (the side without fringe), creating little tabs that can fold outward.
- Fold these tabs outward and apply glue to them.
- Press the glued tabs onto the center of the petal base, holding until they grip.
- Gently press the petals upward around the trumpet if you want a cupped look, or leave them flatter for a starry shape.
At this point, you already have a recognizable daffodil head that can be glued flat to cards or hung as a decoration.
Step 4: Add a Stem
The stem makes the flower more versatile, since you can stand it in vases, plant it in foam, or use it in centerpieces.
- Take a green straw or wooden skewer.
- If using a skewer, wrap it with a strip of green paper, securing it with glue along the length.
- Put a generous dot of glue on one end of the stem.
- Press the glued end to the back of the petals, right behind the center, and let it dry fully.
For extra strength, add a small paper circle over the glued stem end at the back of the flower, like a cap, to lock everything in place.
Step 5: Add Graceful Leaves
Leaves complete the look of your bouquet and help hide stems if you gather several flowers together.
- Cut long, narrow leaf shapes from green paper, slightly wider at the base and thinner at the tip.
- Lightly fold each leaf lengthwise, then unfold, leaving a soft crease that adds dimension.
- Glue or tape one to three leaves along the stem, angling them outward.
Varying the height and angle of the leaves on each stem keeps a group of flowers from looking too uniform or stiff.
Creative Variations and Ideas
Once you master the basic structure, you can start exploring different looks. Small adjustments to color, size, and detail will give each flower its own personality.
- Pastel bouquet: Use pale yellows, soft creams, and light peach for a gentle spring palette.
- Mini daffodils: Reduce all measurements and use thinner stems like toothpicks wrapped in paper to create tiny blooms for cards or gift toppers.
- Bold outlines: Trace petals with a darker marker to make them pop in kids’ art projects or classroom displays.
- Two-toned petals: Glue a smaller white petal layer over a larger yellow one for extra depth and contrast.
Displaying Your Paper Daffodils
Handmade flowers are too cheerful to tuck away in a drawer. Displaying them thoughtfully makes the craft feel complete and encourages kids to take pride in their work.
- Paper vase: Roll a piece of patterned cardstock into a cylinder, secure it, and place your stems inside for a lightweight “vase.”
- Spring centerpiece: Arrange several daffodils in a jar filled with dry rice, beans, or pebbles to hold stems upright.
- Wall garden: Skip the stems and glue flower heads to a large sheet of colored paper to create a daffodil field scene.
- Gift accents: Tie a single stem to a wrapped present or tuck one into a gift bag handle.
Tips for Crafting with Kids
Working with children on this project can be both fun and educational. A few small adjustments will keep the experience safe, smooth, and engaging for all ages.
- Pre-cut templates for very young children, allowing them to focus on coloring, gluing, and arranging.
- Use blunt-tip scissors and non-toxic glue sticks when crafting with preschoolers and early elementary kids.
- Turn it into a learning moment by counting petals, comparing flower sizes, or talking about where real daffodils grow.
- Provide trays or shallow boxes for each child to keep small pieces contained and easy to manage.
Simple Troubleshooting Guide
Even the easiest projects can run into small issues. Here is how to quickly fix the most common problems without starting over.
| Issue | Likely Cause | Quick Fix |
|---|---|---|
| Trumpet will not stand up | Paper too thin or glue not dry | Use slightly thicker paper or add a second layer around the tube and let it dry completely. |
| Petals keep tearing | Slits cut too close to the center | Leave more uncut space in the middle next time and handle the petals gently when shaping. |
| Stem falls off | Not enough adhesive or stem too heavy | Re-glue with a larger paper circle on the back as support, or use a lighter stem like a straw. |
| Flowers look too flat | No shaping added | Curl petal tips around a pencil and lightly bend leaves to add dimension. |
Frequently Asked Questions
How long do paper daffodils last?
Paper daffodils can last for months or even years if kept dry and away from direct sunlight, which can fade colors over time. Store them gently in a box or stand them in a vase when not in use to keep petals from being crushed.
Can this project work in a classroom setting?
Yes, this craft adapts well to classrooms because it uses inexpensive supplies and simple shapes. Preparing some steps in advance, such as pre-cutting circles or petal outlines, makes it easier to guide a larger group of students.
What paper type works best?
Standard colored printer paper is sufficient for most projects and is easy for kids to cut. Cardstock provides more stability and is a good choice for flowers that will be handled often or moved between displays.
How can I make the flowers look more realistic?
You can lightly shade the base of each petal with a crayon or pastel in a slightly darker color than the paper. Adding one or two small slits in the petal tips and bending them slightly can also mimic the uneven edges of real flowers.
Is there a way to reuse these flowers each year?
Absolutely. After the season ends, place the flowers upright in a small box or container, making sure the petals are not crushed. Label the box and store it in a dry place so you can bring out the bouquet again each spring.
Final Thoughts on Paper Daffodil Crafting
Making paper daffodils is a relaxing project that blends creativity with simple, approachable steps. Whether you are working alone, with children, or with a group, the result is a bright bouquet that can brighten any space and serve as a reminder of the fresh energy of spring.