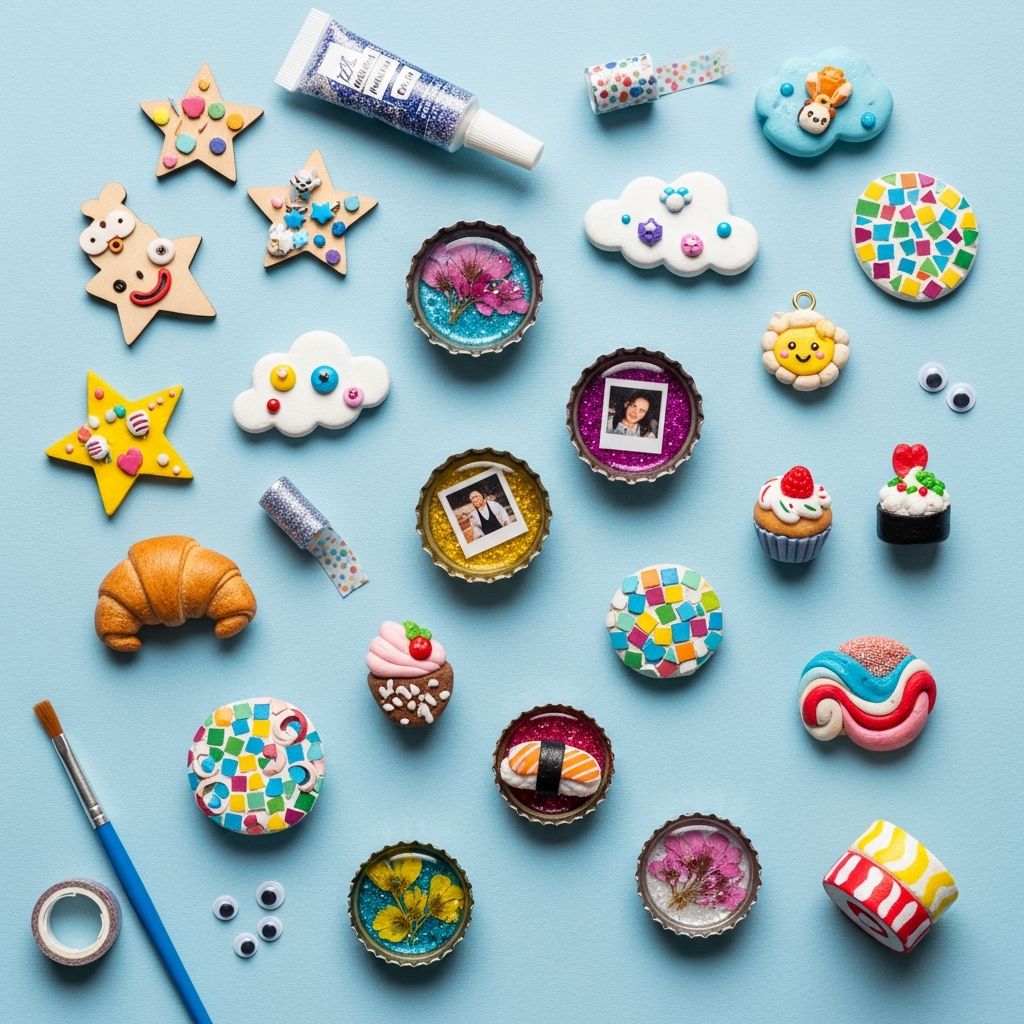
Why Make Your Own Fridge Magnets?
Creating your own fridge magnets is a delightful way to express creativity and add a personal touch to your kitchen or office space. These handmade magnets can serve as decorative accents, functional reminders, or thoughtful gifts for friends and family. The process is simple, affordable, and allows for endless customization, making it a perfect project for all ages.
Essential Materials for DIY Magnets
To get started, gather a few basic supplies. Most of these items are easy to find at craft stores or online:
- Air-dry clay or polymer clay
- Rolling pin or smooth glass bottle
- Sharp knife or craft cutter
- Acrylic paints and brushes
- Small magnets (round or strip)
- Strong adhesive (such as super glue)
- Clear varnish or Mod Podge
- Parchment paper or non-stick surface
For alternative methods, you can also use printed images, sticker paper, or even recycled postcards.
Step-by-Step Guide to Making Clay Magnets
Follow these steps to create charming clay magnets:
- Prepare Your Workspace: Cover your table with parchment paper to prevent sticking and keep your area clean.
- Knead the Clay: Soften a small amount of clay in your hands until it becomes pliable. Start with a small batch to practice before making larger quantities.
- Roll and Cut Shapes: Flatten the clay to about 10mm thickness using a rolling pin. Use a knife or cutter to create your desired shapes—stars, hearts, animals, or any design you like.
- Add Details: Use sculpting tools or a toothpick to add texture or patterns. This step lets you personalize each magnet.
- Let Dry: Allow the clay shapes to dry completely according to the manufacturer’s instructions. This usually takes 24 hours.
- Paint and Decorate: Use acrylic paints to color your magnets. You can create solid colors, patterns, or even miniature scenes.
- Attach Magnets: Once the paint is dry, glue a small magnet to the back of each shape. Use strong adhesive and let it dry thoroughly.
- Seal for Durability: Apply a clear varnish or Mod Podge to protect your magnets and give them a glossy finish.
Alternative Methods for Custom Magnets
If you prefer a quicker or different approach, consider these alternatives:
- Printed Image Magnets: Print your favorite photos or designs on quality paper, laminate them for durability, and attach a magnet sheet to the back.
- Sticker Paper Magnets: Use adhesive sticker paper and magnetic sheets. Cut out your design, peel the backing, and stick the magnet sheet to the back.
- Recycled Postcard Magnets: Glue a small magnet to the back of a postcard or piece of junk mail for a unique, eco-friendly option.
Design Ideas and Inspiration
Let your imagination run wild with these creative magnet ideas:
- Miniature foods or animals
- Seasonal shapes (hearts for Valentine’s Day, pumpkins for Halloween)
- Personalized initials or names
- Miniature landscapes or scenes
- Floral or nature motifs
These magnets can be themed for holidays, special occasions, or simply as everyday decor.
Table: Comparison of Magnet-Making Methods
| Method | Materials Needed | Time Required | Best For |
|---|---|---|---|
| Clay Magnets | Clay, paint, magnets, glue | 1-2 days (including drying) | Custom shapes, detailed designs |
| Printed Image Magnets | Photo, magnet sheet, laminator | 30 minutes | Photos, quick gifts |
| Sticker Paper Magnets | Sticker paper, magnet sheet | 15 minutes | Simple designs, kids’ crafts |
| Recycled Postcard Magnets | Postcard, magnet, glue | 10 minutes | Eco-friendly, quick projects |
FAQs About DIY Fridge Magnets
- Can I use regular paper for printed magnets?
It’s best to use quality paper or laminate your design for durability. - How do I make magnets waterproof?
Seal them with a clear varnish or Mod Podge after painting. - What kind of magnets should I use?
Small round or strip magnets work well for most projects. - Can kids make these magnets?
Yes, most methods are safe and easy for children with adult supervision. - How long do clay magnets last?
With proper sealing, they can last for years.
Tips for Success
- Start with simple shapes if you’re new to crafting.
- Use strong adhesive to ensure magnets stay attached.
- Let each layer dry completely before moving to the next step.
- Experiment with different colors and textures for unique results.
- Store finished magnets in a dry place to prevent damage.
Creating your own fridge magnets is a fun and rewarding craft that lets you personalize your space and share your creativity with others. Whether you choose clay, printed images, or recycled materials, the possibilities are endless. Enjoy the process and let your imagination shine!