Butterfly wings are one of the easiest ways to turn an ordinary outfit into a magical costume, whether for Halloween, a school play, a birthday party, or everyday imaginative play at home.
This guide walks through planning, building, and decorating your own butterfly costume wings with simple materials and clear steps, focusing on comfort, safety, and durability so kids can flap and twirl for hours.
Why Make Your Own Butterfly Wings?
Store-bought wings can be stiff, uncomfortable, or too delicate for active children, while homemade wings let you control the size, colors, and comfort level for the person wearing them.
Crafting wings together also becomes a creative family activity, giving kids a chance to choose their butterfly style and help decorate their very own costume piece.
Planning Your Butterfly Wing Project
A few minutes of planning will save time and frustration later, especially when crafting with kids or on a deadline for an event.
Start by thinking about who will wear the wings, when they will be used, and how sturdy they need to be for the occasion.
Decide on Style and Use
- Everyday play: Choose soft, flexible fabric wings that are easy to move in and safe for running and jumping.
- Costume parties or school events: Opt for a balance of structure and comfort with lightweight frames and secure straps.
- Photo shoots or special occasions: Add extra details like glitter, layered fabrics, or painted patterns for dramatic effect.
Once you know where the wings will be worn, it becomes much easier to choose materials that match your needs and budget.
Measure for a Comfortable Fit
Proper sizing keeps wings from dragging on the ground or banging into furniture and walls.
Use a flexible measuring tape or a piece of string and then measure the string with a ruler.
- Height of wings: Measure from the middle of the back (between shoulder blades) down to just above the back of the knees.
- Width of wings: Measure from the center of the back to the wrist of one outstretched arm, then double that measurement.
- Strap placement: Measure around the shoulders like backpack straps to plan where your elastic or ribbons will sit.
Choosing Materials: Sturdy vs. Soft Wings
There are many ways to build butterfly wings, but most home crafters choose between a simple soft fabric version and a framed version with wire or another supportive material.
The table below compares two popular approaches to help you choose the best style for your project.
| Wing Type | Main Materials | Best For | Pros | Things to Consider |
|---|---|---|---|---|
| Soft Fabric Wings | Lightweight fabric, elastic, fabric paint or markers | Young children, everyday dress-up, quick projects | Very comfortable; no hard edges; easy to store and wash | Less dramatic structure; shapes rely on how the wearer holds arms |
| Framed Wings | Wire or flexible rods, fabric or tights, decorative paints | Special events, photo shoots, older kids or adults | Bold shape; more three-dimensional; holds patterns clearly | Requires extra care to cover sharp ends and avoid snagging |
Basic Supply List
The exact supplies depend on the style you choose, but most butterfly wing projects share a few core materials you may already have at home.
- Large sheet of paper or cardboard for sketching a wing template
- Fabric such as felt, cotton, or an old bedsheet for soft wings
- Elastic or ribbon for shoulder and wrist straps
- Scissors suitable for fabric and paper
- Washable markers, fabric markers, or fabric paint
- Hot glue gun or strong craft glue (for adult use only)
- Optional: lightweight wire or plastic tubing for structured wings
- Optional: glitter glue, sequins, fabric scraps, and buttons for details
Step-by-Step: Soft Fabric Butterfly Wings
This version is ideal for beginners and young helpers because it avoids stiff wire and relies on simple cutting and decorating techniques.
Think of this as a wearable cape where each side curves out into a wing when the wearer stretches their arms.
1. Create a Wing Template
Making a paper pattern first prevents mistakes on your fabric and lets you test proportions before you cut anything important.
- Fold a large piece of paper or lightweight cardboard in half vertically.
- On the folded side, draw half of a butterfly wing shape, starting from the center top and curving outward and downward.
- Add a second rounded section near the bottom to mimic the two lobes often seen in butterfly wings.
- Cut along your drawn line while the paper is still folded, then open it up to reveal a symmetrical set of wings.
- Hold the paper up to the wearer’s back to check the size and trim where needed.
2. Cut the Fabric Wings
Once the template looks right, it becomes your guide for cutting the final fabric.
- Fold your fabric in half so that it can accommodate the full width of the template.
- Place the folded edge of the paper template along the fold of the fabric to keep the wings connected at the center.
- Pin the template in place or hold it firmly, then cut around the outer edge of the paper.
- Remove the template and unfold the fabric to reveal a single piece of butterfly wings joined down the middle.
3. Add Straps for Wearing
Comfortable straps are the secret to wings that kids will actually enjoy wearing for more than a few minutes.
- Cut two pieces of elastic long enough to slip around the shoulders like backpack straps without feeling tight.
- Place the fabric wings flat, right side down, and mark two vertical positions about the width of the wearer’s shoulders apart.
- Form each elastic piece into a loop and pin the ends at these marks, positioning them so the loops point outward toward the shoulders.
- Sew or securely glue the ends of each elastic loop to the wings, reinforcing the spots with extra stitches or glue.
- Optional: Add a small loop of elastic or ribbon at each lower corner for the wearer’s wrists or thumbs, so lifting arms fully opens the wings.
4. Decorate the Wing Surface
This is where children can take the lead, turning plain fabric into colorful, patterned butterfly wings uniquely their own.
- Use fabric markers to draw large shapes such as ovals, teardrops, and stripes across the wings.
- Fill in areas with fabric paint, sponging or brushing colors to blend from one shade to another.
- Add dots or small shapes near the edges to echo the spots found on many butterfly species.
- Outline major shapes with a darker color to make patterns stand out.
Allow plenty of drying time according to the instructions on your paint or markers before trying on or storing the wings.
Option: Structured Butterfly Wings with a Simple Frame
If you want wings that hold a bold, arched shape even when arms are relaxed, a simple frame under a layer of fabric or tights creates a more sculpted look.
This version is better suited to older children or adults due to the firmer structure and the need to handle tools safely.
Materials for Structured Wings
- Flexible wire, thin plastic rods, or foam strips for the frame
- Sturdy tights, mesh, or thin fabric to stretch over each wing section
- Tape to cover sharp ends and join pieces
- Elastic or ribbon for shoulder straps
- Paints, markers, or glued-on decorations for the final design
Basic Construction Steps
- Bend two longer frame pieces for the upper wings and two shorter ones for the lower wings, shaping gentle curves rather than sharp corners.
- Secure the ends of the upper wings together with tape at the center, repeating for the lower wings.
- Join the upper and lower sets at the middle with more tape, forming a single four-wing structure.
- Stretch tights or fabric over each wing section, pulling tight and securing the material near the center with tape or stitching.
- Attach straps on the back side where the wings meet, spacing them comfortably to sit like backpack straps.
Be sure every wire end or stiff edge is fully covered so nothing can poke, scratch, or snag clothing or skin.
Design Ideas and Color Inspiration
Butterflies come in endless color combinations, which means there is no single “correct” way to decorate your wings.
Use real butterfly photos or children’s book illustrations for inspiration, or invite kids to invent a fantasy butterfly with their favorite colors.
Popular Butterfly Styles
- Monarch-inspired: Orange wings with bold black veins and white spots along the edges.
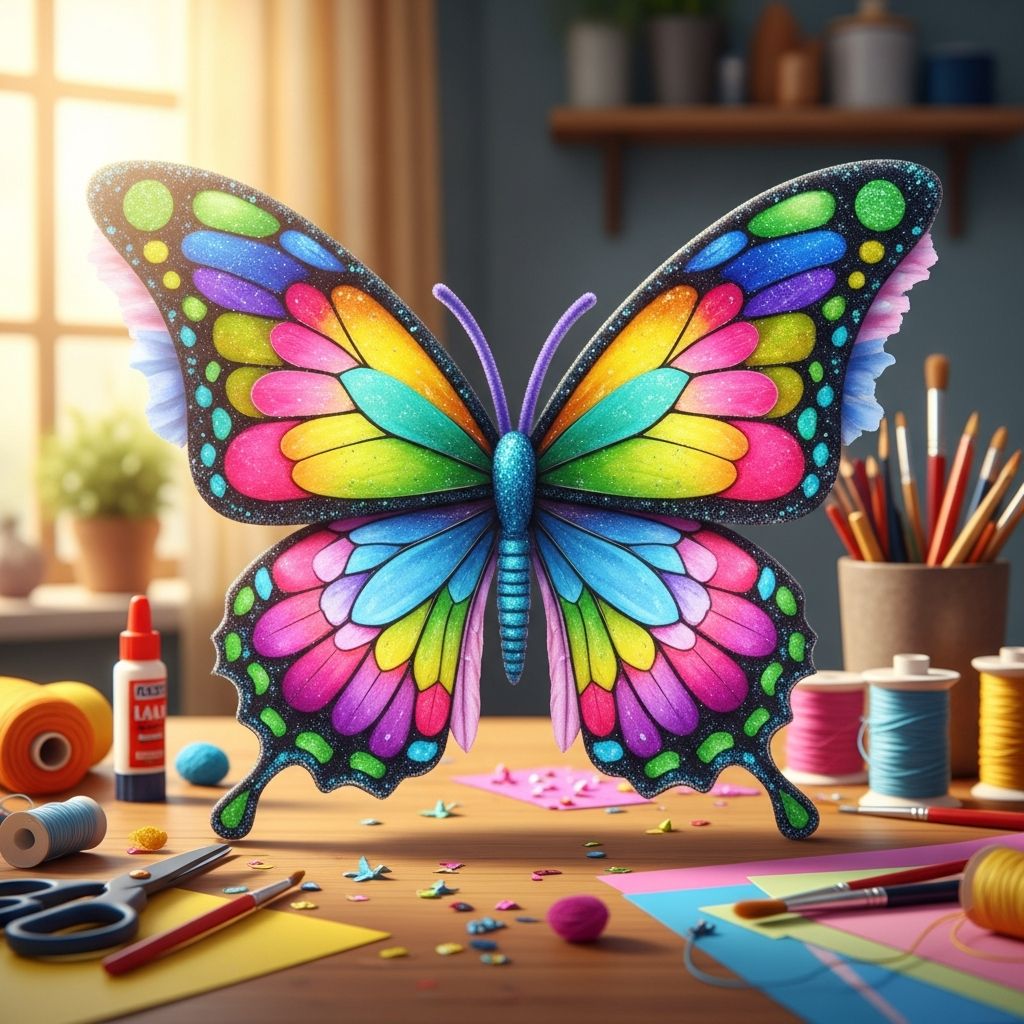
- Pastel fairy: Soft pinks, purples, and blues blended together with a shimmer of glitter.
- Night butterfly: Deep blues, blacks, and silvers with star-like dots and moon shapes.
- Garden butterfly: Greens and yellows with simple flower or leaf motifs painted on the wings.
Textures and Extra Details
Beyond color, texture gives wings depth and personality, making them feel more like a costume piece than a flat prop.
- Layer sheer fabric over solid fabric for a translucent, delicate effect.
- Glue small fabric scraps or felt shapes to create raised spots and pattern lines.
- Add touches of glitter glue along veins or edges, concentrating on small areas so glitter does not shed everywhere.
- Sew or glue a soft felt “body” down the center of the wings for an extra realistic touch.
Comfort, Safety, and Durability Tips
Thoughtful finishing details make the difference between wings that fall apart in an hour and wings that last through many days of pretend play.
- Reinforce strap attachment points with extra stitching or an extra patch of fabric on the back.
- Test the wings by gently tugging on straps and flapping them to spot weak areas before a big event.
- Line any rough areas with a small piece of soft fabric or felt where they touch skin.
- Make sure wings are not so wide or tall that the wearer has trouble navigating doors, chairs, or stairs.
Quick Cleanup and Storage
With a little care, homemade butterfly wings can live in the dress-up bin for years and be shared among siblings or friends.
- Spot clean fabric wings with a damp cloth and mild soap instead of fully soaking them.
- Hang wings on a clothing hanger by the straps so they can dry and keep their shape.
- Store framed wings upright in a closet corner to prevent bending or crushing the frame.
SEO-Friendly FAQs About DIY Butterfly Wings
How do you make butterfly wings without sewing?
To make no-sew butterfly wings, choose a sturdy fabric like felt, cut your wing shape using a paper template, and attach elastic straps with strong fabric glue instead of stitching.
Allow the glue to dry fully before trying the wings on, and press the glued areas under a heavy book for a while to create a stronger bond.
What is the best material for homemade butterfly wings?
For kids’ costumes, soft fabrics such as felt, cotton, or lightweight fleece work well because they are gentle on skin and easy to decorate.
For more dramatic wings, combine a flexible wire or foam frame with sheer fabrics or tights to create large, sculpted shapes while still being relatively lightweight.
How can I make butterfly wings comfortable for young children?
Use wide, stretchy elastic instead of thin string for straps so the pressure is spread across a larger area on the shoulders.
Check the fit over the clothes your child will wear with the costume, and adjust the strap length so wings stay in place without pulling or digging into the skin.
Can homemade wings be washed?
Most simple fabric wings can be gently spot cleaned with a damp cloth, but fully immersing them in water may weaken glue or distort painted designs.
If you plan to wash the wings, use washable fabric markers or paints and rely on stitching rather than glue wherever possible.
How long does it take to make DIY butterfly wings?
The time needed depends on the complexity of your design, but a basic pair of soft fabric wings can usually be completed within one afternoon, including drying time for paint.
More elaborate framed wings with multiple colors, extra decorations, and detailed patterns may take a full weekend from planning through final embellishments.
Turning Simple Supplies into Lasting Memories
Homemade butterfly wings prove that memorable costumes do not require expensive materials or advanced sewing skills, only a bit of planning and imagination.
By involving kids in selecting colors, drawing patterns, and adding decorations, the finished wings become more than a costume piece—they become a treasured reminder of time spent creating together.