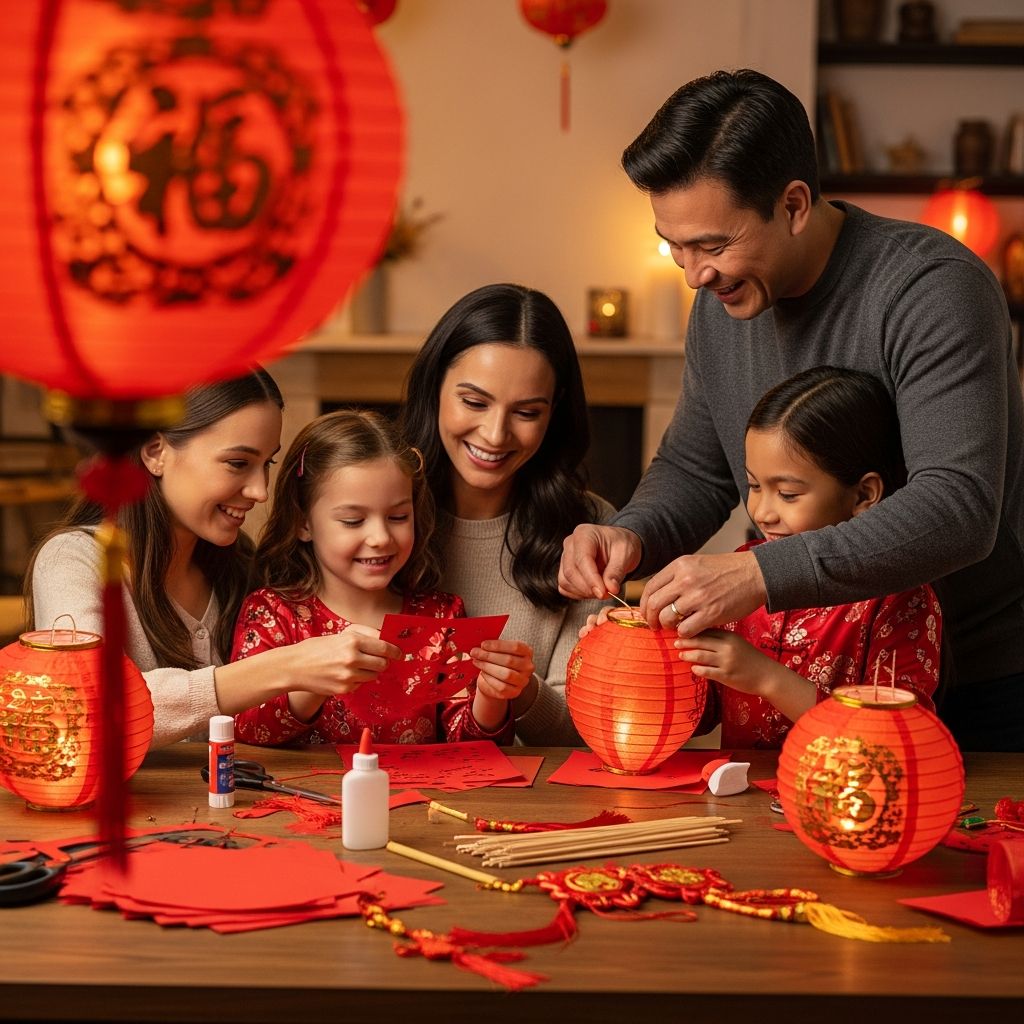
Chinese New Year is a celebration filled with color, sound, and symbolism, and few decorations feel as magical as glowing lanterns hanging in windows and doorways. Instead of buying ready-made decorations, families can turn this tradition into a memorable hands-on craft, giving children a fun way to learn about culture while expressing their own creativity.
This guide offers an original, family-friendly approach to making Chinese New Year lanterns at home, including cultural context, step-by-step instructions, easy variations, and practical tips to keep the activity safe and enjoyable for all ages.
Why Lanterns Matter at Chinese New Year
Lanterns have long symbolized hope, warmth, and good fortune in many East Asian traditions, and during Chinese New Year they help mark a fresh start filled with light and possibility. Displaying lanterns is a way to gently push away the darkness of the old year and welcome in brighter days ahead.
For children, making lanterns becomes more than a craft project—it is a hands-on story about family, history, and the values of togetherness, luck, and perseverance that shape the holiday. When kids design their own lantern, they participate in an ongoing tradition rather than simply observing it from the outside.
Planning Your Family Lantern Session
A successful craft session starts with good planning so that adults can focus on guiding and connecting, rather than scrambling for missing supplies. Start by deciding how many lanterns you hope to finish and how much time you want to spend—this will shape how simple or detailed your designs should be.
For younger children or larger groups, keep the steps straightforward, focus on bright colors, and prepare as much cutting and measuring as possible in advance. Older kids can handle more intricate folds, decorative details, and even simple calligraphy if they are interested in learning a few characters related to the New Year.
Materials Checklist for Paper Lanterns
Most Chinese New Year lanterns can be made with basic school and office supplies, and families can adapt the list to match what they already have at home. Gather everything before you begin so that children can stay engaged from start to finish.
- Colored paper or light cardstock (red, gold, and other bright tones)
- Child-safe scissors (plus regular scissors for adults)
- Glue stick or clear-drying craft glue
- Stapler (optional, for quick assembly supervised by adults)
- Ruler and pencil for light measuring and marking
- Ribbon, string, or yarn for hanging
- Metallic markers, crayons, or colored pencils for decoration
- Stickers, sequins, or washi tape (optional embellishments)
- Battery-powered tea lights or fairy lights for safe glow
| Age Group | Best Paper Type | Tools to Emphasize | Decoration Focus |
|---|---|---|---|
| Preschool (3–5) | Construction paper | Pre-cut pieces, glue sticks | Stickers, simple drawing, big shapes |
| Early Elementary (6–8) | Construction paper or light cardstock | Child-safe scissors, rulers | Patterns, stripes, simple Chinese characters |
| Older Kids (9+) | Cardstock and colored origami paper | Scissors, more precise measuring | Layered designs, tassels, detailed drawing |
Step-by-Step: Classic Hanging Paper Lantern
This simple lantern design is ideal as a first project because it uses easy folds and cuts but still looks festive and impressive when completed. Adults can demonstrate slowly once and then let children repeat the process with their own creative twists.
- Prepare the base sheet.
Choose a rectangular sheet of colored paper, ideally one that is longer than it is tall. Red is especially popular because it is associated with luck and prosperity, but any bold color can be used or combined with gold accents.
- Fold the paper.
Fold the paper in half lengthwise so that the long edges meet. Encourage children to press along the fold with their fingers to create a crisp crease, as this will keep the cuts consistent.
- Mark the cutting lines.
Use a ruler and pencil to draw straight, evenly spaced lines running perpendicular to the folded edge, stopping a bit before the opposite side. This gap keeps the lantern in one piece when it is later opened and wrapped into a cylinder.
- Cut along the lines.
With scissors, carefully cut along each drawn line starting from the folded side and stopping at the marked endpoint. Encourage younger children to move slowly and focus on staying between the pencil marks, making the process feel like a fun accuracy game.
- Form the lantern shape.
Unfold the paper so that the slits open up, then gently curve the sheet so the short edges meet to form a tube. Overlap the short edges slightly and glue or staple them together, which causes the middle sections to bow out and create the lantern’s signature ridged look.
- Add a handle.
Cut a thin strip of paper from a contrasting color, then attach each end to opposite sides of the lantern’s top with glue or staples. This handle not only makes hanging easier but also adds a finished, decorative touch.
- Decorate and personalize.
Invite children to draw patterns, add stickers, or glue on paper shapes like coins, stars, or flowers. Older kids might enjoy writing a short wish or a Chinese character associated with good luck, health, or happiness near the base.
- Safely add light (optional).
If you want your lantern to glow, place a battery-powered light beneath or inside the lantern, making sure that nothing hot or flammable touches the paper. String lights draped behind a row of lanterns can also give a cozy, illuminated effect without modifying the structure.
Creative Variations to Try
Once the classic version is familiar, families can experiment with different shapes, layers, and embellishments. Varying just one or two details can completely change how a lantern looks, allowing siblings to work side by side while still ending up with unique designs.
- Double-layer lanterns: Use a second, narrower tube of lighter paper inside the main lantern for a two-tone effect, especially striking when backlit.
- Fringe and tassels: Attach paper fringe or yarn tassels to the bottom rim for extra movement, using gold or yellow to suggest glowing sparks.
- Window cutouts: Cut small shapes into a plain outer layer and line the inside with translucent tissue for a stained-glass style lantern.
- Pattern challenges: Turn design into a game by asking children to decorate using only dots and lines, or only two chosen colors.
- Story lanterns: Dedicate each lantern to a different wish, animal from the zodiac, or family memory, then tell the story aloud when you hang it.
Displaying Lanterns Around the Home
Thoughtful placement can transform a simple craft session into a full celebration atmosphere without requiring elaborate decorating skills or expensive supplies. Clusters of lanterns make doorways and living rooms feel festive, while single lanterns in windows share holiday cheer with neighbors.
- Hang several lanterns from a single length of ribbon to create a garland above a dining table or along a hallway.
- Display individual lanterns at different heights near a window so they catch natural light during the day and glow softly at night.
- Place smaller lanterns on shelves or mantels alongside photos of family members to connect the craft activity to family stories and traditions.
- Create a “wishing corner” where each lantern represents a specific hope for the new year, such as kindness, courage, or good health.
Blending Tradition and Child-Friendly Design
Chinese New Year is rich with symbolism, and lanterns often feature motifs that carry specific meanings, such as fish for abundance or flowers for growth. When crafting with kids, adults can briefly explain a few of these ideas, then invite children to invent patterns that fit the spirit, even if they are abstract or playful.
This flexible approach helps children respect tradition while recognizing that holidays can also evolve and welcome new expressions. A lantern decorated with favorite animals or imaginary creatures can still celebrate the themes of joy, luck, and fresh beginnings that define the season.
Safety Tips for Lantern Crafting with Kids
Because lanterns combine paper, hanging strings, and sometimes lights, a few simple safety practices keep the activity low-stress for adults and safe for children. Clear guidelines help kids understand that respecting materials is part of honoring the tradition.
- Use only cool, battery-powered lights around or under paper lanterns—never open flames.
- Keep scissors appropriate to each child’s age and supervise cutting to avoid accidental slips.
- Choose glues that dry clear and are labeled as non-toxic, especially for younger crafters.
- Hang lanterns where pets and very young children cannot easily pull them down.
- Recycle or carefully store lanterns once the holiday ends to avoid torn pieces becoming tripping or choking hazards.
Making Lantern Crafting a Learning Moment
Beyond creativity, lantern making can reinforce skills and knowledge children are already exploring in school. Measuring, counting folds, and planning patterns all connect to math, while storytelling and character writing extend language and cultural learning.
- Ask children to measure equal distances between cutting lines or decorative stripes.
- Invite them to describe their designs and explain what they hope their lantern brings in the new year.
- Compare the weight and flexibility of different papers and discuss which materials hold shape best.
- Introduce simple Mandarin phrases or characters related to luck, spring, or happiness as optional additions.
FAQs About Chinese New Year Lantern Crafts
Can we make lanterns if we are not Chinese?
Yes, families from any background can respectfully make lanterns as a way to appreciate and learn about Chinese New Year. Take time to explain that the tradition comes from another culture, and encourage children to treat it with curiosity and respect rather than as a costume or joke.
What if we don’t have red paper?
Red and gold are traditional, but creativity matters more than strict color rules in a home craft setting. Use whatever bright papers you have available, and consider adding small touches of red through markers, stickers, or ribbon if possible.
How long does it take to make one lantern?
For a simple lantern, most children can complete one in about 15 to 30 minutes once they understand the steps. If you plan to add multiple layers, detailed decoration, or tassels, allow extra time and consider spreading the project over two sessions.
Can younger children really participate?
Young children can help choose colors, apply glue, place stickers, and draw simple shapes even if adults handle the folding and cutting. Giving them small but meaningful roles helps them feel like full participants in the holiday rather than spectators.
How can we store homemade lanterns for next year?
Lanterns made from paper are delicate, so the best approach is to store them in a shallow box or large envelope kept dry and out of direct sunlight. If they become too bent or faded, treat that as an opportunity to make new lanterns and talk about each new year as a fresh start.
Building a New Year Tradition That Grows with Your Family
Starting a lantern-making habit is a simple way to mark the transition from one year to the next while anchoring your family in shared experiences. Each holiday season gives children a chance to look back at what they made before, notice how their skills and tastes have changed, and imagine how they want to grow in the year ahead.
Whether your lanterns are carefully measured works of art or delightfully uneven creations filled with stickers, the light they add to your home carries the same message: togetherness, hope, and the joy of crafting something with your own hands to welcome the new year.