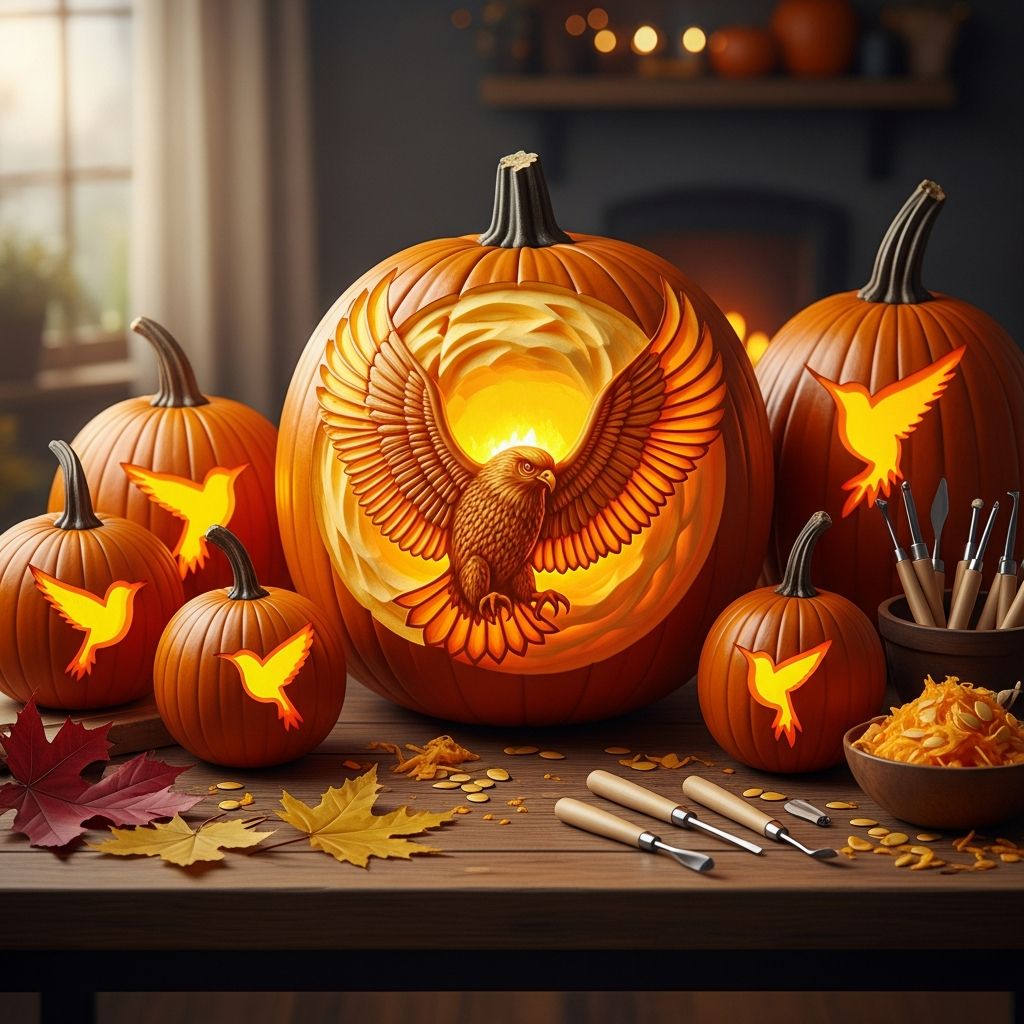
Character pumpkins take traditional jack-o’-lanterns to the next level, especially when inspired by bold, round, slightly grumpy birds your kids already love.
This guide walks you through a complete family project: choosing pumpkins, planning faces, carving safely, and adding colorful details to create a whole flock of hilarious character pumpkins.
Why Character Pumpkins Are Perfect for Families
Bird-inspired pumpkins are ideal for parents and kids because they use simple shapes—circles, triangles, and ovals—to create expressive faces without advanced art skills.
The project is easy to scale: younger kids can help scoop, paint, and stick on features while adults handle any sharp tools and detailed carving.
- Great for themed porches and parties.
- Encourages teamwork and creativity.
- Works with both carving and no-carve options.
Planning Your Flock: Theme and Display
Before you buy pumpkins, decide on a simple theme so your bird characters look like they belong together on the porch or in your yard.
You might focus on different emotions, favorite bird colors, or a rivalry between round birds and mischievous pumpkin “pigs” made from smaller gourds.
Fun Theme Ideas
- Emotions Flock: Angry, surprised, sleepy, goofy.
- Color Squad: Red, yellow, blue, and black bird characters.
- Birds vs. Pigs: Large pumpkins as birds and small green gourds as goofy opponents.
Choosing the Right Pumpkins
The success of your design starts with the pumpkins you select, especially if you want a neat, round bird body and a large face area.
Look for symmetry and a flat resting base so the finished character will not wobble or roll off steps.
Pumpkin Selection Checklist
- Firm skin with no soft spots or deep cuts.
- Round or slightly oval shape for a classic bird body.
- Flat area on one side for the face.
- Sturdy stem, which can act as a feather tuft or hair.
Tools and Materials You Will Need
You do not need professional sculpting tools to create character pumpkins, but a few basic supplies make carving safer and more precise.
Group your tools into carving tools, decorating supplies, and safety gear so setup and cleanup are organized and quick.
- Small serrated pumpkin saws.
- Large metal spoon or pumpkin scoop.
- Fine-tip marker for sketching faces.
- Acrylic paints and brushes for color details.
- Craft foam, felt, or colored paper for beaks and eyebrows.
- Toothpicks and skewers for attaching 3D parts.
- LED tealights for illumination.
Safety First: Kid-Friendly Carving Rules
Children can participate in almost every part of this project, but adults should control sharp tools, especially during cutting and detailed carving.
Establish simple rules before you start so everyone knows which steps are for grown-ups and which are for helpers.
- Assign one adult as the main carver when using knives or saws.
- Give kids safe jobs: scooping, painting, passing tools handle-first.
- Use LED lights instead of open flames inside pumpkins.
- Work on a covered table or outdoor surface to prevent slips.
Step-by-Step: Core Carving Process
Whether your pumpkin becomes an angry red bird or a confused yellow one, the basic carving steps stay the same.
Follow this sequence to keep the design clean and to avoid cracking your pumpkin early in the process.
1. Cut and Clean
- Cut a circular opening in the bottom instead of the top so the stem remains intact for visual impact.
- Use a spoon or scoop to remove seeds and strings, then scrape inner walls until they are about 2–3 cm thick on the carving side.
- Thinner walls on the face side make it easier to carve fine details.
2. Sketch the Face
- Use a marker to lightly draw two large eyes, a beak, and brows on the flattest side.
- Exaggerate features; bird characters look funniest when eyes and brows are oversized compared with the body.
- If you are nervous about drawing, trace circles from cups or jar lids for evenly sized eyes.
3. Carve Major Openings
- Start with big shapes like eyes and mouths so the pumpkin stays structurally sound.
- Cut slowly with a small serrated saw using short, gentle strokes rather than forcing the blade through.
- Push pieces out gently from the inside to avoid cracking thin areas.
4. Refine and Smooth
- Trim rough edges around eyes and beak using the tip of a smaller knife or carving tool.
- Shave or peel pumpkin skin in shallow layers to create lighter-colored areas like cheeks or eye highlights.
- Wipe away marker lines with a damp cloth after carving.
Designing Expressive Bird Faces
The magic of bird-inspired pumpkins lies in the faces, especially the way eyes and eyebrows communicate emotions.
Experiment with the placement and angle of each feature to create a whole cast of personalities on your porch.
Eye Shape and Emotion
- Round, wide eyes: Surprised or scared.
- Half-lidded eyes: Bored or unimpressed.
- Tall ovals angled inward: Intense and angry.
Eyebrows Do the Heavy Lifting
- Thick, slanted downward toward the center: classic angry bird stare.
- Raised high and curved: shocked or confused expression.
- One brow up and one down: mischievous or sarcastic look.
Coloring and Decorating Your Characters
Paint and add-on materials transform an ordinary carved pumpkin into a fully recognizable bird character with bold personality.
Acrylic craft paint works well on pumpkin skin and dries relatively quickly, which is ideal for kids’ attention spans.
- Paint the entire pumpkin in a signature body color like bright red or sunshine yellow.
- Use white paint to define large eye areas before drawing pupils.
- Cut beaks and feathers from craft foam or cardboard, then attach them with toothpicks or hot glue (handled only by adults).
Lighting and Display Tips
Good lighting brings your bird characters to life at night and highlights carved details around the eyes and beak.
LED tealights or small battery-powered string lights keep pumpkins cool and safe while still glowing brightly.
- Place one or two LED candles inside each pumpkin through the base opening.
- Position bird pumpkins at differing heights using crates, stools, or steps to create a dynamic flock.
- Surround bird characters with smaller “enemy” gourds painted in contrasting colors.
Sample Bird Character Ideas
Use the following table as creative inspiration for different bird personalities you can create with your family.
| Character Type | Main Color | Eye Style | Extra Details |
|---|---|---|---|
| Furious Red Leader | Bright red body with orange beak | Tall oval eyes angled sharply inward | Thick black eyebrows and small feather crest made from red foam |
| Sunny Yellow Speedster | Yellow body with white belly patch | Slanted eyes with tiny dark pupils | Pointed head feather and lightning bolt decals drawn with marker |
| Mysterious Black Guardian | Black painted body | Narrow eyes cut deeply for bright interior glow | Accent lines scratched into the paint to suggest feathers |
| Dopey Green Pig Gourd | Light green small pumpkin or gourd | Uneven, lopsided circles | Foam ears, oversized foam nose, and crooked painted grin |
Quick No-Carve Bird Pumpkins
No-carve options are perfect for classrooms, toddlers, or anyone who wants the look without the mess.
These techniques rely on paint, tape, stickers, and glued-on details rather than cutting into the pumpkin flesh.
- Paint the body color and let it dry fully.
- Stick on large googly eyes or cut eyes from white and black paper.
- Cut beaks and eyebrows from foam sheets and attach with glue dots or tape.
- Use pipe cleaners to create crazy feathers or head crests.
Keeping Your Pumpkins Fresh Longer
Once carved, pumpkins start to dry out and may mold, so a few simple habits can extend the life of your bird characters.
Choose a cool, shaded display spot and avoid leaving pumpkins in hot sun during the day if you want them to last through Halloween weekend.
- Store carved pumpkins outside in cooler air rather than warm indoor rooms.
- Bring very detailed pumpkins inside during heavy rain or frost.
- Consider carving only a few days before your main event for the freshest look.
Fun Variations for Older Kids and Teens
Teens and adults might enjoy trying slightly more advanced techniques to push character designs further.
These ideas add texture and depth but still keep within reach of patient beginners.
- Layered carving: scrape away just the skin in some areas instead of cutting all the way through, creating glowing feather patterns.
- Multi-pumpkin scenes: stack small pumpkins on top of a large one to create bodies, helmets, or perches.
- Mixed media: add cardboard slingshots, faux wood blocks, or painted backdrops behind your flock.
Frequently Asked Questions (FAQ)
How early can we carve bird character pumpkins before Halloween?
Most carved pumpkins look their best within three to five days of carving, depending on weather and temperature.
If you want a big reveal on Halloween night, plan your main carving session for the previous weekend or just a few evenings before.
What is the safest way for young kids to participate?
Give younger children tasks that use only blunt tools and nontoxic materials, such as washing pumpkins, scooping seeds, painting base colors, and placing stickers.
Adults or responsible teens should handle any cutting, hot glue guns, and fine-detail carving tools.
Can we create bird characters without any carving at all?
Yes, paint, foam shapes, tape, and glue dots are all you need for a completely no-carve bird pumpkin project.
This approach is perfect for classrooms, apartment dwellers, or families who want longer-lasting decorations without dealing with pumpkin guts.
How do we keep painted designs from peeling?
Wipe the pumpkin with a dry cloth before painting to remove dust and dirt, then let each paint layer dry thoroughly before adding details.
For outdoor displays in damp climates, a light spray of clear acrylic sealer (applied by an adult) can help protect the paint from light drizzles.
What lighting works best inside character pumpkins?
Battery-operated LED tealights are the safest and most convenient option, especially around costumes and excited children.
You can also use short strings of battery-powered fairy lights to create an even interior glow that highlights large bird eyes and carved feather textures.