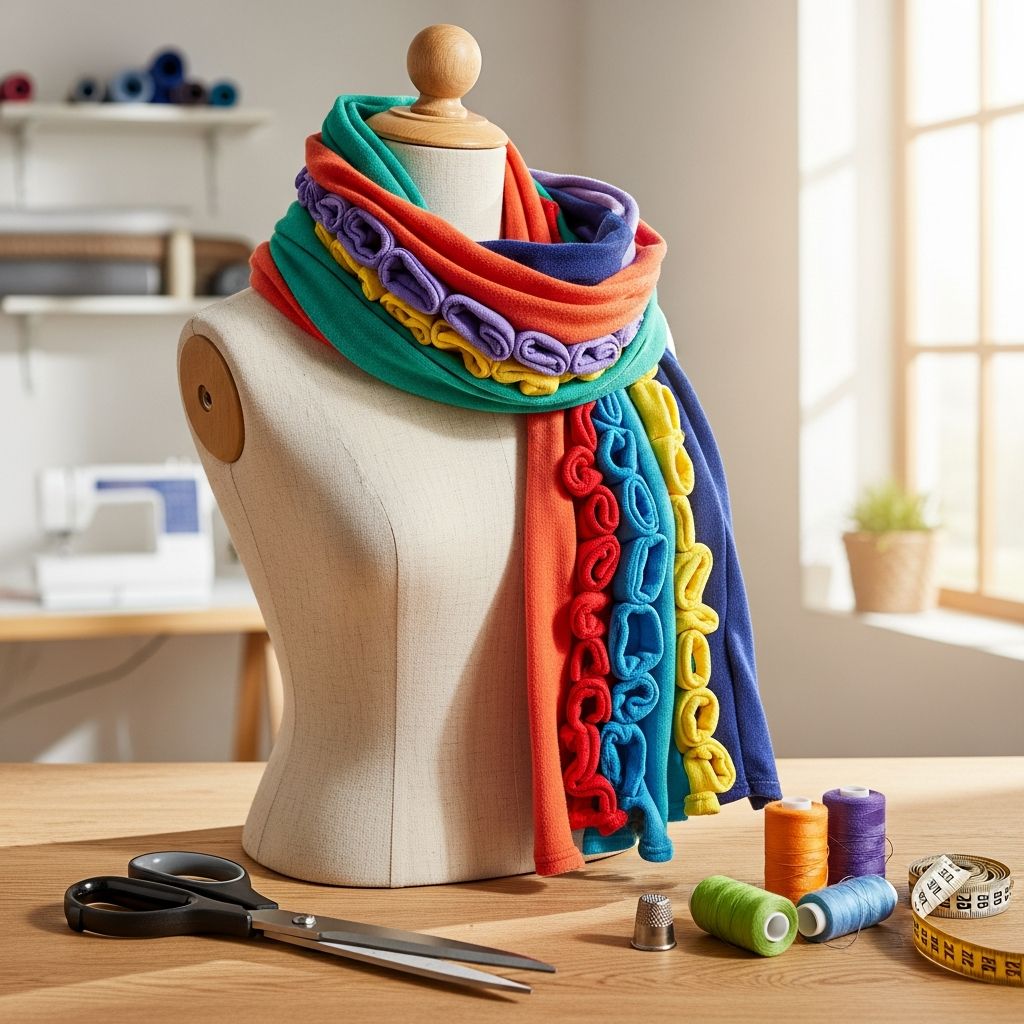
If your drawers are full of old T-shirts you never wear but do not want to throw away, turning them into soft, stylish scarves is an easy and satisfying project. This guide walks you through transforming a basic tee into a cozy scarf without complicated tools or sewing skills.
Why Turn T-Shirts into Scarves?
Upcycling T-shirts into scarves gives sentimental or outdated shirts a new life while keeping textile waste out of landfills. Soft knit fabric creates a comfortable accessory that works in multiple seasons and styles.
- Eco-friendly: Reuse shirts instead of buying new accessories.
- Budget-friendly: No need for special fabric; one or two tees are enough.
- Beginner-friendly: Most versions require only cutting and stretching.
- Customizable: Mix colors, prints, and textures to match your wardrobe.
Choosing the Right T-Shirt
Not every T-shirt behaves the same when cut, so choosing the right one makes the project easier and the finished scarf more comfortable. Look for knit fabric that has some stretch and feels soft against your skin.
- Fabric type: Cotton jersey or cotton-blend T-shirts work best because the cut edges curl rather than fray.
- Size: Larger shirts create longer loops and more volume, while children’s sizes result in shorter, single-wrap scarves.
- Condition: Aim for clean shirts without heavy stains or holes in the main body panel you plan to use.
- Design placement: Consider whether printed graphics will be visible or partially hidden when wrapped around your neck.
Essential Tools and Materials
This project stays simple when you keep the supplies basic. Many people already own everything they need in a household craft drawer or office kit.
- 1–2 clean knit T-shirts (cotton or cotton blend)
- Fabric scissors or sharp craft scissors
- Measuring tape or ruler (optional but helpful)
- Chalk or washable fabric marker (for marking cutting lines)
- Decorative extras: pom-poms, fabric paint, buttons, beads, or lace (optional)
Basic No-Sew Loop T-Shirt Scarf
This is the simplest version and a great place to start if you have never altered clothing before. The end result is an infinity-style scarf made from continuous loops of fabric.
Step-by-Step Instructions
- Prepare the shirt.
Lay the T-shirt flat on a table, smoothing out wrinkles so the front and back layers line up. Align side seams and straighten the hem as much as possible.
- Remove the hem.
Cut straight across just above the bottom stitched hem. Discard the hem strip or save it for tying and embellishments later.
- Create a large fabric band.
Decide how wide you want the scarf section to be, usually 6–10 cm (2.5–4 inches) works well. Cut across the shirt again at that height, forming a wide loop shaped like a fabric ring.
- Cut into narrow loops.
From this wide ring, continue cutting horizontal strips of equal width, keeping the side seams intact so each strip forms a loop. Aim for strips roughly 2–3 cm (about 1 inch) wide.
- Stretch the loops.
One by one, gently pull on each loop so the knit fabric curls in toward itself. This creates rounded cords and hides raw edges without sewing.
- Bundle and secure.
Stack all the stretched loops together. Cut a small strip from the leftover shirt material and wrap it tightly around the bundle at one point, tying a secure knot or tucking the ends under for a neat finish.
- Try it on.
Place the finished bundle of loops around your neck. Wrap it once or twice depending on length, adjusting the cords so they sit evenly in front.
Fringe T-Shirt Scarf Variation
If you prefer a more playful or boho look, turn the shirt into a ring of fabric with dangling fringe. This style works especially well with solid-color tees or subtle prints.
How to Make Fringe from a Tee
- Create a base ring.
Lay the shirt flat and cut straight across just under the sleeves, removing the top. You now have a large loop made from the body of the shirt.
- Mark fringe depth.
Use chalk or a washable marker to draw a guideline around the loop, 10–20 cm (4–8 inches) up from one raw edge. This marks where the fringe will stop so you do not accidentally cut too far.
- Cut fringe strips.
Starting at the raw edge, cut straight lines up toward the guideline, spacing the cuts roughly 1–2 cm (½–1 inch) apart. Move all the way around the ring, turning it as you go.
- Stretch and twist the fringe.
Gently tug each strip so the edges curl and lengthen. For more texture, twist a few strips together and tie small knots at the bottom.
- Add optional details.
Thread beads on a few fringes or dab on fabric paint patterns. Just make sure decorations dry completely before wearing.
Braided and Multi-Color Options
Once you are comfortable with the basic loop or fringe styles, experiment with braiding and combining colors. These methods use the same shirts but introduce more structure and visual interest.
Braided T-Shirt Scarf
- Cut three long strips from the body of one or two shirts, opening the loops so each becomes a flat strip.
- Tie the three strips together at one end and secure the knot under a heavy object or clip it to a surface.
- Braid the strips down their entire length, keeping tension even so the braid looks smooth and consistent.
- Join the two ends of the braid by tying or wrapping a small fabric strip around the connection point.
Mix-and-Match Color Block Scarf
- Use shirts in complementary colors (for example, black and gray, or bright contrasting shades).
- Alternate loops from different shirts in one bundle to create a layered, color-blocked look.
- Wrap the joining area with a strip taken from a third color for an intentional accent.
Safety and Comfort Tips
Cutting fabric and wearing anything close to the neck calls for a bit of care. Simple precautions help keep both the crafting process and the final accessory safe and comfortable.
- Use sharp scissors and cut away from your body to maintain control of each cut.
- Keep pins, hot glue, or other sharp embellishments away from direct skin contact areas.
- Test the fabric around your neck briefly before finishing to check for any itchiness or irritation.
- Wash scarves gently by hand or in a mesh bag to prevent overstretching.
Simple Sizing and Styling Guide
Different body sizes and outfits call for different scarf lengths and textures. Use the table below to estimate how many loops or strips you might want for various looks.
| Style | Recommended Shirt Size | Approximate Strip Width | Number of Loops/Strips | Typical Wrap |
|---|---|---|---|---|
| Minimalist loop scarf | Adults S–M | 2–3 cm | 8–10 loops | Single wrap |
| Chunky infinity scarf | Adults L–XL | 2–3 cm | 15–20 loops | Double wrap |
| Fringe ring scarf | Adults M–L | 1–2 cm fringe | Continuous ring | Single or double |
| Braided statement scarf | Any adults size | 4–6 cm strips | 3–6 braided bands | Single wrap |
Creative Ways to Customize Your Scarf
Customization is where your personality can really shine. Small details dramatically change the overall style, allowing one basic technique to suit everything from casual outfits to themed events.
- Add texture: Mix flat braided sections with loose, curled loops for contrast.
- Use leftover graphics: Cut around printed designs and tie or glue them as patches on the loops.
- Decorate the joining band: Wrap it in lace, attach a statement button, or apply a small fabric flower.
- Seasonal accents: Use holiday colors, team colors, or metallic fabric paint for themed outfits and gifts.
Environment and Budget Benefits
Repurposing T-shirts into scarves is more than a fun afternoon project; it plays a small part in reducing clothing waste and over-consumption. Each scarf is one less item purchased new and one less garment likely to end up unused in a closet or landfill.
- Turn sentimental shirts—like race tees or event souvenirs—into wearable memories.
- Produce quick, low-cost gifts for birthdays, holidays, or classroom exchanges.
- Teach kids and teens about sustainability through a project that feels stylish and accessible.
Frequently Asked Questions
Do I need a sewing machine?
No. The basic loop and fringe designs rely on the natural curl of knit fabric, so no stitching is required. If you enjoy sewing, you can add stitched embellishments later, but they are optional.
Will the scarf fall apart in the wash?
Because knit fabric does not fray like woven fabric, the strips typically maintain their shape. Wash on a gentle cycle or by hand and air-dry flat to keep the scarf looking its best.
Can kids help with this project?
Yes, with supervision. Adults or older teens should handle the cutting, but younger children can help stretch loops, arrange color combinations, and choose decorations.
What if my T-shirt is very small?
Small shirts make shorter loops that may not wrap around the neck more than once. Combine loops from two or more shirts, or open the loops and tie them end-to-end to create longer lengths.
How do I avoid a bulky spot where everything is tied together?
Instead of tying one tight knot with all the loops at once, group them into smaller bundles and secure each with a separate fabric strip. Arrange the bundles around the back of your neck to distribute volume more evenly.
Final Styling Ideas
Once your scarf is finished, experiment with how you wear it. The same piece can look different depending on how you wrap or layer it with other accessories.
- Pair a neutral loop scarf with a patterned jacket for a subtle, everyday look.
- Stack multiple fringe scarves in complementary colors for a bold, festival-ready outfit.
- Use a braided scarf as a statement necklace over a plain T-shirt or simple dress.