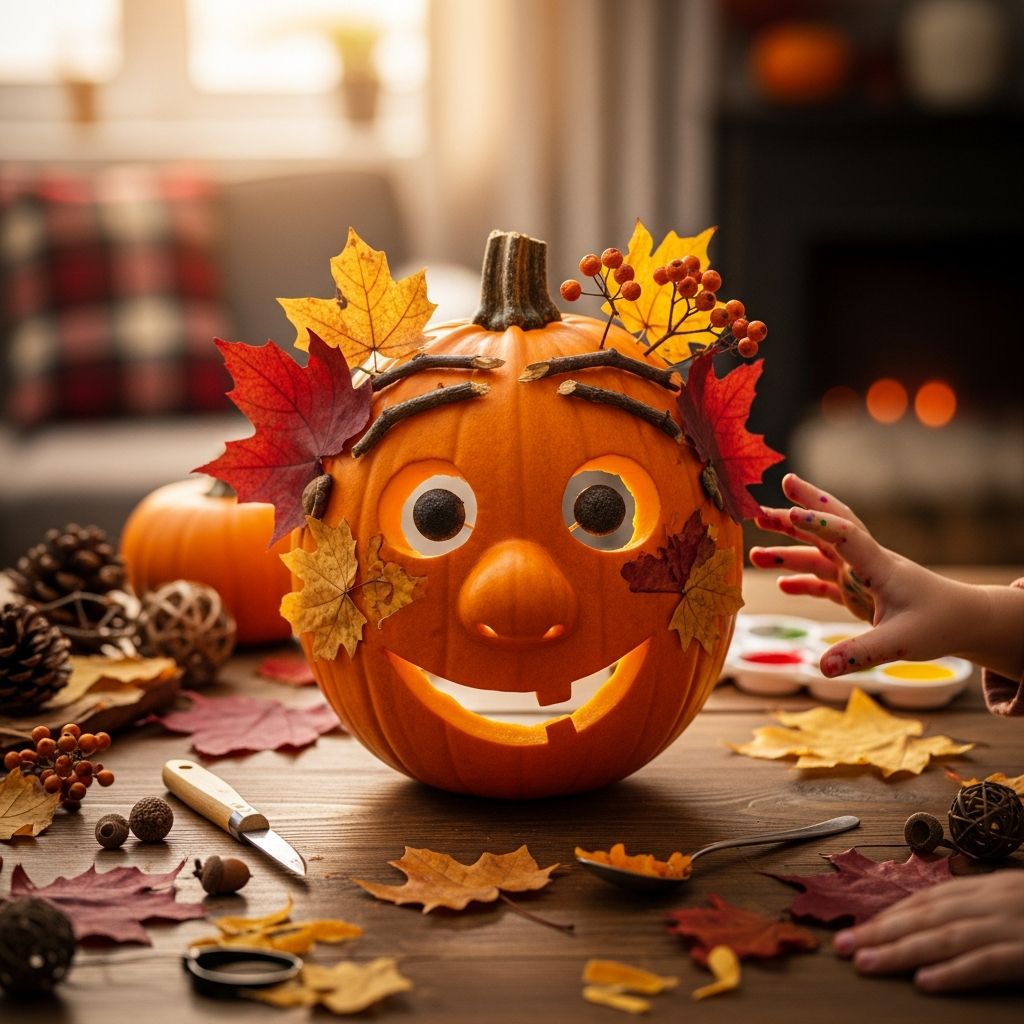
Creating a pumpkin face mask is an easy, low-mess way to bring Halloween magic to life without sewing a full costume or spending a lot of money. This project is perfect for kids, caregivers, and teachers who want a quick, festive craft that can double as a costume accessory or party activity.
With just a few basic supplies and about 30–45 minutes, you can make a bright orange jack-o’-lantern mask that is comfortable to wear, simple to customize, and fun to show off in Halloween photos.
Why Make a Pumpkin Face Mask?
Pumpkins are one of the most recognizable symbols of Halloween, making a pumpkin face mask a versatile choice for school events, neighborhood parties, or at-home celebrations. Instead of investing in a full costume, a mask lets kids dress up quickly while still feeling festive.
- Easy to adapt for different ages and skill levels.
- Budget-friendly and uses mostly common household craft supplies.
- Great group project for classrooms, scouts, or family craft nights.
Materials and Tools You Will Need
Most of the items for this craft can be found in a basic art bin or at any general craft store. Choose sturdy materials for the base so the mask keeps its shape during play.
- Orange cardstock, poster board, or thin cardboard (for the pumpkin base).
- Green paper or felt (for the stem and leaf details).
- Black paper, foam, or markers (for the jack-o’-lantern facial features).
- Elastic cord, ribbon, or string (to secure the mask to the head).
- Scissors and a craft knife (adults only) for cutting shapes and eye holes.
- Glue stick or craft glue; tape for reinforcing weak areas.
- Pencil, ruler, and round object (like a bowl) for tracing the pumpkin shape.
- Optional: crayons, markers, glitter glue, stickers, or sequins for decoration.
Planning Your Pumpkin Mask Design
Before cutting into your paper, it helps to sketch out a rough design. Think about the pumpkin’s overall shape, the size of the eyes, and how expressive you want the mouth and nose to be. Younger children may prefer large, simple shapes, while older kids might enjoy more detailed features.
- Decide whether the mask will cover the full face or just the upper half.
- Choose a facial expression: happy, spooky, goofy, or surprised.
- Consider how much visibility and comfort the wearer will need.
Step-by-Step Instructions
Follow these steps to create a sturdy, wearable pumpkin face mask. Adults should handle any sharp tools and assist younger children with tracing and cutting.
1. Create the Pumpkin Base
The base is the foundation of your mask, so choose a material thick enough to stand up but thin enough to cut easily.
- Place a round object such as a large bowl or plate on orange cardstock or poster board.
- Lightly trace around it with a pencil to form the pumpkin’s main circle.
- Add small bumps or lobes along the outline so the shape resembles a real pumpkin rather than a perfect circle.
- Cut along the line with scissors to complete the pumpkin base.
2. Mark and Cut the Eye Holes
Comfortable visibility is essential. Adjust placement so the eyes line up with the wearer’s face.
- Hold the pumpkin base in front of the wearer’s face and lightly mark where their eyes fall.
- Draw oval or triangle eye shapes around these marks, keeping them symmetrical.
- Carefully fold the paper slightly and cut a small slit in each eye shape.
- Use the slit to insert scissors and cut out each eye hole along your outline.
3. Design the Jack-o’-Lantern Face
The face is where the mask’s personality shines. Encourage kids to experiment with different shapes before gluing anything down.
- On black paper or foam, sketch several versions of noses and mouths: triangles, half-moons, jagged grins, or tiny teeth.
- Cut out the shapes and place them on the pumpkin base without gluing to test different looks.
- Once satisfied, glue the chosen pieces onto the pumpkin, keeping them centered between the eye holes.
- For a softer look, draw or color the facial features directly onto the pumpkin with markers.
4. Add the Stem and Leaf
A simple stem and leaf at the top of the mask instantly identify it as a pumpkin. These pieces also add visual balance and charm.
- Cut a small rectangle or trapezoid from green or brown paper to serve as the stem.
- Glue it to the top center of the pumpkin on the front or back, depending on your preference.
- Cut out one or two leaf shapes from green paper or felt.
- Attach the leaves near the base of the stem, angling them outward for a natural look.
5. Attach Elastic or Ties
This step turns your flat craft into a wearable accessory. Take time to adjust the fit so the mask is secure but comfortable.
- On each side of the pumpkin, mark a small dot level with the middle of the eye holes.
- Use a hole punch or carefully poke a small hole at each dot.
- Thread elastic cord or ribbon through each hole and knot it securely.
- Measure the wearer’s head and adjust the length of the elastic so the mask sits snugly without pinching.
Safety and Comfort Tips
Because this craft will be worn on the face, safety and comfort are as important as creativity. Taking a few simple precautions will help ensure the mask is enjoyable for kids to wear.
- Keep eye openings large enough so peripheral vision is not blocked.
- Secure any small decorations tightly so they do not fall off and pose a choking hazard for young children.
- Check that the elastic is not too tight and that rough edges are smoothed or taped over on the inside.
Creative Variations on the Pumpkin Theme
Once you have mastered the basic pumpkin mask, it’s easy to modify the design for new Halloween looks. Small tweaks to color, accessories, and facial expressions can transform the same template into many characters.
- Glitter Pumpkin: Outline the eyes and mouth with glitter glue and sprinkle fine glitter around the edges.
- Vampire Pumpkin: Add a cape drawn or glued to the bottom and small white fangs on the mouth.
- Cat Pumpkin: Attach paper ears on the top and draw whiskers and a small heart-shaped nose.
- Glow-in-the-Dark Pumpkin: Use glow-in-the-dark paint or stickers for the facial features.
Suggested Pumpkin Face Ideas
If kids feel stuck, offer them a few ready-made face ideas. The table below outlines simple combinations that produce very different personalities with minimal extra work.
| Style | Eye Shape | Mouth Style | Extra Details |
|---|---|---|---|
| Friendly Pumpkin | Rounded ovals | Wide, curved smile | Pink cheeks drawn with crayons |
| Spooky Pumpkin | Sharp triangles | Jagged, zigzag teeth | Dark shading around the eyes |
| Sleepy Pumpkin | Half-moon lids | Small relaxed smile | Drawn eyebrows tilted downward |
| Goofy Pumpkin | One big, one small | Crooked grin | One tooth and freckle dots |
Using the Mask for Play and Learning
A pumpkin face mask is more than just a costume piece; it can be a springboard for storytelling, pretend play, and creative learning. Children can invent characters, imagine what their pumpkin might say, or act out a short Halloween skit.
- Use masks in classroom plays, storytime, or simple puppet-style shows.
- Encourage kids to describe their pumpkin’s personality and backstory.
- Incorporate the craft into lessons on autumn, harvests, or emotions.
Cleanup and Storage Tips
Because this project uses primarily paper and glue, cleanup is quicker than many paint-heavy crafts. A few small habits will keep masks intact for future Halloweens or classroom displays.
- Allow all glued sections to dry completely before stacking or hanging masks.
- Store finished masks in a flat box or hang them on a wall using clothespins.
- Label the back with the creator’s name and year to create a keepsake.
Frequently Asked Questions
What age group is this pumpkin mask craft best for?
This craft works well for children aged five and up with some adult assistance for tracing and cutting. Younger kids can still participate if adults prepare the base shapes and allow them to decorate.
Can I make this mask without special craft tools?
Yes. Basic scissors, paper, glue, and string are enough to complete a simple version. A hole punch and thicker cardstock make the process easier, but they are not strictly required.
How can I adapt the mask for a classroom setting?
For groups, pre-cut the pumpkin bases and eye holes before the activity to save time and reduce the need for sharp tools. Set up supply stations with facial features and decorations that students can choose and glue themselves.
What if the mask feels too heavy or floppy?
If the mask is too heavy, try switching to lighter cardstock instead of cardboard. If it feels floppy, add a second layer of paper glued to the back or reinforce the area around the holes with small pieces of tape.
Can this pumpkin mask be reused after Halloween?
Absolutely. With careful storage, the mask can be brought out for future Halloweens, fall festivals, or dramatic play corners. Some families also enjoy displaying them as seasonal wall art or door decorations.
Final Crafting Thoughts
A handmade pumpkin face mask offers an inviting balance between creativity and simplicity. Whether you are preparing for a Halloween party, planning a classroom activity, or enjoying a quiet fall afternoon at home, this project turns a few sheets of paper into a memorable seasonal keepsake.
Encourage each crafter to give their jack-o’-lantern a unique expression, and you will end up with a cheerful patch of paper pumpkins that reflects every personality around your table.