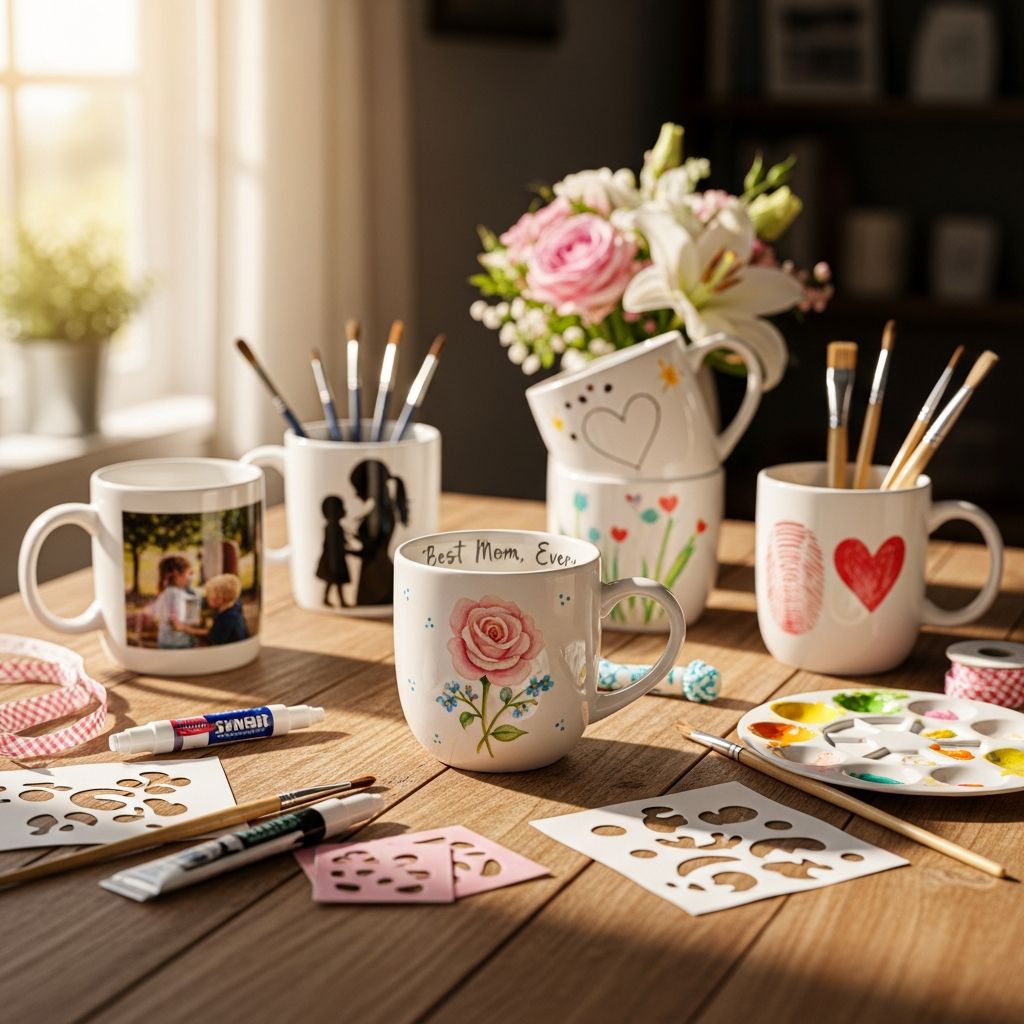
Personalized mugs are one of those rare gifts that are both practical and deeply sentimental. Every time Mom reaches for her morning tea or coffee, she is reminded of the little hands and big hearts that created it. This guide walks you through designing and decorating a Mother’s Day mug from scratch, with fresh ideas, clear steps, and thoughtful tips for making it both beautiful and durable.
Why a Mug Makes the Perfect Mother’s Day Gift
A mug may seem simple, but it naturally fits into a mom’s daily routine. Transforming it into a custom piece of art turns an ordinary object into a keepsake that feels personal and intentional.
- It is useful every day, making the memory of the gift long-lasting.
- It works for all ages of kids, from toddlers who can scribble to teens who can create detailed designs.
- It is budget-friendly, easily adapted to classrooms, scout groups, church events, or at-home crafting.
Essential Materials and Tools
Before starting, gather all your supplies in one place. A well-prepared setup reduces mess, keeps kids focused, and turns the process into a calm, enjoyable experience instead of chaos on the kitchen table.
| Item | Purpose | Tips |
|---|---|---|
| Plain ceramic or porcelain mug | Base for your design | Choose a smooth, light-colored surface so colors show clearly. |
| Oil-based or ceramic paint markers | Drawing and writing on the mug | Look for pens labeled for glass/ceramic and follow the brand’s curing instructions. |
| Rubbing alcohol and cotton pads | Cleaning the mug surface | Removes oils and fingerprints so designs adhere better. |
| Paper and pencils | Planning the design | Kids can sketch and test different ideas before drawing on the mug. |
| Masking tape or stickers (optional) | Creating borders or stenciled shapes | Great for simple hearts, initials, or color-blocked sections. |
| Oven (if required by markers) | Heat-setting the design | Always follow product directions and handle hot mugs carefully. |
Planning the Design with Kids
Resist the temptation to start drawing on the mug right away. Spending a few minutes planning the design helps kids focus, avoids cluttered artwork, and turns the process into a creative exercise rather than a rush.
- Ask kids what Mom loves: flowers, books, pets, a favorite color, or a special saying.
- Encourage them to sketch two or three different ideas on paper before choosing a final design.
- Talk about where designs will go: one side for a drawing, the other side for a message, and maybe a small surprise near the handle or inside the rim.
Theme Ideas for Mother’s Day Mugs
If kids feel stuck, offer simple themes that can be personalized. These themes still allow them to make creative choices while giving enough structure to get started quickly.
- “Mom’s Favorite Things” Mug: Draw little icons that represent her favorite hobbies, foods, or activities.
- Handwritten Messages: Older kids can write short notes such as “You’re loved” or “Best morning companion” in their own handwriting.
- Pattern Play: Younger children can cover the mug in hearts, dots, stars, or stripes in Mom’s favorite color palette.
- Family Portrait Mug: Have kids draw the family in a silly or sweet style; it doesn’t have to be realistic to be meaningful.
- Secret Surprise: Add a tiny doodle or word at the bottom inside the mug so she sees it when she finishes her drink.
Preparing the Mug Surface
A clean mug helps the artwork last longer. Oil or dust can prevent paint from bonding well, which may cause fading or flaking over time.
- Wash the mug with warm, soapy water and dry it completely.
- Use a cotton pad with rubbing alcohol to wipe the outside surface where you will draw.
- Let the mug air dry for a few minutes before starting the design.
Drawing and Decorating: Step-by-Step
Once the mug is clean and the design is planned, it is time for the fun part. Give each child enough space on the table and remind them that slow, steady strokes work better than rushing.
- Test the markers on scrap paper first to get ink flowing and to see how the colors look when dry.
- Outline first by lightly sketching shapes and letters. After that, they can go back and thicken lines or fill in color.
- Work in sections, allowing one side to dry before turning the mug to prevent smudging.
- Encourage small breaks if kids become impatient; this reduces accidental fingerprints on wet designs.
- Check for gaps or areas that need touch-ups once the initial drawing is complete.
Adding Special Details
Little extra touches elevate the mug from simple to stunning. These details can be subtle but make the design feel more mature and finished.
- Add a thin border line near the rim or the base to frame the artwork.
- Place tiny dots, dashes, or mini hearts between larger shapes for a patterned effect.
- Combine a bold main color with one metallic accent color for a modern look.
- Include the year in small writing on the bottom of the mug so the gift becomes a time capsule.
Creating Different Styles of Mother’s Day Mugs
There is no single “right” way to decorate. Here are three distinct styles that work well for families, classrooms, or youth groups, with flexibility for all age levels.
1. The Doodle Mug
This style is perfect for younger children or anyone who loves spontaneous, playful drawings. Think of it as a sketchbook wrapped around a mug.
- Let kids cover the surface with small drawings: suns, hearts, rainbows, smiley faces, and animals.
- Encourage them to leave a little breathing room so the mug does not feel too crowded.
- Use two to three colors that look good together instead of every color in the box.
2. The Minimalist Message Mug
Older kids, teens, or adults may prefer a cleaner, more graphic design with fewer elements and strong typography.
- Choose one simple phrase such as “Morning with Mom” or “Loved & Caffeinated.”
- Use block letters or cursive, and keep the message centered on one side.
- Add a simple line drawing below the words, such as a small heart, leaf, or coffee cup outline.
3. The Color-Blocked Mug
A color-blocked design looks modern but is easy to execute using tape and a few coordinating shades. This option is excellent when working with groups because it is structured but still customizable.
- Use masking tape to mark off sections around the mug, such as triangles, rectangles, or angled bands.
- Fill each section with a different color, leaving some areas white for contrast.
- Carefully remove tape once the paint is dry to reveal crisp lines, then add a small word or initial on top if desired.
Drying and Curing for Long-Lasting Designs
Follow the directions that come with your markers or ceramic paints. Most require a period of air-drying and, often, gentle baking to make the design more durable.
- Place the decorated mug in a safe area where it will not be bumped, and allow it to air-dry for the amount of time suggested by the product instructions.
- If baking is required, set the mug in a cool oven, turn the heat to the recommended temperature, and let it bake for the specified time.
- Turn off the oven and allow the mug to cool inside before removing it, which helps prevent cracking due to sudden temperature changes.
After curing, many designs will hold up best with gentle handwashing. If you want the mug to be dishwasher-safe, double-check the label on your markers or sealant.
Safety Tips When Crafting with Kids
Because this project involves permanent markers and heat, a few simple safety guidelines help keep everyone safe and the process stress-free.
- Cover the work surface with newspaper or a reusable tablecloth.
- Use smocks or old t-shirts so kids’ clothes are protected from permanent stains.
- Keep oven use and any handling of hot mugs strictly for adults.
- Remind kids not to draw on the inside area where drinks touch, especially near the rim.
Turning the Mug into a Gift Set
The mug itself is already a thoughtful gift, but adding a small surprise inside turns it into a mini gift basket. This is especially helpful if you want the present to feel more substantial without a big budget.
- Fill it with tea bags, hot chocolate packets, or a selection of coffee pods.
- Add individually wrapped chocolates, cookies, or a homemade treat.
- Include a rolled-up handwritten note or mini card from each child.
- Tie a ribbon around the handle and attach a tag with a sweet message.
Organizing a Group Mug-Making Session
This project scales well for classrooms, clubs, or family gatherings. A little planning helps the activity move smoothly and ensures each child feels proud of the result.
- Label mugs with kids’ names on the bottom in pencil or removable tape before starting.
- Set up supply stations: one for cleaning mugs, one for drawing, and one for drying.
- Rotate small groups through each station so no one is waiting too long for markers.
- Allow extra drying time between groups, especially if mugs need to be transported home.
Common Mistakes and How to Avoid Them
Even simple crafts have a few predictable pitfalls. Knowing them in advance makes it easier to fix problems quickly or avoid them altogether.
- Smudged designs: Prevent this by working on one side at a time and letting each side dry before rotating.
- Faded colors: Use markers designed for glass or ceramic and follow curing instructions exactly.
- Overcrowded artwork: Encourage kids to leave some white space, and remind them that simple designs often look more polished.
- Unreadable messages: Have children lightly sketch letters and spacing on paper first, then copy the layout onto the mug.
Making It a Yearly Tradition
One of the most charming aspects of this craft is how easy it is to repeat. Making a new mug each year creates a visual history of your child’s growth and changing interests.
- Create a new mug annually and write the year on the bottom of each one.
- Encourage kids to try a different style or theme each year so the collection feels varied.
- Display the mugs together on a shelf or mug rack for a colorful, sentimental kitchen decoration.
Simple Care Instructions to Share with Mom
Care instructions help protect all the effort that went into the mug. Including them as a small note with the gift shows thoughtfulness and ensures the design lasts.
- Recommend gentle handwashing with a soft sponge and mild dish soap.
- Suggest avoiding abrasive scrubbers on the painted areas.
- If the markers or sealant are rated as dishwasher-safe, mention this on the note but still advise placing the mug on the top rack.
Frequently Asked Questions
Can kids of all ages participate in this project?
Yes. Very young children can add simple shapes, dots, and lines, while older kids and teens can create more detailed drawings and messages. Adults can assist with outlining, lettering, or heat-setting when needed, making the project accessible to almost any age group.
Do special markers really matter?
Using markers or paints specifically made for ceramic or glass significantly improves how long the design lasts. Regular washable markers will fade quickly or wash off, while the correct type of marker, properly cured, can hold up to repeated use and gentle washing.
Is it safe to decorate the inside of the mug?
It is better to avoid drawing near the rim or inside surface that will come into direct contact with drinks. Keeping artwork on the outside of the mug and below the lip ensures that Mom can use the mug comfortably and safely.
What if a child makes a mistake while drawing?
Fresh lines made with many ceramic markers can sometimes be wiped away quickly with rubbing alcohol and a cotton swab. If the paint has already started to dry, you can try incorporating the error into the design by adding extra patterns, shapes, or color blocks.
How far in advance should we make the mugs?
Making the mugs a few days to a week before Mother’s Day is ideal. This timing allows plenty of room for drawing, drying, curing, and wrapping the gift without rushing, especially when crafting with a group of kids.
Final Thoughts
A personalized Mother’s Day mug balances usefulness with emotion in a way few store-bought gifts can match. With some simple supplies, a bit of planning, and the unique creativity of the children in your life, you can help create a gift that Mom will reach for every day and cherish for years to come.