A homemade photo calendar is a simple way to keep track of important dates while enjoying favorite memories every single day. Instead of buying a generic design, you can customize each month with meaningful images, colors, and notes that match your life and style.
Why Make Your Own Photo Calendar?
Designing your own calendar gives you control over every detail, from which photos appear in each month to how much space you have for writing reminders. It also makes a thoughtful, low-cost gift for family and friends who appreciate something handmade.
- Personal connection: Use family photos, travel snapshots, kids’ artwork, or pet pictures.
- Functional organization: Add birthdays, anniversaries, school breaks, and recurring events.
- Creative outlet: Experiment with colors, themes, and layouts without needing professional design skills.
- Gift-ready: A custom calendar is easy to duplicate and give to grandparents, relatives, or coworkers.
Planning Your Calendar Project
Before printing or cutting anything, decide what type of calendar will fit your needs and where it will be used most. Planning helps you avoid reprinting pages or trimming photos a second time.
- Location: Will the calendar hang in the kitchen, sit on a desk, or travel in a planner?
- Size: Do you want large squares for writing notes or a compact design to save space?
- Style: Minimal and clean, bright and colorful, or playful and kid-focused?
- Timeline: Are you making one calendar or several copies for gifts?
Types of DIY Photo Calendars
There are many ways to assemble a custom calendar at home using basic supplies. Choose a format that suits both your skill level and your available tools.
| Calendar Type | Best For | Key Features |
|---|---|---|
| Wall calendar (letter-size pages) | Families needing lots of writing space | Large monthly grid, big photos, easy to display on hooks or nails |
| Desk tent calendar | Office or home desks | Small footprint, stands upright like a triangle, easy to flip between months |
| Mini clip calendar | Gifts and small spaces | Individual cards clipped to a board or stand, simple to change each month |
| Binder or planner inserts | Busy schedules and planners | Three-hole punched or disc-bound, integrates with existing planners or notebooks |
Gathering Supplies and Tools
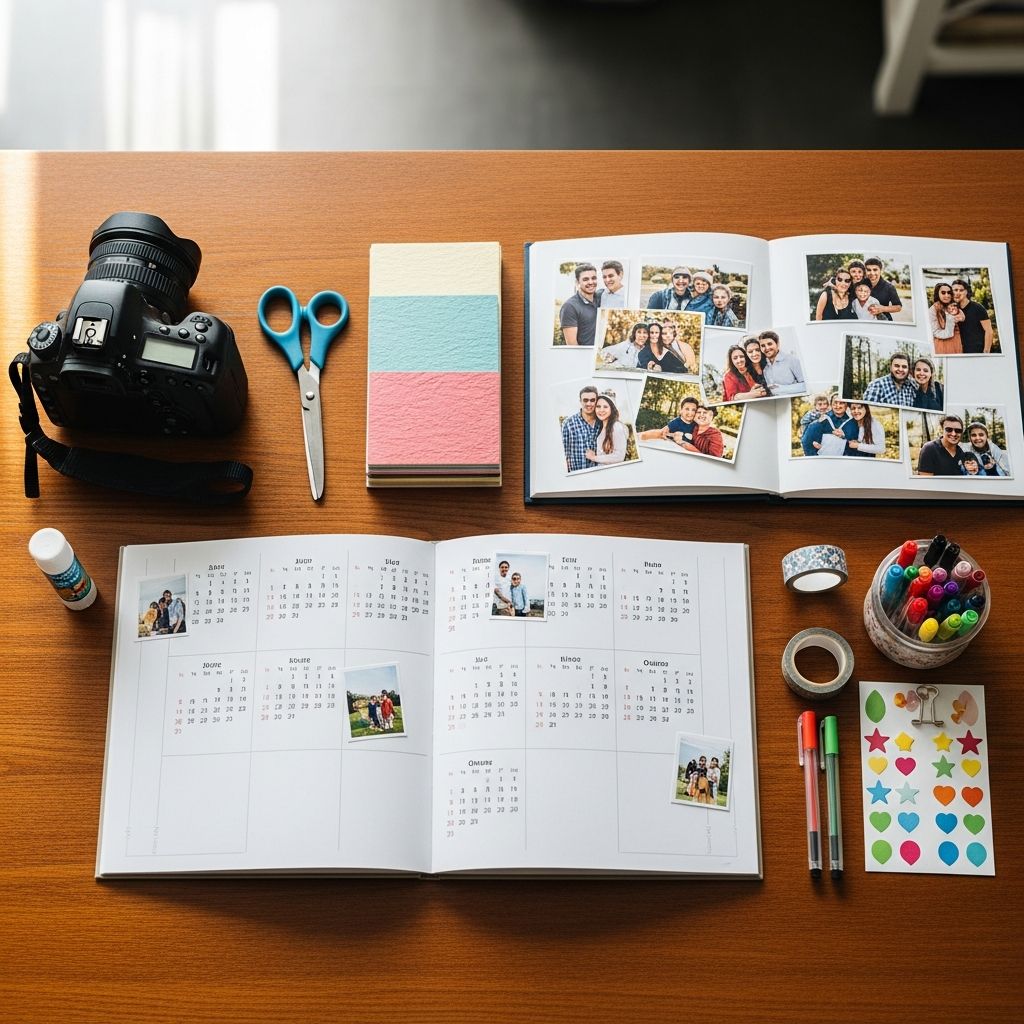
You do not need specialized equipment to make a professional-looking calendar. Most projects can be completed with basic office supplies and simple tools available at home or in a craft store.
- Printer (inkjet or laser)
- Heavy paper or cardstock for durability
- Digital photos or scanned artwork
- Scissors or a paper trimmer
- Adhesive (double-sided tape or photo-safe glue)
- Hole punch, binder rings, or a small easel depending on format
- Optional: stickers, markers, washi tape, or stamps for embellishment
Choosing and Organizing Your Photos
The photos you select will define the personality of your calendar. Take time to curate images that bring joy, match the season, or tell a story across twelve months. You can mix and match types of images for variety.
- Seasonal photos: Snowy scenes for winter months, flowers for spring, beaches for summer, and cozy indoor shots for fall.
- Family milestones: Birthdays, graduations, vacations, and celebrations placed in the months when they occurred.
- Single theme: Pets, travel, favorite recipes, landscape photography, or kids’ drawings.
- Black-and-white set: Convert all photos to black and white for a classic, unified look.
Once the pictures are chosen, rename or arrange them by month to make the design process go smoothly. Creating a folder for each month on your computer can help you stay organized.
Designing the Monthly Layout
Even if you are not a designer, you can create a clean layout using simple shapes and clear text. You can work in word processors, basic graphic software, or online design tools that allow inserting images and text boxes.
- Use a grid of 7 columns (days of the week) and 5 or 6 rows to cover all possible weeks.
- Leave room at the top or side of each page to feature the monthly photo.
- Include a small area for notes or to-do lists if you need extra writing space.
- Choose legible fonts with enough contrast between background and text.
If you prefer a more handmade approach, you can print a blank grid and glue photos directly onto each printed sheet. Hand-lettering the month names and days of the week adds a charming, personalized touch.
Printing and Trimming Your Pages
Printing on quality paper is one of the easiest ways to upgrade the look of your project. Thicker paper resists curling and feels more substantial, especially if the calendar will be handled often.
- Print one test page first to check margins, colors, and image sharpness.
- Use the same paper type for all pages so the stack stays uniform.
- Allow ink to dry completely before cutting or stacking to avoid smudges.
After printing, trim the pages with a paper cutter or scissors. If you are making a tent-style desk calendar, you may need to score and fold a backing piece of cardstock to create a stable triangular stand.
Binding and Display Options
Once all pages are printed and trimmed, the next step is to bind them into a calendar you can easily flip or display. The right binding method depends on your tools and the final location of the calendar.
- Spiral or comb binding: Many print shops can bind stacks of pages along the top edge, creating a flip-style wall calendar.
- Binder rings: Punch two or three holes along the top margin and insert metal rings. Hang the calendar on a hook or pin.
- Clipboard or clip board: Attach each month to a small clipboard and swap the page at the start of every month.
- Easel stand: For desk calendars, use an easel or folded cardstock stand and flip through loose monthly cards.
Adding Events and Personal Touches
After the basic structure is finished, personalize the calendar with dates, notes, and decorative details. This is where the calendar becomes more than just a collection of pictures.
- Write birthdays, anniversaries, and holidays directly into the date squares.
- Highlight recurring events such as bill due dates, sports practices, or meetings with a consistent color.
- Use stickers or icons to indicate special activities like vacations, school breaks, or appointments.
- Add a small motivational quote or goal for each month to keep you inspired.
Kid-Friendly Photo Calendar Ideas
Children enjoy seeing themselves and their artwork displayed, and a calendar is a fun way to introduce them to planning and time concepts. Involving them in the project can also turn it into a memorable family activity.
- Let kids choose photos of themselves, pets, or favorite toys for each month.
- Print blank monthly grids and have children decorate the borders with drawings and stickers.
- Assign each child a color for their activities to help them recognize their own schedule.
For very young children, consider adding simple icons (like a cake for birthdays or a star for special outings) so they can understand what is coming up, even before they can read full words.
Gift-Worthy Variations
A thoughtfully designed photo calendar can be adapted into different versions for various people in your life without a lot of extra work. Small changes in photo selection or layout make each copy feel personal and unique.
- Grandparent edition: Fill with pictures of grandchildren, school events, and handwritten notes or drawings.
- Travel lover edition: Feature favorite destinations, landscapes, and travel quotes on each page.
- Recipe calendar: Combine a food photo with a short recipe or ingredient list for each month.
- Couple’s calendar: Use relationship milestones, vacations, and special dates as monthly themes.
Simple Monthly Creation Checklist
To keep the process manageable, work one month at a time using a short checklist. This approach is helpful if you are making multiple calendars or designing in short sessions.
| Step | Task |
|---|---|
| 1 | Select the photo and place it in the layout. |
| 2 | Add the month name and days of the week. |
| 3 | Fill in important dates and recurring events. |
| 4 | Check spacing and legibility, then save or print. |
Frequently Asked Questions
How many photos do I need for a full year calendar?
For a standard twelve-month calendar, most people use at least twelve photos, one for each month. You can include extra images on a cover page, back page, or collage-style layouts if you want to showcase more memories.
What paper should I use for the best results?
Cardstock or heavy-weight photo paper works best for durability and color quality. If the calendar will hang in a busy area or be flipped through daily, the thicker paper will help prevent bending and tearing.
Can I make a calendar without a color printer?
Yes. You can design your calendar in black and white for a minimalist look or print the grids in black while attaching physical photos separately. Another option is to have your designs printed at a copy shop using their equipment.
How long does it take to complete a DIY photo calendar?
The timeline depends on how detailed you make your designs and how comfortable you are with the tools you are using. Many people complete the project in a weekend, spending a few hours choosing photos, designing pages, printing, and assembling.
Is it possible to update the calendar during the year?
If you bind your calendar with rings or place each month on a clipboard, you can easily replace individual pages as needed. This flexibility is helpful if your schedule changes often or if you decide to refresh certain photos midyear.
Start Turning Memories into a Year of Moments
A personalized photo calendar blends organization and creativity into one practical project. With a small investment of time and basic materials, you can create something that inspires you, keeps your schedule visible, and celebrates the people and moments that matter most all year long.