Why Make a Skeleton Face Mask?
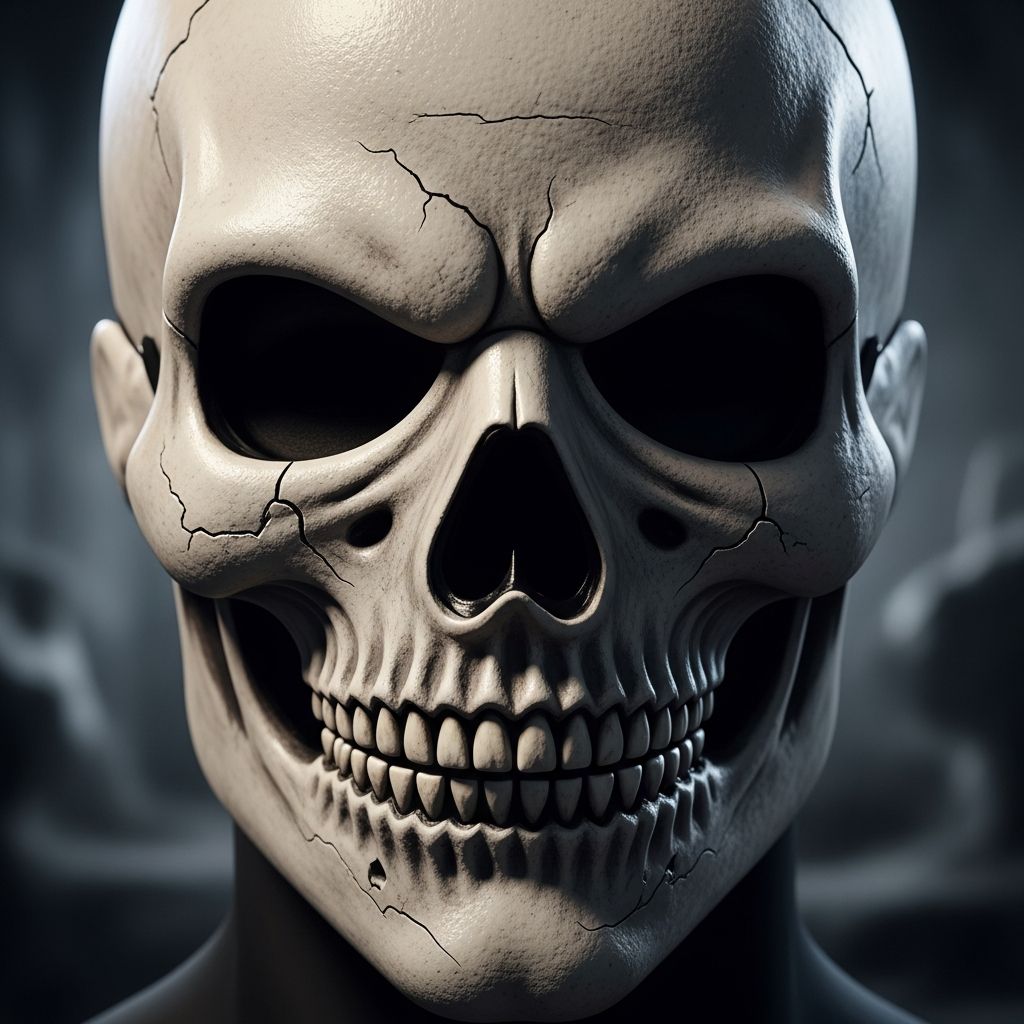
Creating a skeleton face mask is a fun and creative way to celebrate Halloween or any costume event. It allows for personal expression, encourages recycling, and can be customized to suit any age group. Whether you want a spooky look for a party or a playful accessory for imaginative play, a DIY skeleton mask is a versatile project that brings excitement to any occasion.
Materials You’ll Need
- Paper plate or cardboard
- Scissors or craft knife
- Masking tape or glue
- String, wool, or elastic
- Black marker or paint
- White acrylic paint (optional)
- Small circular objects for tracing (bottle cap, tape roll)
- Pencil or pen
These materials are easy to find at home or in most craft stores, making the project accessible and budget-friendly.
Step-by-Step Instructions
Designing the Mask Shape
Begin by laying out your paper plate or cardboard. Imagine the plate as a clock face and mark lines at 9, 11, 12, 1, and 3 o’clock, each about 4 cm long. These marks will help you create the structure of the mask. Use a small circular object to trace the eye sockets and the center of the forehead. Draw a heart shape for the nose and straight lines for the mouth, connecting the eye sockets to the curved edge of the plate.
Cutting and Shaping
Carefully cut along the lines you’ve drawn to form the face shape. Cut out the eye sockets, nose, and mouth. For a more realistic look, add small cuts along the mouth to represent teeth. Cut the bottom section of the plate to create the jawline. If you want a 3D effect, cut three lines at the top of the plate (11, 12, and 1 o’clock) and overlap these sections to form a raised forehead. Secure them with masking tape.
Adding Details
Use a black marker or paint to outline the eyes, nose, and mouth. Add teeth by drawing small lines inside the mouth area. For a more dramatic effect, paint the entire mask white before adding the black details. Allow the paint to dry completely before handling the mask.
Finishing Touches
Attach string, wool, or elastic to the sides of the mask so it can be worn comfortably. Adjust the fit by tying the strings or using tape to secure them. If desired, add extra folds or creases to give the mask a more textured, bone-like appearance.
Creative Variations
There are many ways to personalize your skeleton mask:
- Use colored paints or markers for a festive look.
- Add glitter or sequins for extra sparkle.
- Experiment with different shapes for the eyes and nose.
- Combine multiple masks for a group costume.
These variations allow for endless creativity and make each mask unique.
Safety Tips
- Always supervise children when using scissors or craft knives.
- Use non-toxic paints and markers.
- Ensure the mask fits comfortably and does not obstruct vision.
- Dispose of any sharp tools safely after use.
FAQs
Can I use recycled materials for this project?
Yes, cardboard from cereal boxes or old packaging works well as a substitute for paper plates.
How long does it take to make a skeleton mask?
Most masks can be completed in under an hour, depending on the level of detail and drying time for paint.
Can I wash the mask?
Since the mask is made of paper or cardboard, it is not washable. Store it in a dry place to preserve its shape.
Is this project suitable for young children?
With adult supervision, children can participate in drawing, painting, and decorating the mask. Cutting should be done by an adult.
Comparison Table: Materials and Techniques
| Material | Best For | Pros | Cons |
|---|---|---|---|
| Paper Plate | Beginners, quick projects | Easy to cut, lightweight | Less durable |
| Cardboard | Detailed designs, durability | Sturdy, customizable | Harder to cut |
| Recycled Mask | Eco-friendly, unique shapes | Reduces waste, creative | May need extra shaping |
Conclusion
Creating a skeleton face mask is a rewarding craft that combines creativity, recycling, and fun. With simple materials and a few easy steps, anyone can make a unique mask for Halloween or any costume event. Whether you’re crafting for yourself or with family, this project offers a memorable experience and a striking accessory.