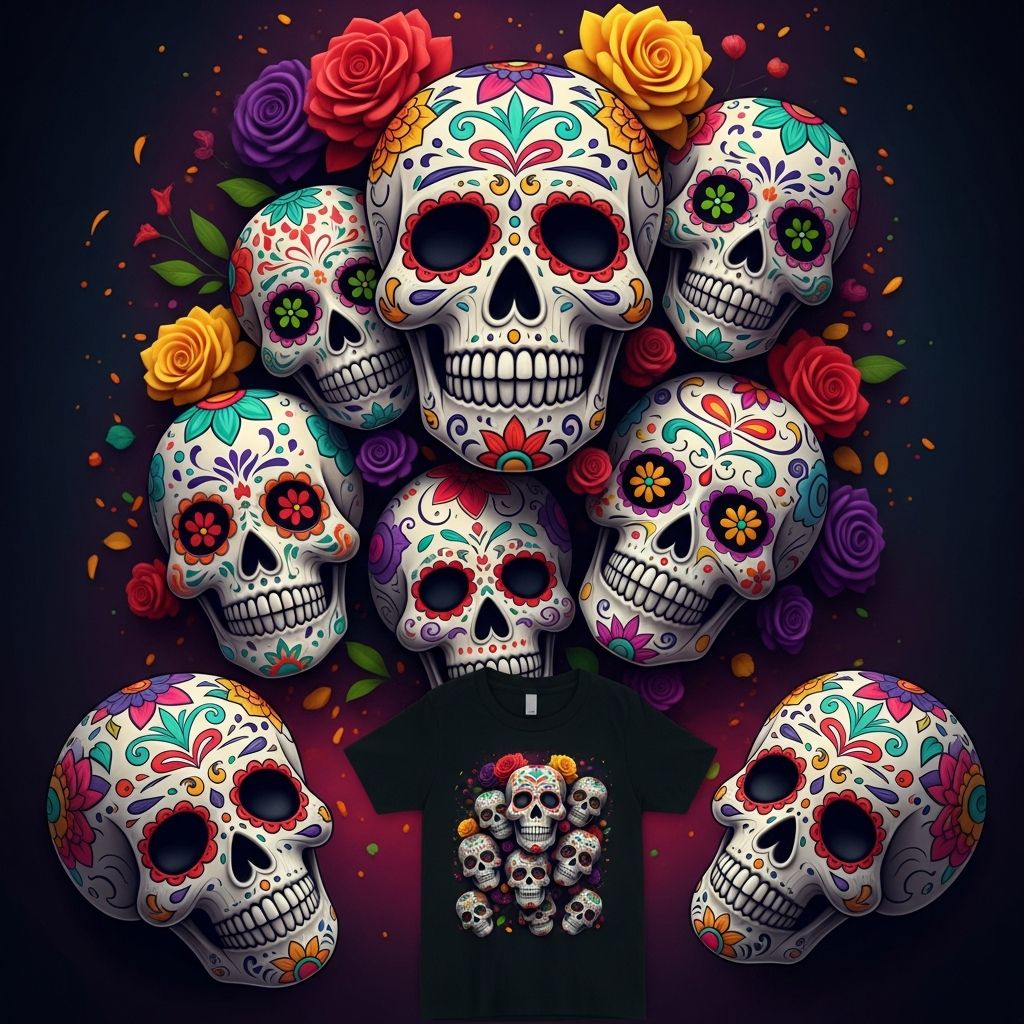
Dressing up for Day of the Dead does not have to mean a full costume; a handmade t-shirt with bright sugar skull art can be just as meaningful and fun for kids. This project turns a plain shirt into a wearable canvas that celebrates color, creativity, and remembrance.
Understanding the Celebration
Día de los Muertos, or Day of the Dead, is a Mexican tradition focused on remembering and honoring loved ones who have passed away. It is known for its joyful attitude toward memory, colorful altars, and decorated sugar skulls called calaveras.
Creating themed clothing, like a decorated t-shirt, can help children connect in a gentle way with the idea of remembering family members and celebrating their lives instead of fearing death. With mindful guidance from adults, this craft becomes both an art lesson and a cultural learning experience.
Project Overview
This tutorial walks through how to design and paint a Day of the Dead t-shirt with children, using simple tools such as fabric paint, cardboard, and home-made stencils. The focus is on bold shapes, safe techniques, and leaving plenty of space for kids’ imagination.
The complete activity works well as:
- A classroom art project tied to a cultural unit.
- An at-home family craft afternoon or weekend project.
- A personalized alternative to store-bought Halloween or Day of the Dead shirts.
Materials and Tools
Gathering the right materials ahead of time ensures that kids stay focused on creating rather than waiting around while adults scramble for supplies. Choose washable, kid-safe products whenever possible and read all labels before you begin.
| Item | Purpose | Notes |
|---|---|---|
| Plain cotton t-shirts | Wearable canvas for designs | Pre-wash to remove sizing for better paint adhesion. |
| Cardboard inserts | Protect back of shirt and keep fabric flat | Recycled cereal boxes or shipping boxes work well. |
| Fabric paint or fabric markers | Add color, outlines, and details | Look for non-toxic formulas; bright colors show best. |
| Simple stencils (store-bought or homemade) | Create skull shapes, flowers, and patterns | Use thicker paper or thin plastic for durability. |
| Painter’s tape or masking tape | Hold stencils in place | Helps prevent smudging around the edges. |
| Soft paintbrushes or sponge dabbers | Fill in stencils and backgrounds | Choose sizes that kids’ hands can hold comfortably. |
| Protective coverings | Keep tables and clothing safe | Use old newspapers, plastic tablecloths, and aprons. |
| Pencil and scrap paper | Plan designs before painting | Encourages thoughtful layout and color choices. |
Safety and Setup
Before any paint is opened, take a few minutes to set up the workspace so that children can enjoy the activity without worrying about making a mess. A flat, well-lit area with good airflow is ideal.
- Cover tables and floors with paper or plastic to catch drips and splatters.
- Have kids wear old clothing or smocks that can get stained.
- Explain which tools only adults should handle, such as craft knives for cutting stencils or hot irons for heat-setting paint.
Designing a Sugar Skull Motif
Children often recognize sugar skulls by their big eye sockets, nose shapes, and decorative swirls. Start by looking at a few examples together and pointing out shapes rather than copying exact designs, so kids feel free to invent their own patterns.
Invite each child to sketch a skull on paper using basic guidelines:
- Draw an oval or rounded rectangle for the head.
- Add two big circles or hearts for eyes.
- Suggest a small upside-down heart or triangle for the nose.
- Use rectangles or tiny vertical lines to show teeth.
Once the basic face is drawn, encourage kids to fill the skull with symbols connected to people they want to remember: favorite flowers, small hearts, musical notes, or objects that remind them of special memories.
Creating and Using Stencils
Stencils give young artists a helpful framework, especially for the main skull shape. Adults can trace the child’s drawing onto thicker paper or thin plastic and cut it out carefully using safe cutting tools away from little hands.
There are two main ways to use a stencil in this project:
- Outline style: Place the skull cutout on the shirt and paint around it to leave the inside as blank fabric.
- Fill-in style: Use the cutout as a window and dab color inside the skull shape.
Kids can also experiment with smaller stencils of flowers, hearts, and leaves around the main skull to create a mini-altar or frame effect on their shirt.
Preparing the T-Shirt Canvas
Slip a piece of cardboard inside the shirt to keep paint from soaking through and to stretch the fabric gently for a smoother surface. Smooth out wrinkles by pulling the sides of the shirt and taping them to the cardboard if necessary.
Position the main skull motif roughly at the center of the shirt’s chest area, then tape the stencil edges lightly so that it will not slide. Help kids step back and check the placement before any paint touches the fabric.
Adding Background Color
Starting with the background helps keep the final design from feeling crowded or muddy. Lightly colored sprays, sponged gradients, or soft brush strokes can create a misty backdrop for the brighter sugar skull details.
- Limit kids to two or three main background colors so the design doesn’t become overloaded.
- Encourage dabbing and gentle brushing instead of heavy scrubbing, which can push paint under the edges of the stencil.
- Allow the background to partially dry before moving on to sharper lines and small details.
Painting the Skull and Details
Once the background is set, children can work on the skull itself using smaller brushes or fabric markers. Contrasting colors help the skull stand out: a white or light-colored skull with bright red, blue, or yellow accents can look especially striking on a darker shirt.
Suggest that kids think in layers: big shapes first, then medium decorations, and finally tiny accents. This keeps the skull readable instead of turning into one big cluster of dots.
- Start with eye sockets and nose in a single strong color.
- Add petal shapes around the eyes to mimic marigolds.
- Finish with tiny dots, swirls, and lines to echo embroidered patterns.
Optional Outlines and Highlights
Older kids or adults might enjoy adding bolder outlines with a darker color to sharpen the design. A thin brush or fabric marker can define the jaw, cheekbones, and teeth, giving the skull a slightly three-dimensional look.
For a softer effect, lighter highlights in white or neon shades can be dabbed along the edges of flowers or around the eyes. This technique helps the design pop without requiring perfect drawing skills.
Drying, Heat-Setting, and Care
Fabric paint usually needs several hours to dry completely. Place finished shirts in a safe, flat area where curious fingers and pets will not smudge the artwork. If space is limited, hang shirts carefully on hangers, making sure wet sections do not touch each other.
Most fabric paints require heat-setting to make them permanent. Adults can follow the instructions on the paint bottle, which often involve ironing the reverse side of the design or placing the shirt in a clothes dryer for a specified time. Afterward, wash the shirt inside out on a gentle cycle and avoid harsh detergents for the first few washes.
Making It a Meaningful Tradition
While the paint dries, take time to talk with children about who their shirt honors. Some families may choose to dedicate each shirt to a specific grandparent, friend, or even a beloved pet. This transforms the project into a tangible reminder of shared stories.
- Invite kids to write the name of the person they are remembering on the inside hem of the shirt.
- Wear the shirts while visiting an altar, cemetery, or family gathering as a sign of respect.
- Pack the shirts away carefully after the season so they can be worn again in future years as part of a growing family tradition.
Adapting for Different Ages
The same basic project can suit toddlers, grade-school kids, and teens with small adjustments. Younger children do best when adults handle the tricky parts, such as stencil cutting and fine outlines, while they focus on color and large shapes.
Older kids may want more control over the entire process. Consider offering them additional tools such as finer brushes, more detailed stencils, or glow-in-the-dark paint to personalize the design and challenge their skills.
Idea Variations and Extensions
If your family or class falls in love with this project, the sugar skull motif can travel beyond t-shirts. Many of the same techniques work on other fabric items or even on paper and cardboard surfaces.
- Decorate reusable tote bags for carrying books or trick-or-treat goodies.
- Paint matching bandanas, hats, or fabric patches that can be pinned to jackets.
- Create a paper banner of skull designs using leftover stencils for home or classroom décor.
Quick Reference Table: Steps at a Glance
| Step | Main Task | Who Leads? |
|---|---|---|
| 1 | Gather supplies and protect the workspace | Adult |
| 2 | Discuss Day of the Dead and explore design ideas | Adult with kid input |
| 3 | Sketch sugar skulls and decorative symbols | Kids |
| 4 | Create and position stencils on the shirt | Adult for cutting; kids help place |
| 5 | Paint background colors | Kids |
| 6 | Paint skull details, flowers, and patterns | Kids with light guidance |
| 7 | Add outlines, highlights, and finishing touches | Older kids or adults |
| 8 | Allow to dry, heat-set, and then wear | Adult |
SEO-Friendly Frequently Asked Questions
Can very young children make a Day of the Dead t-shirt?
Yes, toddlers and preschoolers can participate as long as adults manage the setup and handle any tools that might be sharp or hot. For very young kids, keep the design simple by offering large stencils and limiting the palette to a few washable fabric colors so they can enjoy dabbing paint without needing perfect control.
What kind of paint should be used on kids’ t-shirts?
Use paints or markers specifically labeled for fabric to help the design last through multiple washes. Choose non-toxic, child-safe formulas, and follow the manufacturer’s instructions for drying and heat-setting so that the artwork remains bright and does not crack or peel quickly.
How can this project respect Day of the Dead traditions?
Explain to children that the designs are not just spooky decorations but expressions of love for people who have died. Encourage them to include symbols that represent real memories and to wear their shirts on or around the holiday while sharing stories about the people they are honoring.
Can the same technique be used without stencils?
Confident young artists and teens can sketch directly onto fabric using light pencil lines and then paint over them. However, stencils are still helpful for groups, younger children, or anyone who feels nervous about drawing freehand on a shirt, since they reduce mistakes and speed up the process.
How long does it take to complete a Day of the Dead t-shirt?
The hands-on painting portion can be done in an hour or two, depending on the level of detail and the number of children participating. Drying and heat-setting add extra time, so plan for the whole project to span an afternoon or to be finished over two separate sessions.
Bringing Art, Culture, and Family Together
A Day of the Dead t-shirt craft blends color, symbolism, and storytelling in a way that feels accessible to kids. By guiding children through the process of designing, painting, and wearing their own sugar skull shirts, families and educators help them explore an important cultural tradition while building skills in art, planning, and reflection.