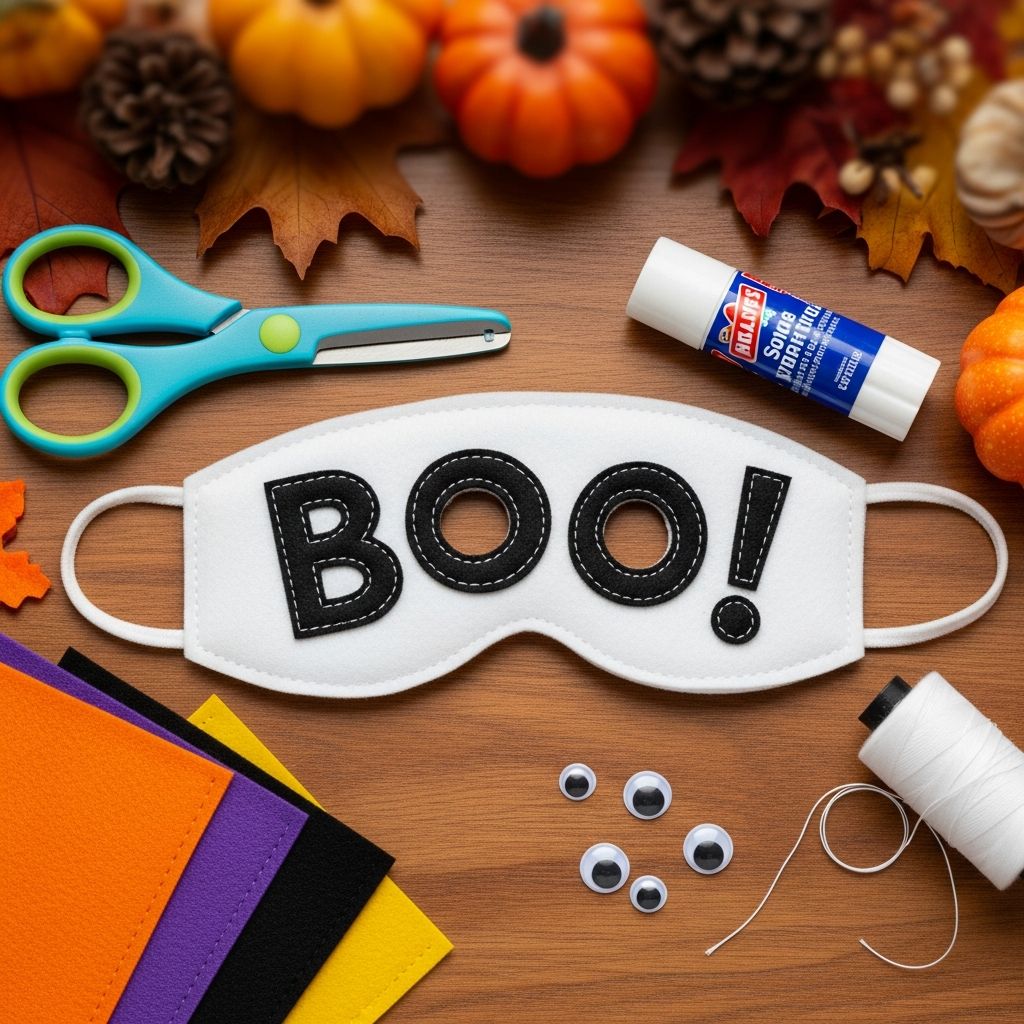
Turning a plain face mask into a cheerful “Boo!” design is an easy way to add Halloween flair while keeping things comfortable and family-friendly. This guide walks you through a complete project: from choosing materials and sketching the letters to decorating, fitting, and safely wearing your new mask.
Why a “Boo!” Mask Makes Halloween Extra Fun
A “Boo!” face mask offers a simple visual joke that kids understand instantly, which makes it perfect for Halloween parties, school spirit days, or neighborhood walks. Instead of relying on heavy costumes or masks that block vision, this project focuses on a lightweight design that sits where a normal cloth mask would go, keeping hands free for candy and games.
Because the design is mostly flat, it works well whether you sew your own fabric mask or decorate a store-bought one, which opens this project up to every skill level. Adults can handle cutting and hot tools, while kids take charge of color choices, letter placement, and spooky embellishments like tiny ghosts or stars.
Materials and Tools Checklist
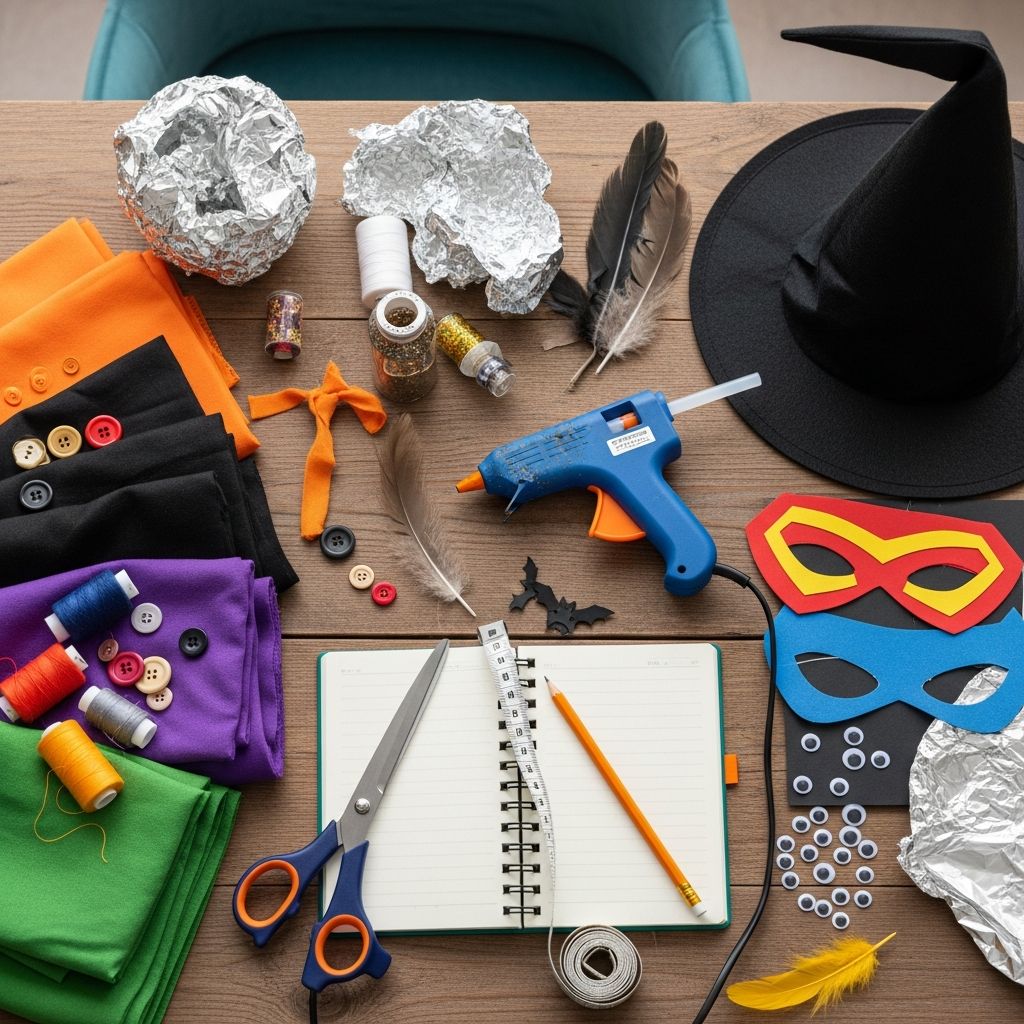
You can complete this project with basic craft supplies and either a premade cloth mask or a simple rectangular fabric mask sewn at home. Choose soft, breathable materials so the finished mask is comfortable enough for kids to wear more than just a few minutes at a time.
- Plain cloth face mask (store-bought or handmade)
- Felt sheets or sturdy craft foam for letters
- Fabric glue or low-temperature glue gun
- Scissors (fabric scissors if working with cloth)
- Washable fabric markers or fabric paint for details
- Scrap ribbon, tiny pom-poms, or sequins (optional)
- Paper and pencil for sketching the “Boo!” design
- Elastic or ear loops if you are sewing a fresh mask base
Planning the Design Before You Craft
Sketching the mask on paper first helps you visualize the spacing of the letters and prevents glue-covered do-overs on fabric. Draw a simple rectangle the same approximate size as the mask, then write “Boo!” across it in big, rounded letters that are easy to cut from felt or foam.
Think about color contrast while you sketch: dark letters on a light background stand out clearly, while neon letters on black fabric give a classic Halloween glow. If multiple kids are crafting at once, encourage each one to choose a different color combination so everyone’s mask feels personal and easy to recognize.
Suggested Color Combinations
Choosing colors may be the most exciting part of the project for children, and a quick look at a few combinations can help them make decisions faster. Consider the mood you want: cute and candy-like, eerie and dramatic, or somewhere in between.
| Mask Base Color | Letter Color | Overall Style |
|---|---|---|
| Bright orange | Deep black | Classic pumpkin-inspired Halloween look |
| Black | Neon green or purple | Glow-in-the-dark, slightly spooky feel |
| White | Soft gray or pastel blue | Ghostly, friendly, kid-safe vibe |
| Pale yellow | Orange and red mix | Candy corn and harvest-inspired design |
| Purple | Silver or gold | Magical, witchy, slightly glamorous appearance |
Step-by-Step: Creating the “Boo!” Letters
Once the design is sketched, the next stage is to transfer those playful letters to felt or foam that can be attached to the mask. Use a thicker material for the letters so edges stay crisp and do not fray when the mask is worn or tossed into a bag.
- Draw the word “Boo!” on paper in large, rounded letters that are roughly two thirds the width of the mask.
- Cut out each paper letter individually to create simple templates.
- Place the templates on your felt or foam and trace around them lightly.
- Cut the letters slowly, turning the felt rather than the scissors for cleaner curves.
- Lay the finished letters on top of the mask and adjust spacing before you apply any glue.
Positioning the Letters on the Mask
Proper placement ensures that the letters stay visible even when the mask curves around the face and shifts slightly while talking or laughing. Aim for the center horizontal band of the mask, leaving a small margin above and below so seams and folds do not cover any part of the word.
If the mask has pleats, stretch it gently until the fabric is flat before gluing the letters; this allows the word to remain readable when the pleats expand over the nose and chin. For a bit of character, tilt the letters slightly or make one of the O’s a stylized ghost face to add personality to the design.
Gluing and Securing the Details
Fabric glue is ideal for this project because it remains flexible and can handle the bending and folding that come with daily wear. Apply a thin line or small dots on the back of each letter, staying away from the very edges to prevent glue from seeping out onto the visible fabric.
Press each letter firmly onto the mask for several seconds and set the mask on a flat surface to dry fully before handling. If you prefer stitching, small hand-sewn stitches around the edges of each letter can create a more durable mask that stands up to repeated washing and long Halloween seasons.
Adding Extra Spooky Embellishments
Once the “Boo!” letters are attached, the mask becomes a blank stage for extra creativity. Simple embellishments can turn a basic craft into a piece that children are proud to wear and show to friends or relatives during fall get-togethers.
- Use fabric markers to draw tiny stars, bats, or friendly spiders around the letters.
- Attach a row of mini pom-poms along the bottom edge for a playful, carnival look.
- Glue on flat sequins in a scattered pattern to catch the light during evening walks.
- Add small felt shapes such as pumpkins, candy pieces, or miniature ghosts in the corners.
Comfort and Fit Tips for Kids
A cute design only works if children can wear it comfortably, so pay close attention to the fit of the mask base and any stiff decorations you add. Soft elastic around the ears or an adjustable strap that wraps behind the head can reduce pressure points and make it easier for kids to keep the mask on.
Avoid heavy charms or thick plastic pieces near the cheeks or nose where they might rub against skin. If the mask will be worn for longer events, test the fit in advance and trim or re-tie elastic as needed so kids can talk, laugh, and breathe easily while still enjoying the Halloween theme.
Turning the Mask into a Mini Costume
A “Boo!” mask can act as the centerpiece of a quick costume when paired with just a few extra accessories. This makes it perfect for families who want a festive look without spending hours sewing capes or complex outfits.
- Pair with a solid-color T-shirt in a matching Halloween shade and jeans for a casual, coordinated look.
- Add a simple headband with felt bat wings, cat ears, or a tiny witch hat to tie the theme together.
- Use the same felt or marker style on a reusable trick-or-treat bag so the mask and bag form a matching set.
Ideas for Group and Classroom Projects
This craft adapts easily for classrooms, clubs, or extended family gatherings where several children are making masks at once. Provide a variety of pre-cut letter sets in different colors so younger kids only need to choose and glue, while older children can design and cut their own letters from scratch.
Setting up clearly labeled stations—design, cutting, gluing, and embellishing—keeps the project organized and allows adults to supervise tools like scissors and glue guns. Labeling each finished mask with the child’s name before drying prevents mix-ups when everyone is eager to show off their handiwork.
Care and Storage After Halloween
Once Halloween is over, a well-made “Boo!” mask can be tucked away and reused for school spirit weeks or future costume parties. Before storing, check the letters and embellishments for any loose edges and secure them with fresh glue or a few quick hand stitches.
Store the mask flat in a clean, dry box along with any other small costume accessories, rather than crumpling it at the bottom of a toy bin. Keeping it protected means kids can rediscover the mask next year and enjoy a ready-made, nostalgic craft they remember creating.
Frequently Asked Questions
Can I make this without sewing?
Yes. If you start with a plain store-bought cloth mask, this project becomes completely no-sew because the letters and decorations attach with fabric glue. Just verify that the mask fits the wearer comfortably before decorating it so you do not lose your work on a mask that will not be used.
What if my child does not like the word “Boo!”?
The same method works with other short Halloween words such as “Eek” or “Spook” or even a child’s initials. Keep the letters large and bold so they are easy to cut and clearly visible against the background fabric.
Is this safe for very young children?
Small embellishments, sequins, and buttons can pose a choking risk if they come loose, so they are best reserved for older kids or masks worn only under close supervision. For toddlers or preschoolers, stick to soft felt letters and drawn-on details created with non-toxic fabric markers.
How long does the project usually take?
Most families can finish one mask in about 30 to 60 minutes, depending on how many decorations are added and how long the glue takes to dry. Preparing letter templates and color choices ahead of time can cut that estimate down for group events or parties.
Can the mask be washed?
Fabric masks decorated with felt letters typically handle gentle handwashing better than machine cycles, especially if you used glue instead of stitching. Use cool water, mild soap, and minimal scrubbing around the letters, then lay the mask flat to air dry.