If your shoulders are pale, your forearms are golden, and your sock line could double as a paint swatch, you are in classic farmer’s tan territory. The good news: you do not need more sun—or a painful burn—to even things out. What you do need is a little planning, a few smart products, and a realistic timeline.
What Exactly Is A Farmer’s Tan?
A farmer’s tan is a highly uneven tan pattern caused by spending time outside with some parts of your body covered and others exposed. The most common version is bronzed forearms with pale upper arms, but any sharp line where fabric blocked the sun counts. Because melanin production ramps up only where skin is exposed, you are left with a patchwork of dark and light areas instead of an all-over glow.
Although it might look like a minor cosmetic annoyance, a farmer’s tan is still a sign of UV exposure and skin damage, even if you never actually burned. That is why any strategy to fix it should focus on protection and gradual color correction, not more time baking in the sun. Treat those lines as a reminder to step up sun care, not as an invitation to tan the rest of your body to match.
Why More Sun Is Never The Solution
It can be tempting to solve a farmer’s tan by exposing only the pale areas and trying to “catch them up,” but this nearly always backfires. The lighter skin burns easily, leaving you with painful redness instead of a subtle tan, and the already-tanned areas continue to darken, exaggerating the contrast. You cannot precisely control how much UV each patch of skin receives in real life conditions.
Beyond aesthetics, chasing an even tan by sunbathing raises your lifetime risk of wrinkles, dark spots, and skin cancer. UV rays do not care that you are just trying to look presentable for a wedding photo; they will still damage collagen, elastin, and DNA while you are lying there. The safest strategy is to freeze your current color with diligent sunscreen, then use products and techniques that do the blending work for you.
Step 1: Prep Your Skin Like A Pro
Every good tan-line rescue starts with basic skin maintenance. Your goal is to create a smooth, hydrated surface so any color you add later looks believable instead of patchy and streaked. Think of this step as prepping a wall before painting: the better the base, the better the finish.
- Exfoliate regularly. Use a gentle body scrub, exfoliating mitt, or washcloth two to three times a week on both tanned and untanned areas. Focus especially on spots where tan lines are most visible, like upper arms, shoulders, and ankles.
- Moisturize every day. Apply a fragrance-free body lotion after showering, paying extra attention to dry zones such as elbows, knees, and feet. Well-hydrated skin holds color more evenly and makes streaks less likely.
- Avoid harsh “quick fix” tricks. DIY experiments like straight lemon juice, baking soda pastes, or aggressive scrubbing can irritate the skin and ironically make your tan more noticeable by causing redness and flaking.
Give this prep routine at least a week before any big event. Even if you did nothing else, gentle exfoliation and consistent moisturizing will soften those hard edges and help the lines fade more gracefully as your skin naturally renews itself.
Step 2: Lock In Your Current Color With SPF
Before you try to adjust color, you need to stop it from changing further. That means making sunscreen non-negotiable every single time you go outside, even on cloudy days or quick errands. Preventing your darker areas from deepening further will make every camouflage trick that follows more effective.
- Choose broad-spectrum coverage. Look for SPF 30 or higher that protects against both UVA and UVB rays. A lightweight, non-greasy lotion is more comfortable for daily use so you are actually willing to reapply it.
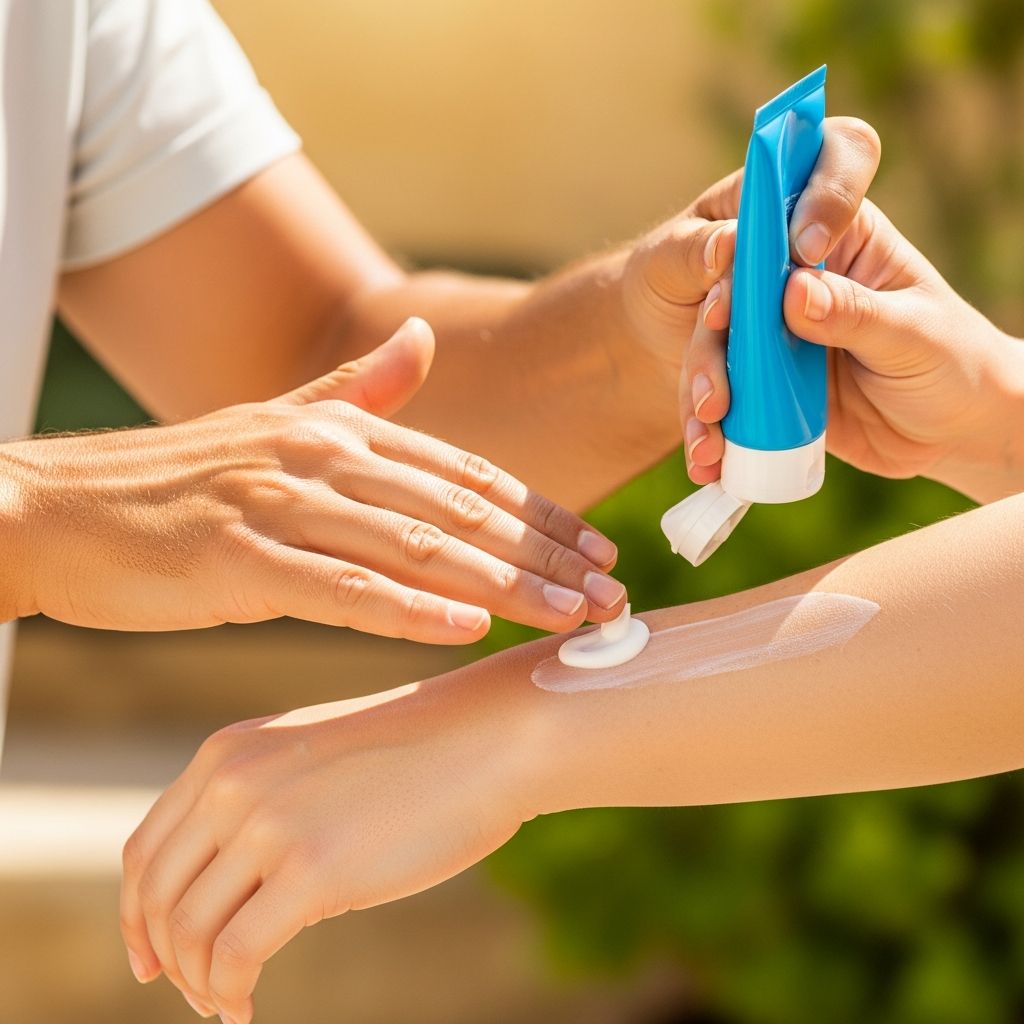
- Apply generously and consistently. Use at least a shot-glass amount for your whole body and do not forget spots like the backs of hands, tops of feet, and ears. Reapply every two hours if you are outside, or after swimming or heavy sweating.
- Combine with physical barriers. Hats, lightweight long sleeves, and UV-protective fabrics help maintain your current color while keeping your skin cooler and more comfortable.
Think of sunscreen not as a beauty product but as your color-lock step. Without it, your hard-won progress can disappear in a single sunny afternoon.
Step 3: Use Gradual Self-Tanner Strategically
Self-tanner is the safest and most controllable way to disguise a farmer’s tan, especially when you choose a gradual formula that builds color slowly over several days. Rather than bronzing your entire body uniformly, your goal is targeted blending: slightly darkening the light patches while softly bridging the sharp line where they meet your natural tan.
How To Apply Gradual Self-Tanner For Tan Lines
- Patch test first. Apply a small amount to an inconspicuous spot and wait 24 hours to check for irritation or an unwanted undertone. This step helps you avoid surprises right before a big event.
- Start on clean, dry skin. Shower, lightly exfoliate, and let your skin dry completely. Any leftover oil, sweat, or water can cause uneven absorption and streaks.
- Moisturize rough areas. Before you apply tanner, use regular lotion on elbows, knees, ankles, and feet. These areas tend to grab more pigment; pre-moisturizing helps diffuse the color for a more natural look.
- Target the pale zones first. Massage the gradual tanner generously onto the lighter areas, such as upper arms, shoulders, and chest, using circular motions. Make sure you extend slightly beyond the visible line so there is room to blend.
- Blend the border. Where light meets dark, mix a bit of your regular lotion with the self-tanner in your hands and sweep this diluted mixture across the transition line. This softens the contrast and avoids a second, artificial line.
- Wash your hands thoroughly. Clean palms, nails, and between your fingers right away to avoid telltale stains, then wait the recommended time before getting dressed.
Repeat this targeted routine once a day, assessing your progress in natural light. As soon as the lighter skin roughly matches your existing tan, switch to a lighter application or every-other-day schedule focused mainly on maintenance and subtle blending.
Body Makeup And Bronzer For Instant Fixes
When you need a one-day solution—say, for a wedding, photoshoot, or special event—body makeup and bronzing products can give you the illusion of even skin in minutes. Unlike self-tanner, these wash off at the end of the night, so you can practice in advance and adjust the intensity without commitment.
- Body foundation or tint. Choose a transfer-resistant body makeup close to the color of your tanned skin. Apply a thin layer over the paler areas and lightly feather it over the border with a damp sponge or brush.
- Matte powder bronzer. A large, fluffy brush and a matte, shimmer-free bronzer work well on shoulders, collarbones, and the tops of arms. Shimmer can look like glitter in flash photography, so save sparkle for other occasions.
- Setting spray or powder. Lock your handiwork in place with a light setting mist or translucent powder to reduce transfer onto clothing, especially if you are wearing a pale dress or suit.
This approach is particularly helpful for high-stakes events where flash photography will exaggerate any contrast. As with self-tanner, test your full look—including makeup and outfit—at least once a few days before the event to fine-tune your technique.
Outfit Tricks That Instantly Hide Tan Lines
Sometimes, the easiest way to deal with a farmer’s tan is simply to dress around it. Strategic necklines and hemlines can hide the sharpest lines while still allowing you to feel comfortable and stylish. Think of your clothing as part of your camouflage toolkit.
- Choose sleeves wisely. Cap sleeves, flutter sleeves, or short sleeves that end below your tan line make the contrast completely invisible from most angles. This is especially helpful if your upper arms are very light.
- Play with necklines. Higher necklines, off-the-shoulder cuts that sit above the line, or halter styles can hide abrupt transitions across the chest and shoulders. Try outfits on in natural light to see how well they conceal the problem zones.
- Add lightweight layers. Sheer shawls, boleros, and lightweight jackets blur strong lines and add formality at the same time, which is perfect for weddings or evening events.
- Use accessories thoughtfully. Statement necklaces, earrings, and hairstyles that draw attention upward make any remaining tan lines much less noticeable. The eye naturally follows the most interesting detail.
A well-chosen outfit can reduce the pressure to achieve a perfectly even color, allowing you to rely on subtle blending rather than drastic changes.
Timeline Guide: How Long Will It Take?
Managing expectations is crucial so you do not panic two days before your big event. While every body is different, there are some general time frames that can help you plan. Skin takes time to renew itself, and melanin fades gradually, so give yourself as much lead time as possible.
| Time Before Event | Main Focus | Expected Results |
|---|---|---|
| 4–6 weeks | Consistent SPF, gentle exfoliation, daily moisturizing | Lines soften naturally as tanned skin gradually lightens and texture evens out. |
| 2–3 weeks | Targeted gradual self-tanner on lighter areas | Pale zones deepen closer to your existing tan; borders become easier to blend. |
| 3–7 days | Fine-tuning color, testing outfits and body makeup | Most of the visible contrast can be disguised, especially under clothing. |
| Event day | Body makeup, bronzer, and strategic wardrobe | Tan lines are virtually invisible in person and less obvious in photos. |
If you are working with only a few days’ notice, focus on what you can control quickly: body makeup, bronzer, and smart clothing choices. Even then, a couple of days of exfoliating and moisturizing will improve how makeup sits on the skin.
Common Mistakes To Avoid
Fixing a farmer’s tan is as much about what you do not do as what you do. A few common missteps can undo your progress or create new problems that are harder to hide than the original lines.
- Jumping straight to heavy self-tanner. Using an intense, one-day dark formula on only your upper arms or chest can leave you with orange blocks of color and visible streaks. Gradual products are more forgiving.
- Skipping skin prep. Applying tanner on flaky or very dry skin makes every patch and pore stand out. Exfoliation and hydration are not optional if you want a seamless look.
- Ignoring hands and feet. A perfectly blended arm that stops abruptly at a much paler hand or wristwatch line looks just as artificial. Always check the full picture in a mirror.
- Experimenting last minute. Trying new products or techniques the morning of an event leaves no time for corrections if something goes wrong. Test everything at least once in advance.
Treat your skin patiently and resist the urge to overcorrect. Subtle, layered changes almost always look more natural than dramatic one-day transformations.
Long-Term Strategies To Prevent Future Tan Lines
Once you have put in the effort to even things out, it makes sense to protect that work (and your skin health) going forward. Preventing a new farmer’s tan is simpler than fixing a severe one from scratch. A few small habit changes can keep your color more consistent year-round.
- Match your clothing to your plans. If you know you will be outside for hours, try to wear similar sleeve lengths and necklines on consecutive days instead of switching dramatically from tanks to long sleeves.
- Make SPF part of your routine. Apply sunscreen alongside your regular moisturizer in the morning so you do not forget it. Keep a small tube in your bag or car for touch-ups on hands and arms.
- Use gradual self-tanner preventively. A light, once-or-twice-weekly application over commonly exposed areas can keep everything within the same shade range, especially early in the warm season.
- Monitor your skin. While you are paying attention to tan lines, also keep an eye on new moles, spots that change, or areas that do not heal properly, and bring them up with a dermatologist.
Over time, these habits not only minimize awkward tan lines but also contribute to healthier, more resilient skin that looks better with or without makeup.
FAQs About Fixing A Farmer’s Tan
Can I completely erase a farmer’s tan in one day?
No routine can truly remove a tan overnight; your skin needs weeks to naturally shed pigment as cells renew. What you can do in a single day is disguise the contrast using body makeup, bronzer, and clothing so the lines are far less noticeable.
Is a spray tan a good idea for uneven tan lines?
A professional spray tan can help, but it is not foolproof. If the technician does not account for your existing tan, the darker areas may deepen further and the pale areas may still lag behind, leaving you with upgraded but still visible lines. If you go this route, schedule a trial several weeks before your event and ask specifically about blending tan lines.
Will exfoliating alone get rid of my tan?
Exfoliation speeds up the removal of dead skin cells that hold pigment, but it cannot strip away a deep tan instantly. Used consistently, a gentle scrub or mitt can help your color fade more evenly, especially when combined with sunscreen and time out of direct sun.
Is it safer to tan in a bed to even things out?
Tanning beds still expose you to concentrated UV radiation and carry many of the same risks as sunbathing, including premature aging and an increased risk of skin cancer. They are not a safe solution for cosmetic color correction and can create the same or worse unevenness issues you started with.
What about natural remedies like lemon juice or yogurt masks?
Some household ingredients can have mild brightening effects, but they also come with irritation risks, especially when used repeatedly or on freshly sun-exposed skin. Because the results are unpredictable and often subtle, it is usually more effective and safer to rely on well-formulated skincare and cosmetic products designed for this purpose.
Bringing It All Together
Fixing a farmer’s tan is a balance between patience and smart shortcuts. Begin by protecting and pampering your skin, then use gradual color, makeup, and wardrobe choices to guide the eye away from any remaining contrast. With realistic expectations and a little practice, you can feel confident in sleeveless outfits without sacrificing your skin’s long-term health.