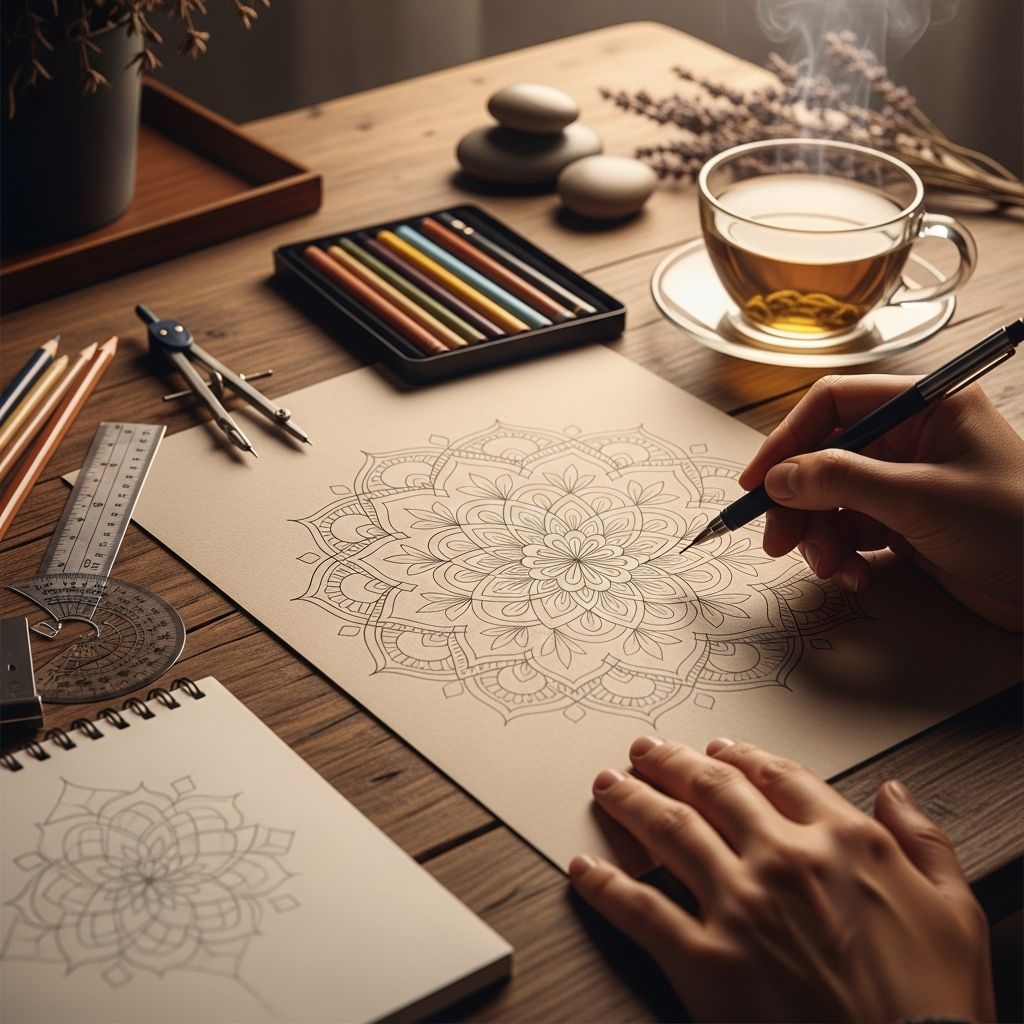
Mandalas are circular designs built from repeating shapes and patterns that radiate from a center point. They look intricate and impressive, yet the process of drawing them can be surprisingly simple, soothing, and accessible to complete beginners.
This guide walks you through everything you need to start drawing your own mandalas by hand: tools, setup, step-by-step structure, pattern ideas, and practical tips to keep the process calm and enjoyable.
Why Mandalas Make a Great First Art Project
Even if you don’t consider yourself “artistic,” mandalas are a forgiving and flexible way to explore drawing. You rely on simple geometric shapes, repetition, and guidelines rather than complicated anatomy or perspective.
Because mandala drawing is repetitive and rhythmic, many people use it as a form of active meditation. The focus on small, repeating shapes helps quiet racing thoughts and encourages you to stay in the present moment.
Basic Idea: Circles, Slices, and Repetition
At its core, a mandala is a circle that has been divided into equal slices, like a pie, with patterns repeated in each slice. Once your structure is in place, you only need to design one small set of shapes, then echo that design around the circle.
This structure does most of the heavy lifting. Even simple patterns look more complex when they are repeated symmetrically around the center.
Essential Tools and Materials
You do not need specialty equipment to begin. You can create a beautiful mandala with the same supplies you might already have at home.
- Paper: Smooth sketch paper, mixed-media paper, or even printer paper for practice.
- Pencil: A standard HB pencil for sketching guidelines and patterns.
- Eraser: A soft eraser to remove pencil lines after inking.
- Ruler: Helpful for finding the center and drawing straight lines.
- Compass or round objects: A compass is ideal, but you can trace cups, bowls, or lids to form circles.
- Fine-line pens or markers: Black waterproof pens in one or two thicknesses work well for outlining and details.
- Coloring tools (optional): Colored pencils, markers, or watercolor for adding color once the drawing is complete.
Setting Up Your Drawing Space
Your environment will influence how calm and focused you feel while drawing. Choose a well-lit, comfortable surface where your hand can move freely around the page.
Keep only the tools you need within reach to reduce clutter, and consider adding soft background music or a timer if you want to create a brief, focused drawing session.
Step 1: Draw and Center Your Main Circle
Begin by deciding how large you want your mandala to be. A circle that fills most of a standard sheet of paper gives you enough room for patterns without feeling overwhelming.
Use a ruler to lightly draw a horizontal and vertical line that cross in the middle of the page. Where they intersect is your center point, and your circle will radiate from this point outward.
Step 2: Add Concentric Circles as “Rings”
From the center point, draw several circles that grow gradually larger, like ripples spreading from a stone dropped in water. These rings divide your mandala into bands where different layers of patterns will sit.
You can space these circles evenly or vary the distances. Smaller rings are good for tight, detailed designs, while wider rings are perfect for bold petals or geometric shapes.
Step 3: Divide the Circle into Equal Slices
Next, draw straight lines that pass through the center, dividing the circle into equal sections. Common choices are 8, 12, 16, or 24 slices, but any even number will work.
These lines act as guides for repeating your shapes. If you place a petal or triangle on one line, you will match it on each of the other lines so your design stays balanced.
Step 4: Start with a Simple Center
The design often begins with a tiny motif at the very center. Draw a small circle, star, spiral, or simple flower shape. This becomes the visual “anchor” of your mandala.
Keep this first shape straightforward. You will add complexity as you build outward, and an uncomplicated center gives the eye a place to rest.
Step 5: Build Outward One Ring at a Time
Once the center is in place, move to the next ring and choose a basic pattern to repeat around the circle. Work systematically so you do not lose track of where each shape belongs.
A helpful approach is to think in layers: finish one ring of patterns all the way around before moving to the next outer ring. This preserves symmetry and makes the growing design easier to manage.
Simple Pattern Ideas for Each Ring
If you feel unsure about what to draw in each section, rely on very basic shapes arranged in different ways. Complexity emerges from repetition rather than from complicated drawing.
- Petals or teardrops that point outward from the center.
- Small circles or dots placed at intersections of lines.
- Triangles that form starbursts or zigzag edges.
- Leaf shapes that overlap slightly for a floral effect.
- Arches, scallops, and loops that create lace-like borders.
- Lines of alternating shapes, such as circle–square–circle–square.
Pattern Structures You Can Mix and Match
Instead of inventing a totally new idea for every ring, think in terms of pattern “families” you can combine. Below is a quick reference table with flexible options.
| Pattern Type | How It Looks | Where to Use It |
|---|---|---|
| Radiating petals | Long, tapered shapes pointing outward like flower petals. | Middle rings where there is space for length and overlap. |
| Geometric bands | Rows of triangles, squares, diamonds, or rectangles. | Narrow rings between more detailed layers. |
| Dot clusters | Groups of tiny circles or dots forming accents. | Edges of petals, tips of triangles, or ring borders. |
| Curved lace | Arches and scallops that repeat like decorative trim. | Outer edges to soften sharp or angular designs. |
| Striped fills | Parallel lines, crosshatching, or chevron stripes inside shapes. | Interior of larger petals, leaves, or geometric forms. |
Step 6: Emphasize Symmetry Without Stress
Perfect symmetry is not required for a beautiful mandala. Slight variations add personality and show that the piece was drawn by hand. Still, a few small habits can help keep things balanced.
- Draw a shape in one slice, then rotate your paper and repeat it immediately in the next slice.
- Count how many shapes fit in one ring and aim for the same number all the way around.
- Use pencil only at first, so you can easily adjust any area that looks uneven.
Step 7: Ink Your Design and Add Line Variation
When you are happy with your pencil sketch, trace over the lines with pens or markers. Move slowly and breathe steadily to keep your hand steady. Once the ink is fully dry, gently erase all pencil guidelines.
For extra depth, experiment with different line weights. Use a thicker pen for main outlines and a thinner pen for interior details and textures. This contrast helps the design feel more dimensional and crisp.
Step 8: Add Shading and Color (Optional)
You can leave your mandala in black and white or bring it to life with color. If you enjoy coloring books, you already know how soothing it can feel to slowly fill shapes with color.
Consider choosing a limited palette—such as three to five colors—to keep the overall effect harmonious. You can shade from dark at the center to light at the edges, or alternate colors in a repeating sequence for a rhythmic look.
Creative Themes for Your Mandalas
Once you are comfortable with the basic structure, try giving each mandala a loose theme. A theme offers direction without restricting your creativity and can make the drawing session feel more intentional.
- Nature-inspired: Petals, leaves, vines, raindrops, and suns.
- Geometric: Triangles, diamonds, hexagons, and stacked lines.
- Minimalist: Large areas of open space, a few bold shapes, and limited detail.
- Festival or seasonal: Shapes that suggest fireworks, snowflakes, blossoms, or lanterns.
- Word-centered: A short word or symbol in the middle, surrounded by patterns that echo its meaning.
Using Mandala Drawing as a Mindful Practice
You can approach mandalas purely as an art exercise, or you can treat them as a gentle mindfulness practice. The repetition of shapes gives your mind a simple task to focus on, which naturally quiets distractions.
Before you begin, take a few deep breaths and set a small intention, such as “relax,” “play,” or “explore.” Let that word guide your choices, and release any pressure to create a perfect or polished result.
Progressing from Beginner to More Advanced Designs
As you grow more comfortable, you can increase the number of rings and slices or experiment with more intricate patterns. You might also combine several small mandalas on one page or overlay them with other imagery.
Keeping a dedicated mandala sketchbook is a good way to track your growth. Date each drawing, note which patterns you enjoyed, and revisit your favorites in new combinations.
Common Mistakes and How to Avoid Them
New mandala artists often run into the same small challenges. Being aware of them ahead of time can make your experience smoother and more enjoyable.
- Pressing too hard with pencil: Use a light touch so guidelines erase cleanly.
- Filling every space with detail: Leave some areas simpler so the eye has room to rest.
- Rushing the inking step: Slow, deliberate lines reduce smudges and wobbles.
- Comparing to others’ work: Focus on your own progress; each mandala reflects the person drawing it.
Quick Mandala Project Ideas
Once you understand the process, you can apply mandala designs to a variety of creative projects. These ideas work well for gifts, journaling, or decorating your space.
- Design a small mandala on the front of a greeting card.
- Create a page of mini mandalas, each with a different color palette.
- Draw a half-mandala along the edge of a notebook page or journal spread.
- Use mandalas as backgrounds for quotes, affirmations, or short poems.
SEO-Friendly FAQ About Drawing Mandalas
Do I need a compass to draw a mandala?
No, a compass is helpful but not required. You can trace round objects like cups or lids to create your main circles and still achieve a neat, symmetrical design.
How long does it take to draw a simple mandala?
A basic mandala with a few rings and patterns can take anywhere from 20 minutes to an hour, depending on the size and level of detail. More complex designs with many layers naturally take longer.
Is mandala drawing suitable for kids and beginners?
Yes. Because the process is based on simple shapes and repetition, it works well for children, teens, and adults with no formal art training. You can start with very large, easy shapes and introduce more detail gradually.
What kind of pen is best for outlining mandalas?
Fine-tip, waterproof pens or technical drawing pens are ideal for outlining and details. Choose a comfortable size for your hand, and consider using one thicker pen for main outlines and a thinner one for pattern work.
Can I use digital tools to draw mandalas?
Absolutely. Many drawing apps include radial symmetry tools that mirror your strokes around a center point, which can make experimenting with complex designs faster and easier. The same principles of circles, slices, and repetition still apply.
Final Thoughts: Enjoy the Process
Drawing mandalas is less about perfection and more about the experience of watching a design slowly unfold from a single point. With a few simple tools, some basic structure, and a bit of patience, anyone can create intricate-looking artwork that also serves as a moment of calm in a busy day.
Start with one circle, one ring, and one repeating shape. As you move around the page, trust that each small mark adds to something larger, more complex, and uniquely yours.