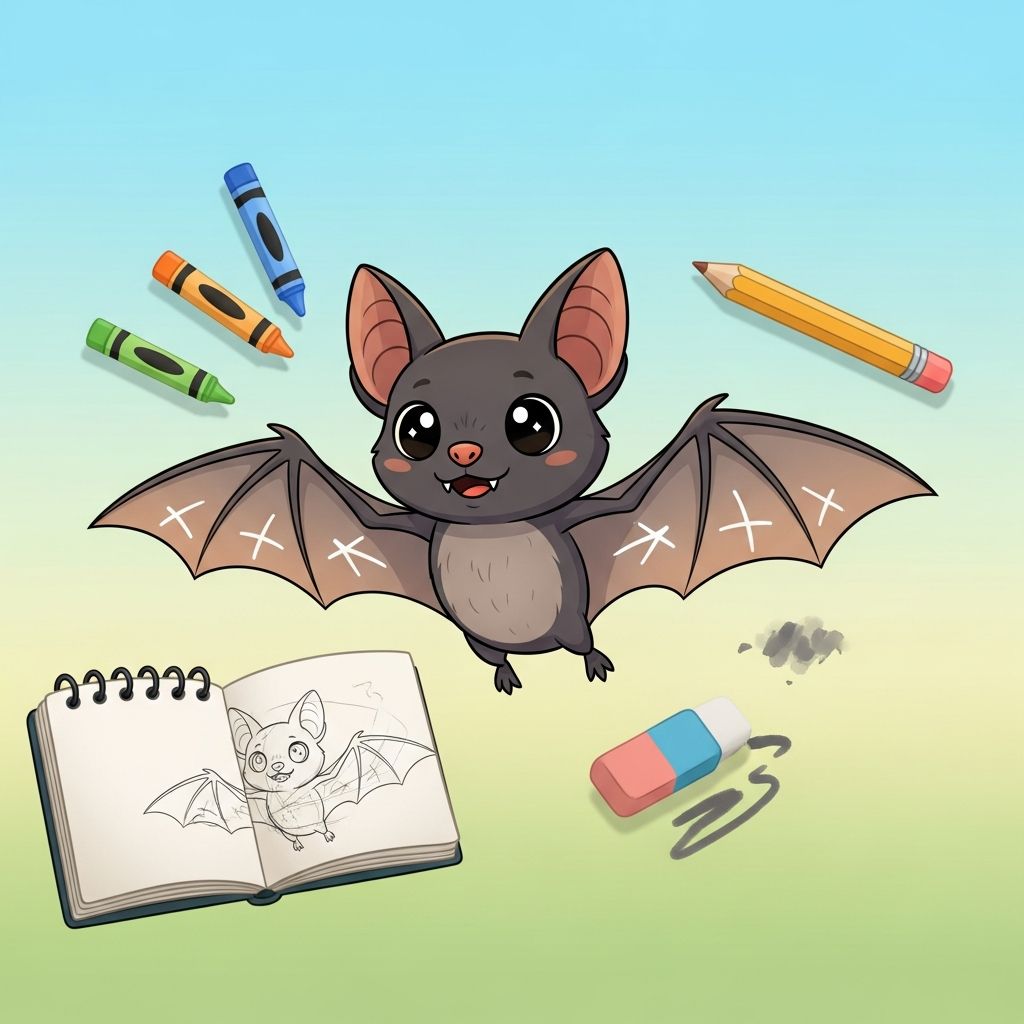
Drawing a bat does not have to be spooky or complicated. With a few simple shapes and some patience, kids and parents can turn a blank page into a friendly bat that looks ready for Halloween, story time, or a bedroom wall gallery.
This guide walks you through a clear, kid-tested way to draw a cute bat from scratch, even if you usually “can’t draw.” You will learn an easy method based on circles and curves, plus ideas for adding expressions, costumes, and backgrounds so your bat feels unique.
Why Bats Are Great Drawing Subjects for Kids
Before you pick up a pencil, it helps to know why bats are such a fun starting point for young artists.
- Recognizable shape: Big wings, small body, and pointy ears make bats easy to recognize even in simple drawings.
- Built from basic forms: You can build a bat using circles, ovals, and curved lines – perfect for beginners.
- Flexible style: The same basic structure can become silly, spooky, or superhero-style just by changing a few features.
- Great for seasons: Bats work wonderfully for Halloween, fall crafts, or nighttime story illustrations.
Encouraging kids to draw from imagination can strengthen motor skills and creative confidence; early drawing practice is closely linked to later writing and visual reasoning skills in children.
What You Need to Get Started
You do not need expensive art supplies to draw a bat that kids will love. Start with the basics, then add more if drawing becomes a regular activity.
Basic Supplies
- Pencil: Any standard school pencil works well for sketching.
- Eraser: A soft eraser makes it easier to adjust shapes without tearing the paper.
- Paper: Plain printer paper or a sketchbook page is perfect.
- Black marker or pen: For outlining the final drawing.
- Coloring tools: Crayons, colored pencils, or markers for adding color.
Nice-to-Have Extras
- Ruler or straight edge: Helpful for younger kids to keep the paper from sliding.
- Colored paper: A dark background (like purple or navy) can make a bat drawing pop.
- White gel pen or crayon: Great for stars, moonlight, and shiny eyes on dark paper.
Understanding the Simple “Bat Blueprint”
Instead of thinking about every tiny detail, break the bat into a few basic parts. This makes it easier for kids to remember and repeat the steps on their own.
| Bat Part | Simple Shape | What to Tell Kids |
|---|---|---|
| Head | Circle or small oval | “Draw a small circle like a button.” |
| Ears | Two tall triangles or leaf shapes | “Add two pointy mountains on top.” |
| Body | Vertical oval | “Draw an egg shape under the head.” |
| Wings | Curved lines and bumpy edges | “Make a big rainbow, then add scallops.” |
| Face | Circles and tiny triangles | “Two big eyes, a small nose, tiny teeth.” |
Helping kids recognize that complex objects are made from basic shapes is a core principle in many early art education methods.
Step-by-Step: Drawing a Cute Front-Facing Bat
The steps below are written so that you can read them aloud while kids draw. Encourage them to draw lightly at first so they can erase easily.
1. Sketch the Head and Body
- Draw a small circle near the top center of the page. This is the bat’s head.
- Right below it, draw a larger oval that overlaps the circle a little. This is the body.
- If it helps, say: “We’re making a snowman with only two balls.”
At this stage, the drawing should look a bit like a balloon sitting on an egg – that is normal.
2. Add Pointy Ears
- On top of the head circle, draw two tall triangles, one on each side.
- Round the bottoms of the triangles slightly so they feel attached to the head.
- For extra cuteness, add a smaller triangle inside each ear to show the inner ear.
3. Draw Big, Friendly Eyes
- Inside the head circle, draw two large circles for the eyes.
- Add a smaller circle inside each eye for the highlight and leave it white.
- Color the rest of the eyes dark to make them stand out.
Big eyes make the bat look young and cute, a trick often used in children’s book illustration and animation to create appealing characters.
4. Create the Nose and Little Fangs
- Between the eyes, slightly below them, draw a tiny upside-down triangle for the nose.
- Under the nose, add a small curved line for a smile.
- From the smile, let two tiny triangles hang down – those are the bat’s fangs.
5. Outline the Wings
This step is where the bat starts to look recognizable. Go slowly and use simple language for kids.
- On the left side of the body, start a line about halfway down the head circle.
- Curve the line up and out like a rainbow until it reaches out to the left.
- Bring the line back toward the body, ending level with the middle of the bat’s body.
- Repeat on the right side to create a matching curve for the right wing.
At this point, each wing looks like a big curved triangle attached to the body.
6. Add the Wing “Webbing”
- On the bottom edge of the left wing, draw three or four rounded bumps from the body out to the tip and back.
- Each bump should look like a little hill or a half-circle.
- Repeat the same pattern on the right wing.
Those bumpy curves mimic the way real bat wings stretch between long finger bones, but in a simplified, child-friendly way.
7. Add Tiny Feet and Details
- At the bottom of the body, draw two short lines pointing down for legs.
- Add two or three tiny hooks or “claws” at the end of each leg.
- If you like, add a small oval on the belly for a lighter fur patch.
8. Trace, Erase, and Color
- Use a black marker or dark pen to trace over your favorite lines.
- Let the ink dry for a moment, then erase the pencil underneath.
- Color the bat: dark gray, purple, or classic black all work well.
- Use a lighter color for the inside of the ears and the belly patch.
Coloring can help younger kids practice control and focus; simple creative activities like drawing and coloring also support emotional regulation and relaxation.
Fun Variations to Try After the First Bat
Once kids understand the basic structure, encourage them to experiment. Changing a few details can turn a simple bat into an entire cast of characters.
Change the Expression
- Sleepy bat: Turn the eyes into thin sideways ovals and add tiny curved lines for closed eyelashes.
- Surprised bat: Draw wide, round eyes and a small “O” shaped mouth.
- Grumpy bat: Angle the eyebrows inward and change the mouth to a flat line or small frown.
Give Your Bat a Costume
- Superhero bat: Add a mask around the eyes and a small emblem on the belly.
- Wizard bat: Draw a tall pointy hat on its head and a tiny wand in one wing.
- Party bat: Add a polka-dot bow tie and confetti in the background.
Experiment with Poses
- Hanging upside down: Flip the body so the head is at the bottom and draw the wings wrapped around like a blanket. Add a branch above and tiny claws grabbing it.
- Flying across the page: Tilt the body at an angle and stretch one wing higher than the other to show motion.
- Group of bats: Draw one big bat in the front and smaller, simpler bat silhouettes in the distance.
Tips for Parents Teaching Kids to Draw
Drawing should feel playful, not stressful. Here are some ways adults can keep the experience positive and developmentally supportive.
Focus on Process, Not Perfection
- Celebrate effort – talk about how brave it is to try new shapes.
- Avoid taking the pencil from a child’s hand; instead, draw your own example beside theirs.
- Ask open questions: “What else could your bat be holding?” rather than “Why does it look like that?”
Research on children’s creativity suggests that supportive, non-judgmental feedback helps kids stay engaged in art activities and boosts self-confidence.
Break Instructions into Tiny Steps
- Give one clear instruction at a time and wait until it is finished.
- Use comparisons kids know: “This shape is like a pizza slice” or “like a rainbow.”
- If a step feels hard, repeat it together on a separate scrap sheet.
Use References Wisely
- Show a photo of a real bat so kids can notice the ears, nose, and wings.
- Talk briefly about how bats are mammals that fly and help eat insects at night.
- Let kids exaggerate features; the goal is a fun cartoon, not scientific accuracy.
Practice Ideas and Simple Bat Drawing Games
To keep drawing exciting, turn practice into a game. These quick activities work well at home, in classrooms, or during playdates.
One-Minute Bat Challenge
- Set a timer for 60 seconds.
- Everyone tries to draw the fastest bat they can – it does not have to be perfect.
- Afterward, have kids circle their favorite part of their own drawing.
Build-a-Bat Story Game
- One person starts by drawing the head and ears.
- The next person adds eyes and mouth.
- Another person adds wings and costume.
- Finally, everyone helps invent a short story about the character you created together.
Night Sky Collage
- Draw and cut out several simple bat shapes.
- Glue them onto dark blue or purple paper.
- Add stars, a moon, and clouds with crayons or a white pen.
Combining drawing with cutting and gluing also supports fine motor development through varied hand movements.
Frequently Asked Questions (FAQs)
At what age can kids start drawing bats using this guide?
Most children around ages 5–6 can follow simplified versions of these steps, especially if an adult models each stage. Younger kids can still enjoy making bat-like scribbles while you draw alongside them.
How can I help my child who gets frustrated when the bat doesn’t look “right”?
Normalize mistakes by showing your own rough sketches and talking about how artists erase and try again. Encourage your child to pick one part they like – such as the eyes or wings – and praise that specific detail.
What if my child wants a more realistic bat instead of a cute cartoon?
Start with the same basic shapes, then look at a bat photo together. Add more details like wing folds, fur texture, and a smaller head relative to the body. Realistic drawings take more time, so break them into short sessions.
Is it okay if my child copies these steps exactly?
Yes. Copying simple models is a common and helpful way for kids to learn new drawing skills. Over time, they will naturally begin to change details and invent their own versions.
How often should kids practice drawing to improve?
Short, regular sessions – even 10–15 minutes a few times a week – can help children steadily build control and confidence without feeling overwhelmed.
References
- Learning and teaching drawing — The International Encyclopedia of Art and Design Education (A. Hardy). 2019-03-04. https://doi.org/10.1002/9781118978061.ead042
- Creative learning and the early years foundation stage — Department for Children, Schools and Families, UK. 2008-05-01. https://dera.ioe.ac.uk/8227/1/7770-DCSF-Primary_Creative_Learning.pdf
- The Appeal of Cute Cartoon Characters for Children — Frontiers in Psychology (H. Nittono). 2016-03-22. https://doi.org/10.3389/fpsyg.2016.00493
- Bats: Information for kids — U.S. National Park Service. 2022-08-15. https://www.nps.gov/subjects/bats/index.htm