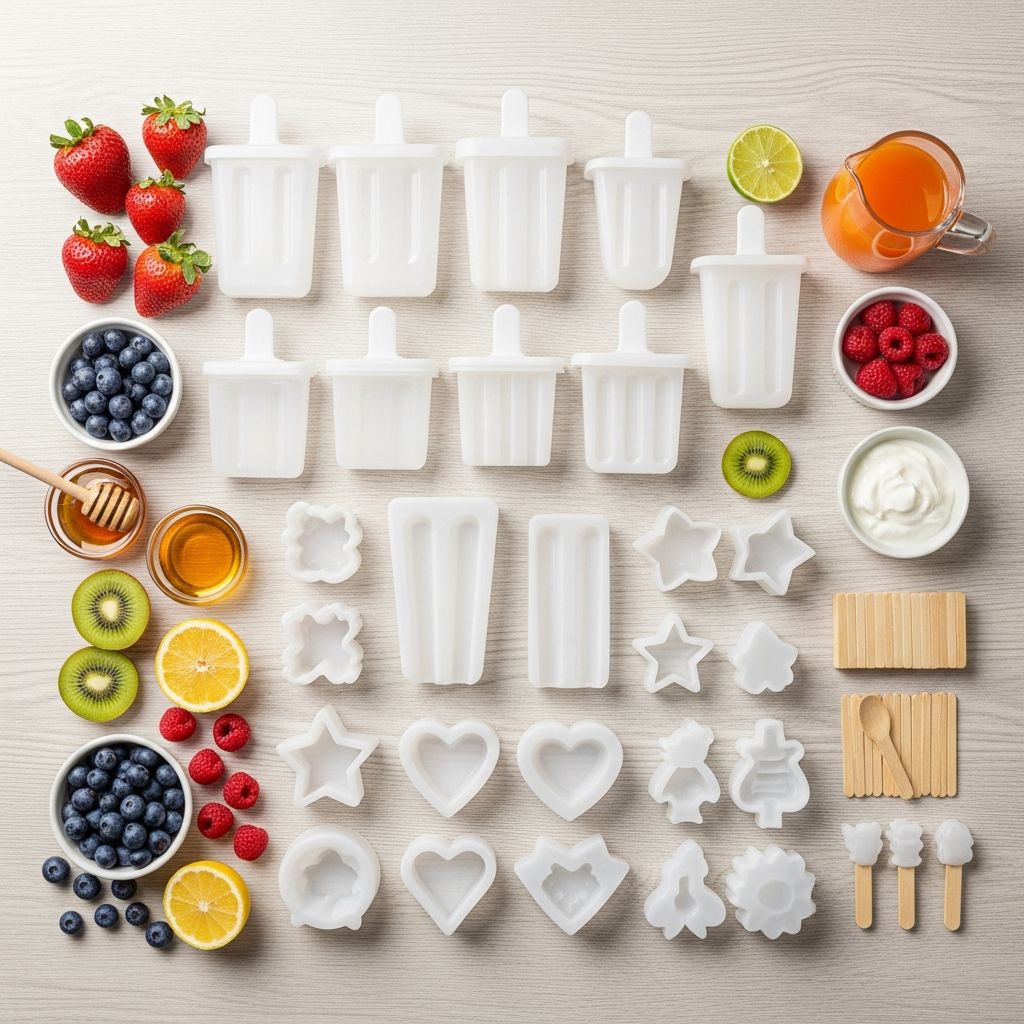
Homemade popsicles turn leftover smoothies, excess fruit, and even yogurt into fun snacks, but the experience depends heavily on one unsung hero: the mold you freeze them in.
Why Your Popsicle Mold Matters
The right mold does more than shape your popsicle. It affects how easy the pops are to release, how much mess they make, how quickly they freeze, and whether little hands can actually hold and eat them comfortably.
Before clicking “add to cart” on the first cute design you see, it helps to think about who will eat the popsicles, what you want to freeze in them, and how much room you really have in your freezer.
Key Questions to Ask Before You Buy
A bit of planning saves money and frustration. Start by answering a few simple questions about your kitchen and your family’s habits.
- Who is eating these pops? Babies, toddlers, kids, adults, or a mix of everyone.
- What will you freeze? Smoothies, fruit juice, yogurt, pudding, or chunky fruit blends.
- How big is your freezer? Upright with wire shelves, deep chest freezer, or a tiny apartment freezer.
- How many pops do you need at once? Just a few special treats or a stash for a crowd.
- How much time for cleanup? Dishwasher-safe convenience vs. hand-wash-only specialty molds.
Common Popsicle Mold Materials Explained
Most molds fall into three main material categories: plastic, silicone, and metal. Each has a distinct feel, durability, and cost profile.
| Material | Pros | Cons | Best For |
|---|---|---|---|
| Plastic (BPA-free) | Lightweight; affordable; often colorful and kid-friendly; frequently dishwasher safe. | Can crack over time; may stain with strong colors; can become cloudy or scratched. | Families with kids, casual popsicle makers, bright novelty designs. |
| Silicone | Very flexible and easy to unmold; great for kids who struggle with rigid molds; ideal for push-up tubes. | Softer walls can wobble when full; may need a tray or support; sometimes absorbs strong odors if not stored well. | Smoothie pops, yogurt pops, small freezers where flat freezing is helpful. |
| Metal (often stainless steel) | Extremely durable; freezes quickly and evenly; classic, simple look; resists staining. | Typically more expensive; usually not flexible, so requires a brief warm-water dip to release pops. | Serious popsicle makers, large batches, long-term durability. |
For most households, a sturdy, BPA-free plastic or silicone set is a budget-friendly entry point, while metal appeals to anyone who freezes pops weekly and wants gear that lasts for years.
Shape and Size: Matching Molds to Eaters
Shape affects not only how a popsicle looks, but also how easily it fits in a child’s mouth, how fast it melts, and whether you can dunk it in a chocolate shell or roll it in toppings.
- Classic bar shape: Rectangular or slightly rounded bars that resemble store-bought pops. Great all-purpose option for kids and adults.
- Small toddler-friendly shapes: Short, narrow molds or mini pops designed for tiny hands and smaller appetites.
- Tube or push-up style: Long, narrow tubes that freeze flat; kids push up the pop as they eat, which can contain drips.
- Novelty shapes: Rings, animals, rockets, geometric designs, and more. These make healthy recipes feel like special treats.
For very young children, smaller molds with chunky handles are safer and less overwhelming, while larger classic bars or tubes work better for older kids, teens, and adults.
Features That Actually Make Life Easier
When browsing molds, flashy shapes tend to get all the attention, but small functional details often determine whether a mold becomes a favorite or ends up at the back of the cabinet.
- Stable base or tray: A wide base or rack keeps full molds upright, preventing spills in the freezer.
- Drip guards: Built-in catchers below the stick reduce sticky fingers and floors.
- Easy-grip handles: Thick, non-slip handles are easier for kids to hold than thin sticks alone.
- Individual molds: Removable cups let you take out one pop at a time without wrestling the whole tray.
- Replacement sticks: Systems that use standard wooden sticks are easy to replenish, while proprietary sticks may be harder to replace.
- Fill lines: Marked maximum fill lines prevent overflow and make room for expansion as the liquid freezes.
Best Mold Styles for Different Households
Instead of searching for a single “best” mold, think in terms of “best for your specific situation.” Below are common scenarios and mold styles that work especially well for each.
For Families With Young Kids
Little kids need pops that are small, easy to grip, and as low-mess as possible. Look for molds designed specifically with young eaters in mind.
- Choose mini molds or short, squat shapes that won’t be too heavy or overwhelming.
- Prioritize wide handles and built-in drip trays to catch melting juice.
- Favor bright colors and fun shapes to make healthy ingredients more exciting.
For Small Kitchens and Tiny Freezers
When space is tight, the ideal mold uses vertical height efficiently or lies neatly on its side without leaking.
- Look for compact bases that hold multiple molds without hogging a whole shelf.
- Consider silicone tubes that can freeze flat, stack easily, and tuck into corners.
- Avoid wide, sprawling trays that require a perfectly level, generous surface area.
For Big Batches and Entertaining
If you host gatherings or simply like to stock the freezer with treats, you need molds that can turn out many pops at once.
- Choose multi-cavity molds that make 8–10 or more pops per batch.
- Consider classic, uniform shapes that are easy to dip in chocolate or roll in toppings.
- Make sure the base is sturdy enough to hold a full set without tipping while you move it.
For Smoothie and Yogurt Fans
Thicker mixtures like yogurt, pudding, or blended fruit move differently than juice. Certain mold types handle them better.
- Flexible silicone molds make unmolding thick, creamy pops easier.
- Tubes work well with smoothie leftovers and can be eaten straight from the freezer without unmolding.
- Look for molds that are easy to rinse, since dairy-based mixes can leave residue if not cleaned promptly.
Tips for Filling and Freezing Without the Mess
Even the best mold can frustrate you if filling and freezing feel chaotic. A few small habits make the entire process smoother from start to finish.
- Use a spouted pitcher or funnel: Pouring from a bowl almost guarantees drips and overfilling.
- Leave headspace: Fill slightly below the top to allow for expansion as the liquid freezes.
- Position sticks carefully: Ensure sticks or handles are centered and fully seated so pops freeze straight.
- Clear a freezer spot first: Make room before you start pouring to avoid balancing a full tray with one hand.
- Cover when possible: Lids or plastic wrap help protect pops from odors and ice crystals.
For especially wobbly silicone molds, place them on a small baking sheet before filling so you can slide the entire sheet into the freezer with minimal shaking.
How to Release Popsicles Cleanly
Stuck popsicles are a common complaint, but usually the solution is quick and gentle. Avoid forceful pulling, which can break sticks or tear soft molds.
- Run the outside of rigid molds under lukewarm water for 10–20 seconds, then wiggle the sticks gently.
- For silicone molds, peel the mold away from the pop rather than pulling on the stick alone.
- If pops only release halfway, give them a few more seconds under water and try again rather than forcing them.
Once unmolded, you can serve pops immediately or place them on a parchment-lined tray to refreeze briefly for a firmer texture before dipping or decorating.
Cleaning and Storing Your Popsicle Molds
Good care keeps molds looking new and prevents lingering flavors from one batch affecting the next. It also makes spontaneous popsicle projects easier because gear is always ready to go.
- Rinse soon after use: A quick rinse before residue dries makes later washing much easier.
- Check dishwasher guidance: Even if labeled dishwasher safe, use the top rack and a gentle cycle for plastics and silicone.
- Inspect crevices and seams: Use a small brush around edges where syrup or pulp can hide.
- Dry thoroughly: Let molds and bases air-dry completely before stacking to avoid trapped moisture and odors.
- Store with lids off: Slightly open or disassembled molds are less likely to trap smells between seasons.
Simple Popsicle Ideas to Match Your Molds
The mold you choose sometimes suggests what to freeze in it. Use your mold’s strengths to guide quick, low-effort recipes.
- Classic bar molds: Layer fruit puree and yogurt for pretty stripes or freeze lightly sweetened iced tea with lemon slices.
- Mini toddler molds: Blend ripe banana with a splash of milk and a spoonful of peanut butter for tiny, satisfying pops.
- Tube molds: Turn leftover breakfast smoothies into on-the-go frozen snacks.
- Novelty shapes: Use brightly colored purees—like mango, strawberry, or blueberry—to highlight details and make the shapes stand out.
Once you’re comfortable, you can experiment with add-ins like chia seeds, granola, chocolate chips, or small fruit chunks, adjusting based on how easily your mold releases textured mixtures.
Frequently Asked Questions About Popsicle Molds
Do I really need a dedicated popsicle mold?
While you can technically freeze liquid in paper cups with wooden sticks, a dedicated mold takes up less space, makes neater shapes, and usually results in fewer spills and broken pops.
Are all plastic popsicle molds safe?
Look for molds labeled BPA-free and, if possible, free of additional concerning additives. Reputable brands typically highlight safe materials clearly on the packaging.
Why are my popsicles icy instead of creamy?
Icy pops often come from very watery mixtures. To create a creamier texture, blend in ingredients like yogurt, coconut milk, banana, or a small amount of sweetener to reduce large ice crystals.
How long do popsicles need to freeze?
Most home freezers need around 4–8 hours to fully freeze pops, depending on the mold size and your freezer’s temperature. For best results, plan on freezing overnight.
Can I store unmolded popsicles outside the original mold?
Yes. Once the pops are fully frozen, you can unmold them and place them in a freezer-safe container or bag with parchment between layers, which frees up your molds for the next batch.
Choosing Your First (or Next) Mold With Confidence
The best popsicle mold is the one that fits your freezer, your family, and your favorite recipes. Think about who will eat your pops, how often you plan to make them, and how much cleanup you are willing to do.
Starting with one reliable, easy-to-clean set is often better than collecting a cluttered assortment. As you discover how often you use it—and which features you love—you can add specialty molds for parties, holidays, or extra-fancy frozen treats.