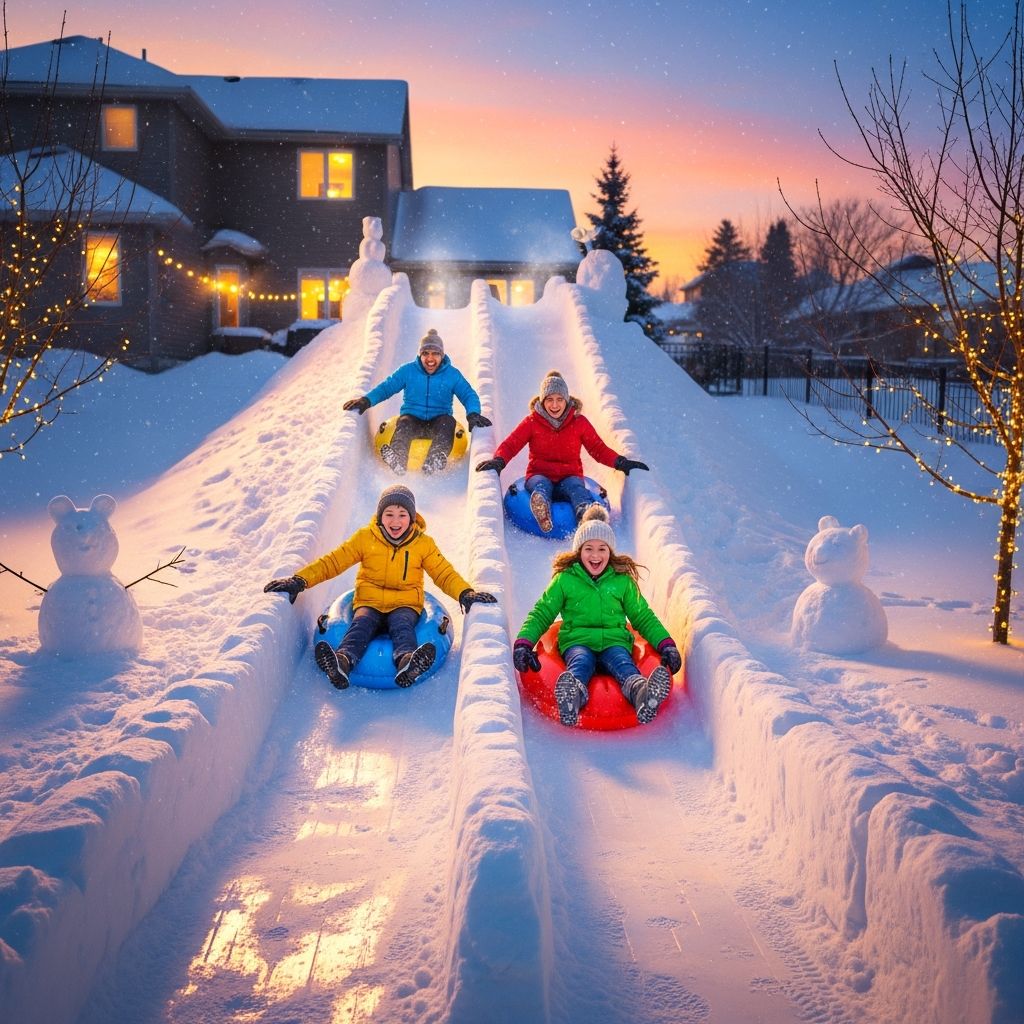
When the snow piles up, a backyard snow slide turns an ordinary yard into a private winter playground where kids can sled for hours without leaving home.
With a thoughtful plan and a focus on safety, families can build a sturdy slide that provides days of outdoor fun, exercise, and memories.
Why Build a Backyard Snow Slide?
Designing a snow slide at home means no more loading the car and driving to crowded hills every time kids feel like sledding.
It also encourages outdoor play, physical activity, and problem-solving as children help pile, shape, and test the slide with adult supervision.
- Convenient winter fun right outside your door.
- Custom height, length, and difficulty based on your yard and kids’ ages.
- Built-in family project that teaches cooperation and basic engineering concepts.
Planning the Perfect Slide Location
The best spot for a slide is a reasonably open area with enough room for a starting mound, a straight runout, and a safe stopping zone where kids naturally slow down.
A gentle natural slope helps, but even a flat yard can work if you build a tall enough mound and pack the snow firmly.
Key Site Considerations
- Distance: Aim for at least 20–30 feet of clear runout so sleds can slow down safely.
- Obstacles: Avoid trees, fences, steps, rocks, mailboxes, or garden beds along the slide path.
- Visibility: Choose a place adults can watch from a window or the porch for easy supervision.
- Drainage: Avoid areas that become icy puddles when temperatures fluctuate.
Safety First: Non-Negotiable Rules
Before shovels touch the snow, set clear safety rules and decide who the slide is for—toddlers, older kids, or teens—because that affects height, steepness, and speed.
Protective gear, adult supervision, and thoughtful design reduce the risk of collisions, falls, and icy wipeouts.
- Helmets for younger children or when the slide is tall or fast.
- No standing, jumping, or roughhousing on the slide.
- Only one rider goes at a time, with the next waiting until the path is clear.
- Regular checks for exposed ground, ice patches, or crumbling walls.
Tools and Materials Checklist
You do not need specialty equipment to start, but a few basic tools make shaping and packing much easier.
Gather everything before you begin so kids stay engaged and the build goes faster and smoother.
- Adult-size snow shovel (flat or scoop).
- Child-size shovels so kids can help.
- Light, smooth-bottom sleds that glide easily.
- Bucket or watering can for light surface icing, if appropriate.
- Yard tools like a push broom or plastic bin lid to help pack and smooth.
| Age Group | Approx. Start Height | Approx. Slide Length | Recommended Width | Guard Wall Height |
|---|---|---|---|---|
| 3–5 years | 3–4 feet | 10–15 feet | 3–4 feet | 6–8 inches |
| 6–9 years | 4–5 feet | 15–25 feet | 3–4 feet | 8–12 inches |
| 10+ years | 5–6 feet | 20–35 feet | 3–5 feet | 10–16 inches |
These dimensions are general guidelines; always adjust for your yard size, snow depth, and comfort level with speed.
Step 1: Build the Snow Mound
The foundation of your slide is a central snow mound that acts as the starting platform and top of the chute.
Use snow from the driveway, walkways, and open yard, packing as you go so the mound becomes dense instead of fluffy.
- Shovel snow into a single large pile rather than several small ones.
- Stomp or press down the mound after every few inches of height to compact it.
- Aim for at least 4–5 feet tall for older kids, slightly less for toddlers.
Step 2: Shape the Slide Chute
Once the mound is tall and stable, carve out the slide path by directing snow down one side into a sloping ramp.
The goal is a wide, even chute that curves gently from the flat top down to the ground, without sudden drops or sharp angles.
Carving the Path
- Level the top of the mound into a small flat “launch pad” where riders can sit on their sleds.
- Push or shovel snow down one face of the mound, forming a gradual downward slope.
- Check the angle by standing to the side—if it looks like a cliff, shave it down for a smoother ride.
- Keep the chute wide; extra width means more stability and room for wobbles.
Step 3: Add Guard Walls and Sides
Snow guard walls on each side keep sleds from sliding off and give kids a sense of security as they ride.
Walls do not need to be perfect; they simply need enough height and thickness to redirect sleds back into the center if they drift.
- Roll or shovel snow along both sides of the chute, pressing it toward the center to form solid berms.
- Pack the tops and sides with a shovel, bin lid, or gloved hands until firm.
- Raise walls higher near curves or at the steepest section to prevent riders from sliding off.
Step 4: Pack and Smooth the Surface
The more compact the snow, the stronger and faster the slide, so packing is as important as piling.
Carefully controlled test runs help identify bumps, dips, and soft spots that need extra snow or more compression.
Packing Techniques
- Drag a flat shovel or plastic sled down the center of the chute repeatedly to compress snow.
- Walk alongside the slide, not directly on it, and press in the sides and top edges with your hands or boots.
- Have an older child or adult take slow test runs, stopping often to adjust rough areas.
Step 5: Optional Icing for Extra Speed
Light icing can turn a packed slide into a slick track, but it must be done carefully to avoid making the surface dangerously fast or hard.
A gentle misting of water on cold nights is usually enough to firm up the snow and create a smooth glaze.
- Use a watering can or hose set to a fine spray, not a heavy stream.
- Apply water lightly from top to bottom, then let it freeze completely before allowing kids to ride.
- Re-check the slide in daylight and run a slow test ride before opening it for full-speed fun.
Step 6: Create Access to the Top
Climbing safely to the top of the mound is just as important as sliding down, especially for younger kids in bulky winter gear.
Good access reduces slips and collisions and keeps the slide from being damaged by kids scrambling up the chute itself.
- Cut shallow snow steps into the back or side of the mound with a shovel.
- Press each step flat and sprinkle a little loose snow for traction rather than ice.
- Teach kids: climb the stairs only, never up the slide path.
Daily Maintenance and Upgrades
Temperature swings, repeated rides, and fresh snowfall will slowly change the shape of your slide, so quick daily touch-ups keep it safe and fun.
A few minutes of packing, reshaping walls, and clearing debris can extend the slide’s life for weeks whenever freezing weather sticks around.
- Fill in ruts and deep grooves with fresh snow, then pack firmly.
- Knock down sharp edges or icy bumps, especially near the bottom.
- Rebuild guard walls if they crumble or sag outward.
- Lightly re-ice only when necessary and temperature is safely below freezing.
Fun Variations and Slide Themes
Once the basic slide works well, families can personalize it with gentle turns, themed decorations, or small side features tailored to different ages.
Keeping the core structure simple and safe while adding creative touches turns the slide into an evolving winter project.
- Gentle Curves: Add a slight bend with higher outside walls for a luge-style feel.
- Toddler Lane: Create a shorter, shallower offshoot just for younger kids.
- Decorations: Use colored water in spray bottles, small flags, or cardboard signs for “start,” “finish,” and “slow zone.”
What Kids Learn From Building
Involving kids in the design and construction teaches them about balance, friction, speed, and cause-and-effect as they see how each change affects the ride.
They also practice teamwork, patience, and responsibility when they help maintain the slide and follow safety rules for everyone’s benefit.
- Older children can suggest adjustments to slope or walls and test their ideas.
- Younger kids can help pack snow, carry small scoops, and decorate.
- Everyone can take turns being the “safety inspector” who checks for hazards.
Frequently Asked Questions
How much snow do we need?
For a basic backyard slide with a mound of at least 4 feet, expect to use snow from a large portion of your yard, driveway, and surrounding walkways.
If snow is scarce, focus on a shorter, lower slide that is very well packed rather than a tall, unstable one.
How long does it take to build?
Families can usually build a medium-size backyard slide in about one to three hours, depending on how many helpers are shoveling and how deep the snow is.
Plan extra time for packing, test runs, and last-minute tweaks to the slope and guard walls before kids start using it freely.
Is icing the slide required?
Icing is optional; a well-packed snow surface can be fast enough for young children without any added water.
If you choose to ice, start with very light misting and test carefully to avoid creating a dangerously slick, uncontrollable track.
Can adults use the slide too?
Many backyard snow slides are sturdy enough for adults, as long as the mound is well packed and the walls are thick and solid.
Check the slide after any adult runs and repair any cracks or compression grooves before kids go again.
What if the weather warms up?
Warmer days can soften the slide, expose bare spots, and make icy layers slushy, so rides should slow down and supervision should increase.
If the structure becomes unstable or patchy, it is safer to rebuild after the next snowfall instead of trying to save a melting slide.
Bringing the Snow Park Home
With some snow, shovels, and creativity, any family can transform a simple yard into a personalized snow park that fits their space and comfort level.
Thoughtful planning, careful packing, and ongoing maintenance keep the slide exciting yet safe, turning winter storms into an opportunity for connection and play.