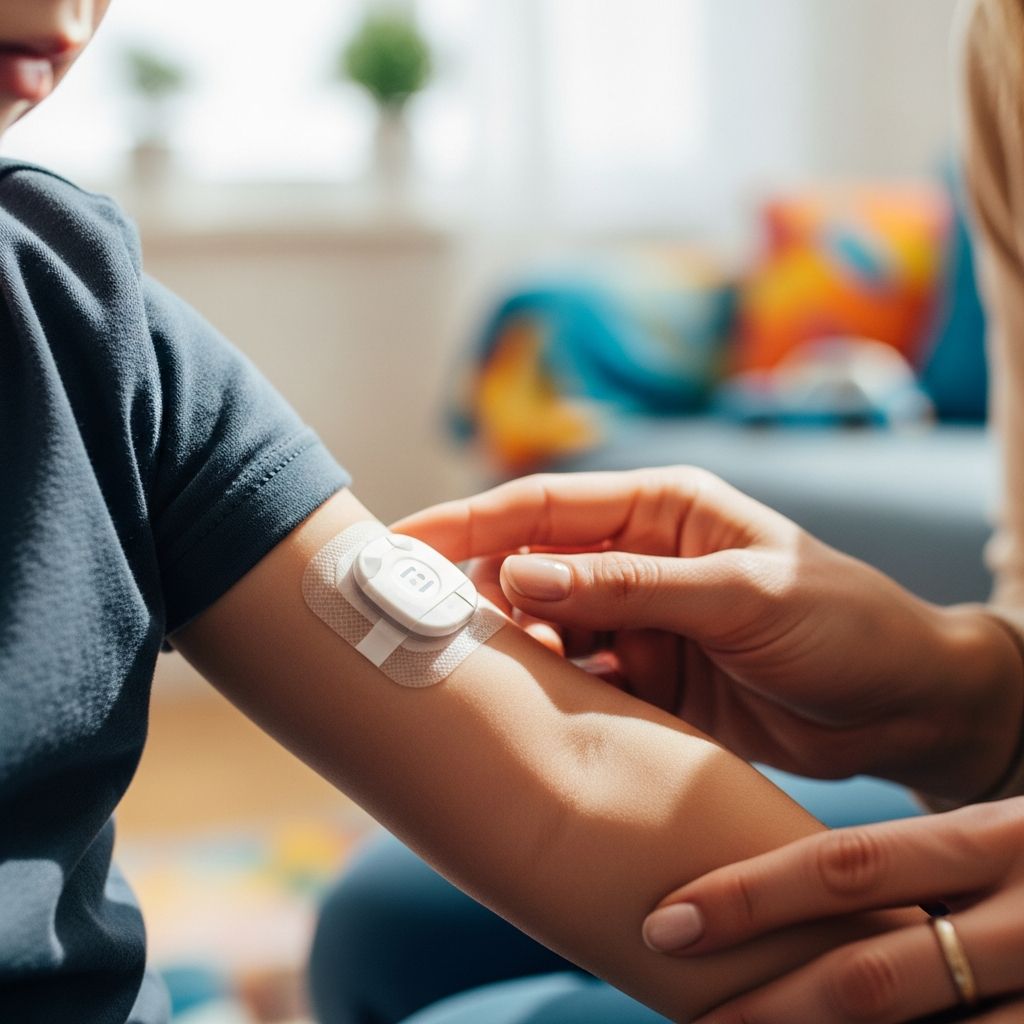
For children living with diabetes, checking blood sugar at home is a daily reality. A glucose meter (also called a glucometer or blood sugar meter) helps you know your child’s current glucose level so you can decide about food, activity, and medicine.
This guide explains how glucose meters work, how to use them with kids, what the numbers mean, and how to keep testing as safe and low-stress as possible.
Why Blood Sugar Checks Matter for Kids
Glucose is the main sugar in the blood and the body’s key energy source. Insulin helps move glucose from the bloodstream into the body’s cells. In diabetes, this process does not work properly, so blood sugar can go too high or too low.
Regular blood sugar checks help you:
- Spot high blood sugar (hyperglycemia) before it causes symptoms like thirst, frequent urination, or fatigue.
- Catch low blood sugar (hypoglycemia) early so you can give quick-acting carbohydrates.
- Adjust insulin or other medicines with your child’s diabetes team based on patterns in readings.
- Understand how meals, snacks, exercise, and illness affect your child’s glucose day to day.
For many children, finger-stick checks with a glucose meter are still part of care—even if they also use a continuous glucose monitor (CGM).
How a Glucose Meter Actually Works
Most modern home meters use a small disposable test strip and an electrochemical reaction to measure glucose in a drop of blood.
- Test strip chemistry – Each strip has an enzyme (often glucose oxidase or a similar enzyme) that reacts specifically with glucose in the blood.
- Electrical signal – When blood touches the strip, the enzyme reaction moves electrons. Tiny electrodes in the strip sense this movement and create a small electric current.
- Meter calculation – The meter’s microprocessor measures the strength of the current and converts it into a glucose value, usually shown in mg/dL or mmol/L, within a few seconds.
The higher the glucose in the drop of blood, the stronger the electrical signal, and the higher the number on the screen.
Main Parts of a Home Glucose Meter System
Most kits for children include a few basic pieces of equipment. Understanding each one makes it easier to troubleshoot problems later.
- Meter – The handheld device that reads the strip and displays the result. Many models store past readings with dates and times, and some can send data to a computer or smartphone.
- Test strips – Single-use strips that fit a specific brand and model of meter. Using the wrong strip type can give inaccurate results.
- Lancing device – A spring-loaded tool that holds a lancet and helps prick the skin quickly.
- Lancets – Small sterile needles used to obtain the blood drop. These should be changed frequently for comfort and hygiene.
- Control solution (sometimes included) – A liquid with a known glucose range that lets you check whether the meter and strips are working properly.
Step-by-Step: Checking Your Child’s Blood Sugar
Always follow your child’s diabetes team instructions and the device manual. The general steps are similar across most meters.
1. Get Ready
- Wash and dry your hands and your child’s hands with soap and warm water to remove food, dirt, or lotion that could affect the reading.
- Gather the meter, a test strip, the lancing device, and cotton or tissue.
- Check that the meter is on, has batteries, and (if needed) is set to the correct date and time.
- Confirm that you are using the right strip type for the meter and that the strips are not expired or damaged.
2. Prepare the Lancing Device
- Insert a new lancet according to the device instructions.
- Set the depth. For small children or sensitive skin, a lower depth is often enough. You can adjust over time to get a good blood drop without causing too much discomfort.
- Load (cock) the device so it is ready to use.
3. Insert the Test Strip
- Slide one strip into the meter in the direction shown by the arrows on the strip.
- Most meters automatically turn on and show a symbol when they are ready for blood.
4. Choose and Clean the Test Site
- For children, the side of the fingertip is the most common site because it usually gives the most reliable readings and enough blood with a small poke.
- If you use an alternate site (like the palm or forearm), ask your child’s care team when this is appropriate; fingertip testing is preferred when low blood sugar is suspected.
- Make sure the finger is dry before lancing, because extra moisture can dilute the blood sample.
5. Obtain the Blood Drop
- Hold or support your child’s hand so they feel secure.
- Press the lancing device gently against the side of the fingertip and press the release button.
- If needed, gently squeeze or massage from the base of the finger toward the tip until a small hanging drop of blood appears. Avoid strong squeezing, which can mix tissue fluid with blood and affect the result.
6. Apply Blood to the Strip
- Touch the edge of the test strip to the blood drop. Most strips draw the blood into a tiny channel automatically.
- Do not smear blood across the strip or put a second drop onto it once filled.
- Hold the strip in place until the meter beeps or indicates it has enough blood.
7. Read and Record the Result
- Within a few seconds, the glucose level will appear on the screen.
- Write the value in a logbook or review it later in the meter’s memory. Note timing, insulin doses, meals, snacks, exercise, and illness when relevant; these details help your child’s care team interpret patterns.
- Follow any specific action plan from your diabetes team (for example, what to do if numbers are too high or too low).
8. Finish and Clean Up
- Apply light pressure to the fingertip with cotton or tissue until any bleeding stops.
- Dispose of the used lancet and strip safely, following local sharps guidelines.
- Store the meter and strips in a clean, dry case at room temperature.
Understanding the Numbers: Working With Your Care Team
Target glucose ranges for children vary by age, diabetes type, medications, and individual health needs. Your child’s endocrinologist or diabetes educator will give you specific goals and instructions.
In general, you and the care team will use home readings to:
- Adjust insulin timing and doses when readings are consistently above or below target.
- Spot patterns, such as daily morning highs or afternoon lows after sports.
- Evaluate the impact of changes in meal plans, physical activity, or new medicines.
- Discuss A1C results in relation to daily readings, helping fine-tune the care plan.
Do not change insulin or medication doses on your own unless your child’s team has given you written instructions about what to do for certain readings.
Keeping Readings as Accurate as Possible
Home meters are not perfect, but you can reduce common sources of error.
| Potential Problem | What You Can Do |
|---|---|
| Dirty or sticky fingers (food, lotion) | Always wash and dry hands thoroughly before testing. |
| Expired or poorly stored test strips | Check expiration dates; keep strips in their original container with the lid tightly closed as directed by the manufacturer. |
| Wrong strip type for the meter | Use only the brand and model of strips designed for your child’s meter. |
| Extreme temperatures | Avoid leaving the meter or strips in very hot or very cold places, like a parked car. |
| Insufficient blood sample | Make sure the strip is fully filled; repeat the test if you see an error message. |
Many manufacturers recommend using control solution to verify that the meter and strips are functioning within an expected range, especially when you open a new vial of strips or readings seem unusual.
Helping Children Cope With Finger Sticks
Repeated finger pricks can be stressful or uncomfortable for children. Over time, most kids adapt, but there are ways to make the process easier.
- Explain what is happening in age-appropriate language, emphasizing that checking helps keep them safe and feeling good.
- Use warm water to wash hands before testing; warm fingers often bleed more easily and can reduce the need for deeper lancing.
- Rotate fingers and sides to avoid repeatedly poking the same spot.
- Adjust lancet depth to the lowest setting that still gives enough blood.
- Offer choices, such as which finger to use or who presses the button, to give children a sense of control.
- Provide praise or small rewards for cooperating, especially when they are first learning the routine.
Glucose Meters and Continuous Glucose Monitors (CGMs)
Some children use a continuous glucose monitor in addition to or instead of frequent finger-stick testing.
- CGM basics – A CGM uses a small sensor inserted under the skin to measure glucose in the fluid between cells (interstitial fluid) throughout the day and night.
- Data display – A transmitter sends readings to a receiver, smartphone, or insulin pump, often every few minutes, showing trends and alerts for highs and lows.
- Finger-sticks still matter – Most CGM systems still recommend occasional meter checks to confirm readings, especially when glucose levels are changing quickly or symptoms do not match the CGM value.
Discuss with your child’s endocrinologist whether adding a CGM or a hybrid closed-loop (“artificial pancreas”) system is appropriate, and how meter checks will fit into that plan.
Choosing a Meter for Your Child
Your child’s care team or insurance plan may suggest specific brands, but there are several factors parents often consider.
- Ease of use – Large, clear display; simple menus; quick test time; and child-friendly design can reduce stress.
- Sample size needed – Some meters require a very small drop of blood, which can be more comfortable for kids.
- Data features – Memory capacity, averaging functions, and the ability to share readings with healthcare providers may be helpful in managing diabetes.
- Cost and insurance coverage – Check which meters and strips are covered, including co-pays for test strips, which are an ongoing expense.
- Integration with other devices – Some meters connect to insulin pumps or apps, reducing manual logging and helping with pattern recognition.
When possible, practice using the meter with a diabetes educator so you feel confident before your child relies on it at school or away from home.
Safety and Storage Tips
- Keep the meter, strips, and lancing device in a dedicated case to protect them from dirt, moisture, and damage.
- Store test strips as directed by the manufacturer, usually at room temperature, away from direct sunlight.
- Never share lancing devices or lancets between people, even within the same family, to prevent infection risk.
- Follow local guidelines for disposing of sharps (used lancets) safely.
- Bring backup supplies (extra strips, lancets, and batteries) when your child is away from home for long periods, such as school days, sports events, or trips.
Frequently Asked Questions (FAQs)
How often should my child check blood sugar?
The ideal schedule depends on your child’s age, type of diabetes, treatment plan, and whether they use a CGM. Many children on insulin check before meals, at bedtime, and sometimes overnight or before/after exercise. Your diabetes team will provide a specific plan.
Does a glucose meter replace lab tests?
No. Home meters help with day-to-day decisions, but your child will still need periodic lab tests, such as A1C, to assess longer-term glucose control and guide treatment changes.
What if the reading does not match how my child feels?
If a result seems wrong—for example, it shows normal but your child has symptoms of low blood sugar—wash hands and repeat the test. If there is still a mismatch, follow your hypoglycemia or hyperglycemia action plan and contact your care team for advice.
Can we use sites other than the fingertip?
Some meters allow “alternate site testing” on areas like the palm or forearm. However, fingertip readings are preferred when blood sugar may be changing quickly or when low blood sugar is suspected, because fingertip values tend to reflect rapid changes more reliably.
When should we replace the meter?
Replace the meter if it is damaged, repeatedly gives error messages, fails control-solution checks, or if your diabetes team or manufacturer recommends an upgrade to improve safety or accuracy.
References
- Blood Glucose Monitoring — American Diabetes Association. 2023-04-01. https://diabetes.org/about-diabetes/devices-technology/blood-glucose-meters-important-role-in-diabetes-care
- Blood Glucose Meter: How to Choose — Mayo Clinic. 2023-03-11. https://www.mayoclinic.org/diseases-conditions/diabetes/in-depth/blood-glucose-meter/art-20046335
- How do glucometers work? — MIT School of Engineering. 2011-08-01. https://engineering.mit.edu/engage/ask-an-engineer/how-do-glucometers-work/
- Blood Glucose Monitoring: How It Works and How to Prepare — Healthline. 2022-08-09. https://www.healthline.com/health/blood-glucose-monitoring
- Glucose Meter — Wikipedia (summary of technical method; see primary references within). 2024-05-10. https://en.wikipedia.org/wiki/Glucose_meter
- Continuous Glucose Monitoring (CGM): What It Is — Cleveland Clinic. 2023-10-13. https://my.clevelandclinic.org/health/articles/continuous-glucose-monitoring-cgm
- Continuous Glucose Monitoring and Hybrid Closed Loop for Diabetes — NHS. 2023-02-02. https://www.nhs.uk/tests-and-treatments/cgm-and-hcl-for-diabetes/