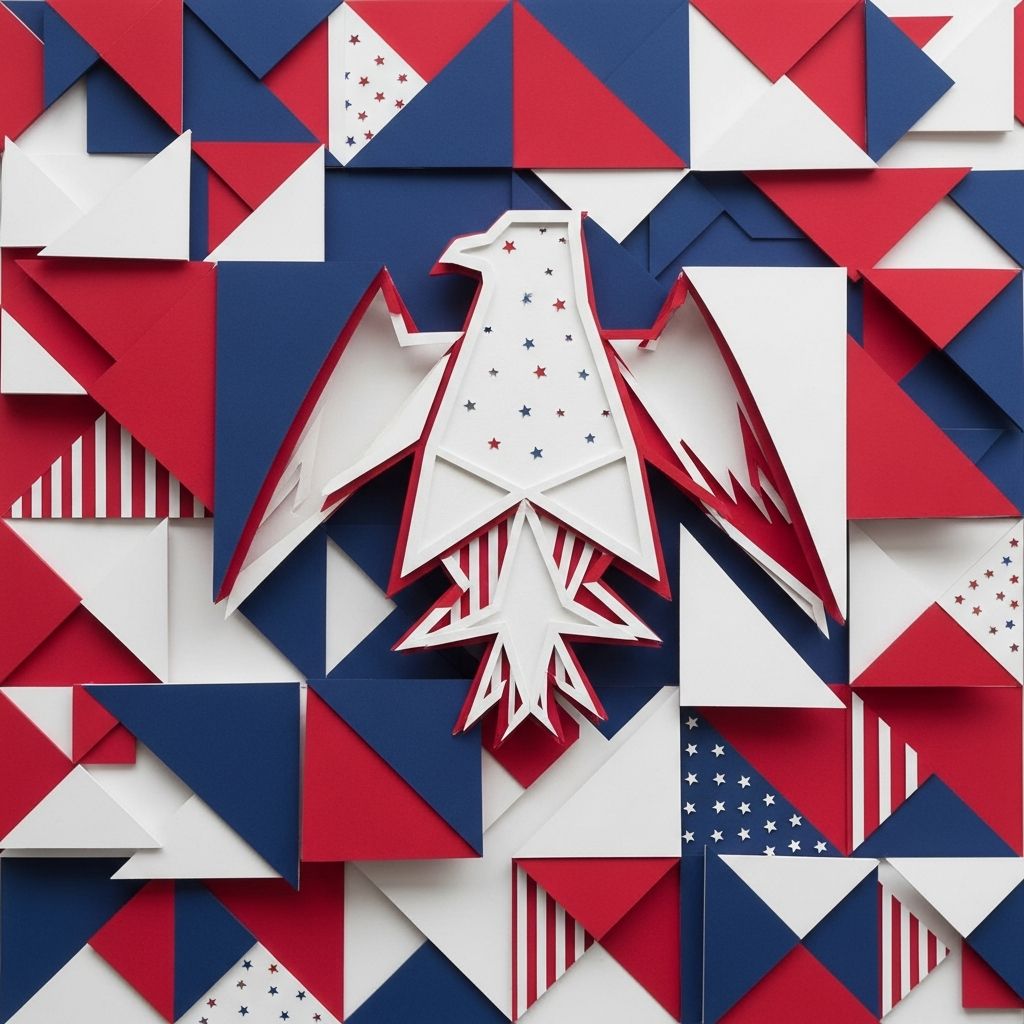
Modern geometric art is a fun way to celebrate July 4th without needing advanced drawing skills or complicated supplies. With painters tape, a few patriotic colors, and basic paper or canvas, you can create bold designs that look polished enough to frame and display for your holiday celebration.
This guide walks you through an original geometric art project inspired by July 4th themes like fireworks, flags, and starbursts. It is designed for families, classrooms, and anyone who wants stylish red, white, and blue decor that is simple, low-cost, and kid-friendly.
Why Geometric Art Is Perfect for July 4th
Geometric art relies on shapes, lines, and patterns instead of realistic drawing. That makes it ideal for children and beginner crafters, because the focus is on simple steps and color choices rather than precise illustration.
- Works for all ages: Young kids can place tape and paint freely, while older kids can plan patterns and color schemes.
- Patriotic themes made easy: Triangles, stripes, and rays naturally suggest fireworks, flags, and sunbursts in red, white, and blue.
- Low preparation: You only need a flat surface, tape, and paint or markers.
- Great for group projects: Each person’s piece is different, but all coordinate when displayed together.
Supplies You Will Need
You can adapt this project to whatever you have at home. The key is to combine a sturdy surface, removable tape, and a few patriotic colors.
| Category | Suggested Items | Notes |
|---|---|---|
| Base | Thick paper, cardstock, watercolor paper, or a canvas panel | Heavier paper buckles less when wet paint is used. |
| Tape | Painter’s tape or low-tack masking tape | Removable tape helps prevent tearing when you peel it off. |
| Color | Tempera, acrylic, or watercolor paint; or markers and crayons | Washable paints are best for kids; acrylic gives bolder color. |
| Tools | Paintbrushes, water cup, paper towels, scissors | Use older brushes for tape work; edges can be rough on bristles. |
| Optional | Star stickers, glitter glue, metallic pens, frame or clip board | For extra sparkle and easy hanging. |
Planning a Patriotic Color Palette
You can definitely stick to classic red, white, and blue, but a slightly expanded palette can make your pieces feel more modern and cohesive when you hang several together.
- Traditional palette: True red, navy blue, and white.
- Soft modern palette: Brick red, dusty blue, cream, plus a touch of gold or silver.
- Kids’ bright palette: Primary red and blue with turquoise, light gray, or neon accents.
Limiting your colors to 3–4 paint choices keeps the artwork looking intentional, especially when multiple people are creating at once.
Step-by-Step: Tape & Paint Geometric Firework Panels
This main project creates bold geometric art that hints at fireworks bursts in the sky, using only tape lines and color blocks.
1. Prepare Your Workspace
Cover your table with newspaper or a reusable craft cloth. Lay out the bases (paper or canvas) in front of each person. Keep water cups, brushes, and paint within reach, but give each artist enough space to move their hands freely.
- Place a small scrap of tape near each artist so they can test stickiness before using it on their artwork.
- If working with very young children, pre-tape a few lines so they can focus on painting.
2. Create Radiating Tape Lines
Instead of forming a grid, you will build rays expanding from a point, to suggest fireworks or starbursts.
- Choose a center point: This can be in the middle, off to a corner, or even slightly off the edge for a more dynamic look.
- Cut several strips of tape in varying lengths.
- Place each tape strip so that one end touches (or nearly touches) the chosen center point and the other stretches toward the edge of the paper.
- Rotate the paper as you work so the lines radiate in different directions.
You will see wedge-shaped sections appear between the tape lines. These will become your painted shapes.
3. Add Extra Geometric Divisions
To make the design more intricate, break some of the wedges into smaller shapes.
- Place one or two short tape strips crossing a wedge diagonally.
- Turn large shapes into triangles, trapezoids, or long slivers.
- Leave a few wedges uncut so the piece has a mix of large and small areas.
Encourage kids to avoid planning “perfectly.” Asymmetry and irregular shapes give the final work more energy and a genuine abstract feel, which is a key feature of modern geometric art.
4. Paint the Shapes
Now it is time to add your patriotic colors. The tape works like a stencil, keeping lines between colors sharp.
- Choose 3–4 colors and place a small amount of each on a palette or plate.
- Paint each wedge, trying not to flood the tape edges with too much water or paint to reduce bleeding.
- Alternate colors so that the same color does not touch itself across a tape line when possible.
- Decide whether to leave some shapes unpainted white for contrast.
If children are involved, it can help to assign a simple rule, like “use each color at least three times” or “no more than two wedges in a row with the same color.” These small boundaries encourage balance without limiting creativity.
5. Allow the Piece to Dry
Let the artwork dry thoroughly before you remove the tape. Acrylic paint usually dries in about 20–30 minutes in a thin layer; watercolor and tempera can be faster in a warm, dry room. If paper feels cool or slightly damp to the touch, wait a bit longer.
6. Peel the Tape for the Reveal
Peeling the tape is the most satisfying part for many kids.
- Peel the tape slowly back on itself at a low angle, not straight up.
- Start from the outer edges and work toward the center to reduce smearing.
- If the paper begins to tear, stop and gently hold the paper down right next to the tape as you peel.
Underneath, crisp white lines will appear where the tape blocked the paint. These negative spaces become glowing “firework” rays separating your bold color patches.
Variation: Flag-Inspired Stripe Mosaic
Once you have tried the radiating design, you can adapt the same technique to create an abstract nod to the American flag. This approach can be easier for very young children because most of the lines are straight and horizontal.
How to Build the Stripe Mosaic
- Run several long strips of tape horizontally across the paper, leaving equal gaps between them to form stripes.
- On the upper left area, add a rectangle of tape to mark out a “star field” section.
- Inside the stripes and star field, add shorter pieces of tape crisscrossing at angles to break the area into smaller geometric shapes.
- Paint most of the bottom stripes in red and a few in alternate colors, such as gold or deep blue, to modernize the palette.
- Fill the “star field” with shades of blue, leaving some shapes white to represent stars.
After drying and peeling, you end up with a subtle, geometric reference to the flag rather than a literal image.
Tips for Crafting with Kids
July 4th crafts often bring together children of different ages and attention spans. A few simple adaptations can keep the project enjoyable and safe for everyone.
- Pre-cut tape: For toddlers and preschoolers, cut several strips of tape in advance and stick them to the edge of the table for easy grabbing.
- Use washable supplies: Choose washable, non-toxic paints and markers labeled for children.
- Short sessions: Young children might only paint for 10–15 minutes; you can let the piece dry and return later for details or embellishments.
- Shared palette: Use a limited shared palette so all finished artworks coordinate when displayed together.
- Celebrate differences: Point out that abstract geometric art has no single “right” outcome. Each piece is unique.
Displaying Your July 4th Geometric Art
Displaying the artwork well reinforces children’s sense of pride and contributes to your holiday decorations.
- Gallery wall: Hang pieces in a grid or cluster for a “mini museum” in your living room or entryway.
- Banner: Punch holes in the top corners, thread ribbon through, and create a geometric art garland for a mantel or porch.
- Tabletop decor: Prop smaller pieces on mini easels as centerpieces for a July 4th meal.
- Reusable decor: Store flat between sheets of parchment paper so you can bring them out again next year.
Making the Project Inclusive and Accessible
Art projects can support inclusion by allowing multiple ways to participate. Research in arts education highlights that open-ended creative work can build confidence, especially when process is valued over a specific outcome.
- Offer alternatives to paint, such as oil pastels or markers, for participants who dislike the sensation of wet paint.
- Provide adapted tools like thicker brushes or foam grips for children who need help with fine motor control.
- Pair older and younger kids so older ones can help with tape placement or peeling.
- Encourage verbal description: ask each artist to share what their artwork reminds them of (exploding fireworks, city lights, waves of color, and so on).
Cleanup and Safety Considerations
Good preparation makes cleanup easy and keeps the focus on creativity instead of stress.
- Have a designated “drying zone” where finished pieces can sit undisturbed.
- Keep a damp cloth nearby for quick hand and table wipe-downs.
- Use child-safe scissors and supervise tape cutting for younger kids.
- Store leftover paint in small lidded containers so you can reuse your patriotic palette later in the summer.
Frequently Asked Questions (FAQs)
How old do kids need to be to try this project?
With supervision, toddlers can help stick tape and apply paint in broad areas, while school-age children can handle all steps, including planning designs. Teens and adults may enjoy exploring more complex geometric patterns and color gradients.
What kind of paint works best for geometric July 4th art?
Washable tempera paint is ideal for younger children because it is easy to clean. Acrylic paint gives stronger, more opaque colors and a finished look that works well for display, but it can stain clothing, so smocks are recommended.
Can I do this project without paint?
Yes. You can color the shapes between the tape lines with markers, crayons, oil pastels, or colored pencils. The tape still creates clean borders, and dry media make the project less messy and more portable.
How do I stop the paint from bleeding under the tape?
Press the tape edges down firmly with a fingernail or spoon before painting, and avoid using overly watery paint. Applying thinner layers and brushing away from the tape edge rather than into it can also help minimize bleeding.
How can I extend this project for older kids or adults?
Ask older participants to sketch a rough plan first, limit themselves to a tighter color scheme, or build a series of small coordinated panels. They can also experiment with metallic accents, ink outlines, or layering transparent colors for more depth.
References
- Champions of Change: The Impact of the Arts on Learning — Fiske, E. B. (Ed.), Arts Education Partnership & The President’s Committee on the Arts and the Humanities. 1999-01-01. https://files.eric.ed.gov/fulltext/ED435581.pdf
- Developmentally Appropriate Practice in Early Childhood Programs Serving Children from Birth Through Age 8 — National Association for the Education of Young Children (NAEYC). 2021-04-01. https://www.naeyc.org/resources/position-statements/dap
- Art Materials and Media for Children — Extension Alliance for Better Child Care, University of Missouri Extension. 2019-09-23. https://extension.missouri.edu/publications/gh6120
- Creative Art Experiences for Young Children — Colorado Department of Education. 2016-08-01. https://www.cde.state.co.us/cpp/creativeartsyoungchildren
- Acrylic Painting Tips for Beginners — Cleveland Institute of Art Continuing Education. 2020-06-15. https://www.cia.edu/news/stories/beginners-guide-to-acrylic-painting