Why Temporary Tattoos Make a Special Mother’s Day Gift
Choosing a gift for Mother’s Day can feel overwhelming, especially when you want something that feels personal and heartfelt. Store-bought cards and flowers are lovely, but a handmade gift created with love carries a different kind of magic. Temporary tattoos are a surprisingly powerful way to express affection, especially when children are involved. They’re playful, wearable, and can be customized to celebrate exactly what makes Mom special.
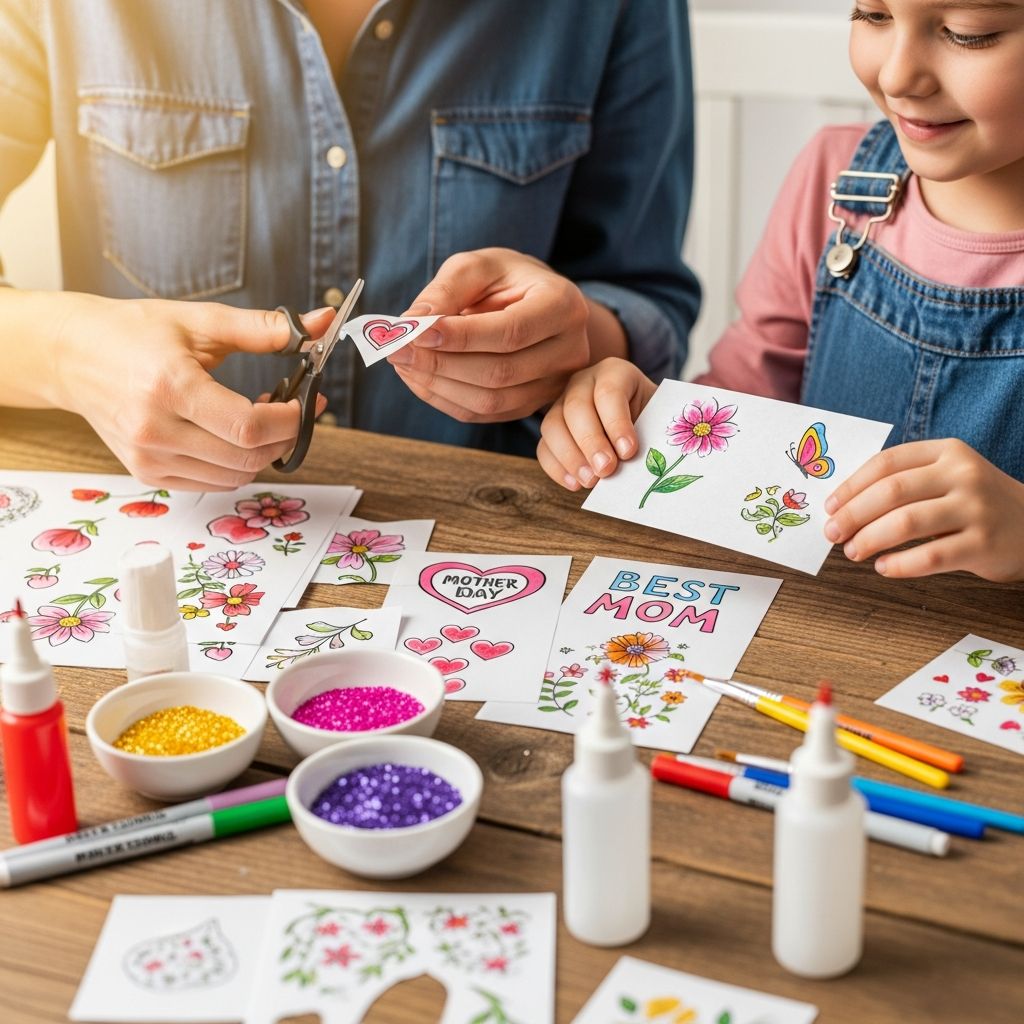
Unlike permanent ink, temporary tattoos are low-pressure and fun. They let kids experiment with design, color, and placement without any long-term commitment. For younger children, the act of drawing or coloring a tattoo design becomes a meaningful creative experience. For older kids and teens, designing a more detailed or personalized tattoo can be a thoughtful way to show appreciation. Whether it’s a simple heart, a favorite quote, or a family inside joke, a tattoo becomes a wearable symbol of love that Mom can proudly display for a day or two.
Planning Your Tattoo Theme and Message
Before gathering supplies, it helps to decide on the overall theme and message of the tattoos. This gives the project direction and makes it easier to involve kids of different ages. Think about what Mom loves most: her role as a mother, her hobbies, her sense of humor, or her favorite colors and symbols.
Some popular themes for Mother’s Day tattoos include:
- Appreciation messages: Phrases like “World’s Best Mom,” “Mom Rocks,” or “I Love You, Mom” are classic and always appreciated.
- Family-centered designs: Silhouettes of family members, handprints, footprints, or a simple family tree can be very touching.
- Symbolic imagery: Hearts, flowers, stars, crowns, or Mom’s favorite animal can be used as standalone designs or combined with text.
- Inside jokes or nicknames: A small, personal design that only the family understands can be especially meaningful.
For younger kids, keep the message short and simple. Older children can handle more complex designs or longer phrases. If multiple kids are making tattoos, consider giving each one a slightly different theme so Mom ends up with a small collection of unique pieces.
Gathering Supplies for a Smooth Crafting Session
One of the best things about this project is that it doesn’t require expensive or hard-to-find materials. Most of what you need is already in the house or can be picked up at a local craft or dollar store. Here’s a basic list of supplies to gather before you begin:
- Printer and computer (for digital designs)
- Inkjet printer paper or cardstock
- Markers, colored pencils, or crayons (for hand-drawn designs)
- Scissors or a craft knife
- Clear tape or contact paper (for protecting designs)
- Water-based glue or Mod Podge (optional, for sealing)
- Clear nail polish or hairspray (optional, for durability)
- Soft cloth or sponge (for application)
- Small bowls of water (for wet-transfer methods)
If you want to use commercial temporary tattoo paper, that’s also an option, but it’s not necessary. Many families enjoy the process of creating their own transfer method, which adds to the handmade charm. Make sure to test any materials on a small patch of skin first, especially if anyone in the family has sensitive skin or allergies.
Designing Tattoos with Kids of All Ages
Designing the tattoos is often the most enjoyable part of the project, especially when children are involved. Tailor the design process to the age and skill level of each child to keep everyone engaged and proud of their work.
For toddlers and preschoolers: Focus on simple shapes and large areas to color. Provide pre-drawn outlines of hearts, stars, or Mom’s favorite animal and let them fill in the colors. You can also trace their hand or footprint and turn it into a tattoo design. The goal is creativity and fun, not perfection.
For elementary school children: Encourage them to write short messages or draw small scenes. They might enjoy drawing Mom doing something she loves, like gardening, reading, or drinking coffee. Let them experiment with different fonts and colors to make their design unique.
For older kids and teens: Challenge them to create more detailed artwork or meaningful quotes. They can use a computer to design a tattoo, print it out, and then trace or transfer it. This age group often enjoys adding shading, patterns, or even small portraits, which can make the gift feel more sophisticated.
Regardless of age, emphasize that there’s no right or wrong way to design a tattoo. The most important thing is that it comes from the heart and reflects their relationship with Mom.
Simple Transfer Methods for Homemade Tattoos
There are several easy ways to turn a drawing into a temporary tattoo that can be applied to the skin. Here are three beginner-friendly methods that work well for family crafting:
1. The Wet-Transfer Method
This is one of the simplest techniques and works great with markers or water-soluble pens.
- Draw or print your design on regular paper.
- Cut out the design, leaving a small border.
- Apply a thin layer of clear tape or contact paper over the design to protect it.
- Soak the back of the paper in water for 10–15 seconds.
- Peel away the paper backing, leaving the ink on the tape.
- Press the tape onto clean, dry skin and smooth it down.
- Let it dry completely before carefully peeling off the tape.
This method creates a flat, sticker-like tattoo that can last a day or two with careful handling.
2. The Glue-and-Transfer Method
This technique is ideal for more detailed designs and gives a slightly more durable result.
- Draw your design on a piece of cardstock or thick paper.
- Apply a thin, even layer of water-based glue or Mod Podge over the design.
- Let the glue dry completely until it’s clear and slightly tacky.
- Place the glued side onto clean, dry skin and press firmly.
- After a few minutes, carefully peel away the paper backing.
- Seal the tattoo with a light coat of clear nail polish or hairspray to help it last longer.
This method works well for designs that include fine lines or small text.
3. The Tape-and-Print Method
If you have an inkjet printer, this is a fun way to create more professional-looking tattoos.
- Draw or design your tattoo on the computer and mirror-flip the image.
- Cut a piece of clear packing tape slightly larger than the design.
- Stick the tape, sticky side down, onto a sheet of printer paper.
- Print the mirrored design directly onto the tape.
- Cut out the tattoo and apply it to clean, dry skin like a sticker.
- Seal with hairspray or setting powder if desired.
This method produces a very clean, crisp tattoo and is great for families who enjoy tech-based crafts.
Applying Tattoos Safely and Comfortably
Once the tattoos are ready, it’s time to apply them. To make the experience enjoyable and safe, follow these tips:
- Choose a clean, dry area of skin with minimal hair for the best adhesion.
- Wash the area with mild soap and water, then pat it dry.
- Apply the tattoo slowly and smoothly, pressing from the center outward to avoid air bubbles.
- Let the tattoo dry completely before touching or moving the area.
- Avoid applying tattoos to broken or irritated skin.
- If anyone experiences redness, itching, or discomfort, remove the tattoo immediately with soap and water.
For younger children, it’s a good idea to apply the tattoo for them or supervise closely. Older kids can usually handle the process on their own, especially if they’ve practiced on a less visible area first.
Extending the Life of Your Temporary Tattoos
While homemade tattoos are meant to be short-lived, there are a few simple tricks to help them last a bit longer:
- Apply the tattoo to clean, dry skin free of lotions or oils.
- Seal the tattoo with a light spray of hairspray or a thin coat of clear nail polish.
- Avoid scrubbing the area when washing hands or showering.
- Pat the tattoo dry instead of rubbing it with a towel.
- Reapply a light sealant if the tattoo starts to fade or peel.
Keep in mind that these tattoos are temporary by design. Their short lifespan is part of what makes them special—they’re a fleeting, joyful reminder of a particular moment in time.
Presenting the Tattoos as a Thoughtful Gift
The way you present the tattoos can turn a simple craft into a memorable Mother’s Day surprise. Here are a few ideas:
- Place the finished tattoos in a small decorative box or envelope labeled “Mom’s Special Tattoos.”
- Create a mini “tattoo parlor” kit with the tattoos, a small mirror, and a note explaining how to apply them.
- Include a handwritten card that explains what each tattoo means or why it was chosen.
- Plan a family tattoo party where everyone applies their tattoos at the same time and poses for photos.
These presentation ideas add an extra layer of thoughtfulness and make the gift feel more complete and intentional.
Adapting the Craft for Different Family Situations
This project is flexible enough to work for many different family dynamics. Whether you’re a single parent, part of a blended family, or celebrating a grandparent or other caregiver, the core idea can be adapted to fit your situation.
- In blended families, each child can create a tattoo that reflects their unique relationship with the mother figure.
- For long-distance families, kids can mail the tattoos along with a heartfelt letter or video message.
- If Mom is not comfortable with visible tattoos, the designs can be applied to clothing, tote bags, or even a special T-shirt that becomes a keepsake.
- For families with limited time, focus on just one or two simple tattoos rather than a large collection.
The most important thing is that the activity brings the family together and creates a positive, loving experience around Mother’s Day.
FAQs About DIY Mother’s Day Tattoos
Can I make these tattoos without a printer?
Absolutely. You can draw designs by hand on paper, then use the wet-transfer or glue-and-transfer methods to turn them into temporary tattoos. No printer is needed.
Are homemade tattoos safe for sensitive skin?
Most materials used in homemade tattoos are safe for normal skin, but it’s wise to test a small patch first. Avoid using strong solvents, alcohol-based inks, or anything that could irritate sensitive skin.
How long do these tattoos usually last?
Homemade temporary tattoos typically last 1–3 days, depending on the method used, skin type, and how much the area is washed or rubbed.
Can kids make tattoos for other family members too?
Yes! The same techniques can be used to create tattoos for dads, grandparents, siblings, or other caregivers. Just adjust the message and design to suit the recipient.
What if the tattoo doesn’t transfer well?
Don’t worry—this is part of the learning process. Try adjusting the amount of water, glue, or pressure used, or experiment with different paper and ink types. Practice makes perfect!
References
- Temporary Tattoos: Safety and Consumer Guidance — U.S. Food and Drug Administration. 2023-05-12. https://www.fda.gov/cosmetics/cosmetic-products/temporary-tattoos
- Children’s Craft Activities: Safety Tips — American Academy of Pediatrics. 2022-08-15. https://www.healthychildren.org/English/health-issues/injuries-emergencies/Pages/Craft-Safety.aspx
- Non-Permanent Tattoos: Consumer Information — Health Canada. 2023-01-20. https://www.canada.ca/en/health-canada/services/consumer-product-safety/reports-publications/cosmetics/non-permanent-tattoos.html