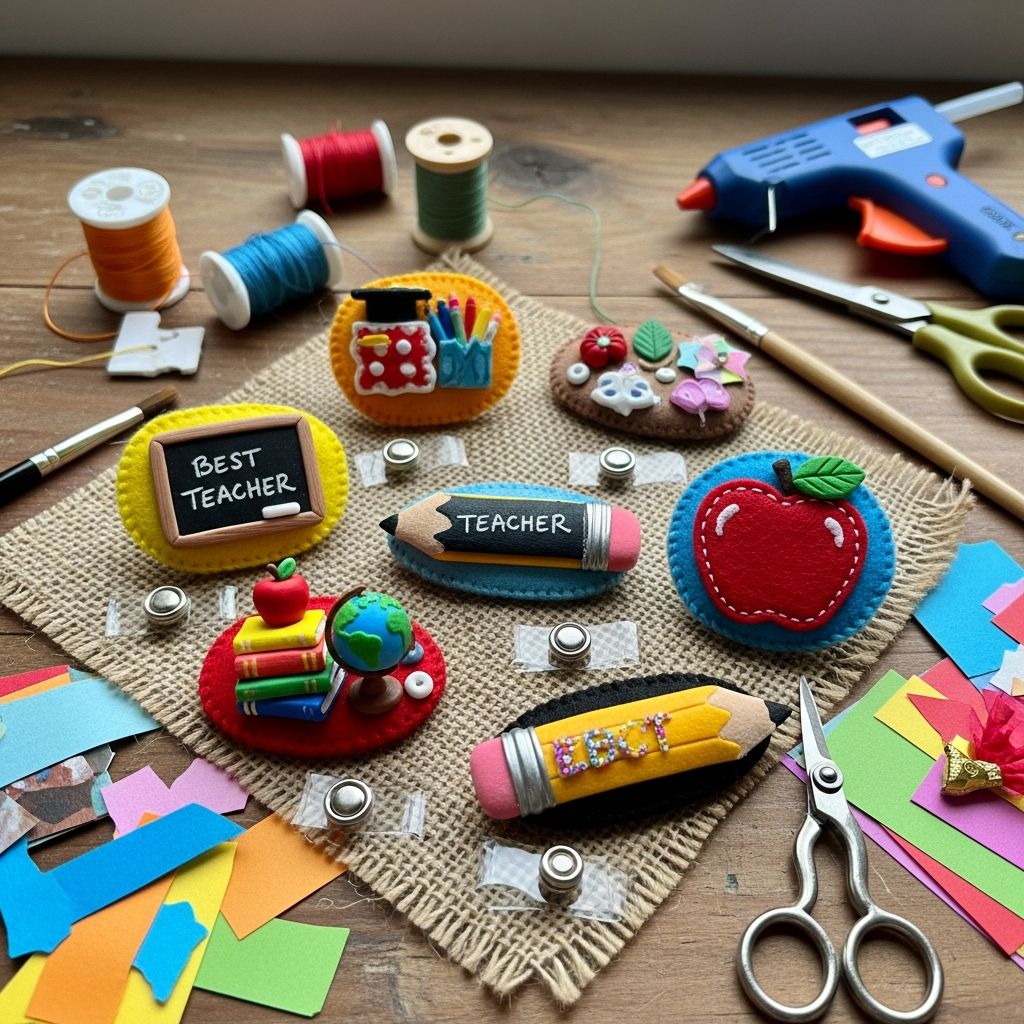
Teacher badges are a small craft with a big message: you matter. Instead of another mug or generic card, a handmade badge pins gratitude right where everyone can see it — on a teacher’s chest, bag, or lanyard. This guide walks you through original badge ideas, simple techniques, and classroom-friendly tips so you can create something personal, joyful, and truly memorable.
Why Teacher Badges Make Such Meaningful Gifts
Teachers spend their days encouraging, guiding, and sometimes quietly holding entire classrooms together. A handmade badge turns that invisible effort into a visible honor, like a tiny award they can proudly wear or display. Unlike store-bought gifts, a badge that a child helped design carries a story, not just a price tag.
- Badges are wearable reminders of appreciation that last long after a single celebration.
- They are small enough for busy teachers to store, but expressive enough to feel special.
- Children of many ages and skill levels can participate in making them.
Planning Your Badge Project
Before cutting a single circle of paper or felt, think about the teacher, the occasion, and your helpers. This quick planning step keeps the project fun instead of stressful and helps you choose materials that match your time, budget, and skill level.
Questions to Ask Yourself
- Who is this badge for? Consider the teacher’s style, favorite colors, or classroom theme.
- When will it be given? Teacher Appreciation Week, end of the year, first day of school, or a surprise “thank you” on a random Monday.
- Who is making it? Young kids might need pre-cut shapes; older kids can measure, design, and glue more intricate details.
- How will it be worn? Decide between pins, magnets, clips, or lanyards based on school dress codes and comfort.
Basic Materials Checklist
You do not need fancy craft tools to create something beautiful. Many of these supplies may already be in your home, classroom, or craft bin.
- Cardstock or thick construction paper
- Felt sheets or fabric scraps
- Safety pins, badge pins, or binder clips
- Markers, colored pencils, or paint pens
- Glue stick, craft glue, or low-temp hot glue (for adults)
- Scissors and, optionally, decorative edge scissors
- Ribbon, baker’s twine, or yarn for tails and accents
- Optional embellishments: buttons, sequins, stickers, washi tape, mini pom-poms
| Age Group | Best Base Materials | Recommended Adhesive | Notes |
|---|---|---|---|
| Preschool–Kindergarten | Pre-cut cardstock circles, foam stickers | Glue stick | Keep shapes large and avoid small choking-hazard embellishments. |
| Grades 1–3 | Cardstock, felt, larger sequins | Glue stick or liquid craft glue | Let kids write short phrases and choose colors independently. |
| Grades 4–6 | Cardstock, layered paper, fabric, ribbon | Craft glue; adult-supervised hot glue | Introduce layered designs, banners, and hand-lettering. |
| Teens & Adults | Felt, faux leather, metal blanks | Fabric glue, hot glue, or sewing | Experiment with more polished, long-lasting badge construction. |
Original Badge Style Ideas
Every teacher is different, so treat each badge like a custom mini-poster that fits their personality. Choose one style, or mix elements from several to design your own hybrid creation.
1. “Classroom Hero” Emblem Badge
This badge takes inspiration from superhero logos without copying any specific design. Think bold shapes, bright colors, and a courageous message.
- Cut a large shield or diamond shape from cardstock as the base.
- Add a contrasting smaller shape on top, slightly rotated for drama.
- Letter a phrase such as “Classroom Hero,” “Learning Legend,” or “Everyday Star.”
- Accent with metallic pens, lightning bolt shapes, or star stickers.
2. “Subject Star” Badge
Celebrate what a teacher loves to teach. This style works well in schools where students interact with many teachers for different subjects.
- Use a round or scalloped base for a classic badge silhouette.
- In the center, add a symbol for the subject: a tiny book, a music note, a beaker, or a globe.
- Write a short line around the edge such as “Math Marvel,” “Science Spark,” or “Reading Rockstar.”
- Color-code each badge by subject for a coordinated classroom set.
3. “Kindness Champion” Ribbon Badge
Not every teacher’s greatest gift is a subject; many shine in patience, empathy, and encouragement. This badge focuses on the heart qualities that matter most.
- Create a circle from felt or sturdy paper as your badge center.
- Cut two ribbon tails and glue them behind the circle to form a simple rosette.
- Letter words like “Kindness Champion,” “Calm in the Chaos,” or “Best Listener.”
- Let children add small heart shapes, thumbprint art, or doodles around the phrase.
4. “Inside Joke” Personalized Badge
Sometimes the most treasured gifts are the ones that capture a tiny, funny moment only a particular class would understand. Keep it respectful and light-hearted.
- Brainstorm favorite classroom memories: a phrase the teacher says often, a shared laugh, or a recurring theme.
- Design an icon or symbol that represents this joke without using copyrighted images.
- Write a short, positive caption such as “Queen of the Quiet Signal” or “Captain of Snack Time.”
- Ensure everyone, especially the teacher, will find it kind, not embarrassing.
5. “Future Goals” Inspiration Badge
Teachers shape futures, so this badge looks forward instead of only looking back. Think of it as a wearable vision board piece.
- Use a banner or flag shape for the base.
- Add small icons that represent student dreams: diplomas, sports balls, art palettes, or musical instruments.
- Include a phrase like “Growing Tomorrow’s Leaders” or “Planting Seeds of Wonder.”
- Invite kids to sign their initials on the back so the teacher remembers who dreamed with them.
Step-by-Step: Simple Paper Badge Tutorial
This project is designed for families and classrooms that want big impact with minimal mess. Adjust the design elements to suit your tools and the time you have.
Step 1: Create the Base Shape
- Trace a small bowl or cup onto cardstock to form a perfect circle.
- Cut out the circle, then trace it again on a different color to make a second layer.
- Glue the smaller circle on top, slightly off-center for a playful look.
Step 2: Add Ribbon Tails
- Cut two strips of paper or ribbon that are slightly longer than the circle’s diameter.
- Trim the bottoms into V-shaped points to mimic award ribbons.
- Glue the strips behind the circle so they peek out at the bottom like tails.
Step 3: Design the Center Message
- Lightly sketch your chosen phrase in pencil to plan spacing.
- Trace over the letters with a bold marker, then add highlights or shadows if desired.
- Decorate the empty spaces with stars, dots, or tiny icons related to the teacher.
Step 4: Attach the Fastener
- Tape or glue a safety pin horizontally on the back, leaving the clasp exposed for opening.
- For younger children or strict dress codes, use a magnetic fastener or paperclip so the badge can attach to a lanyard or pocket.
- Allow glue to dry completely before wearing or gifting.
Safety, Comfort, and School-Friendly Choices
Thoughtful crafting includes thinking about how a badge will feel and function in a busy school day. A beautiful design is only successful if it is safe and comfortable for the person wearing it.
- Use lightweight materials so the badge does not pull on clothing.
- Choose smooth backs and avoid sharp edges that might scratch skin.
- Check school policies on pins or magnets, especially around younger students.
- For very young children, consider mounting the badge on a bookmark, notebook, or desk sign instead of clothing.
Making Teacher Badges as a Class Project
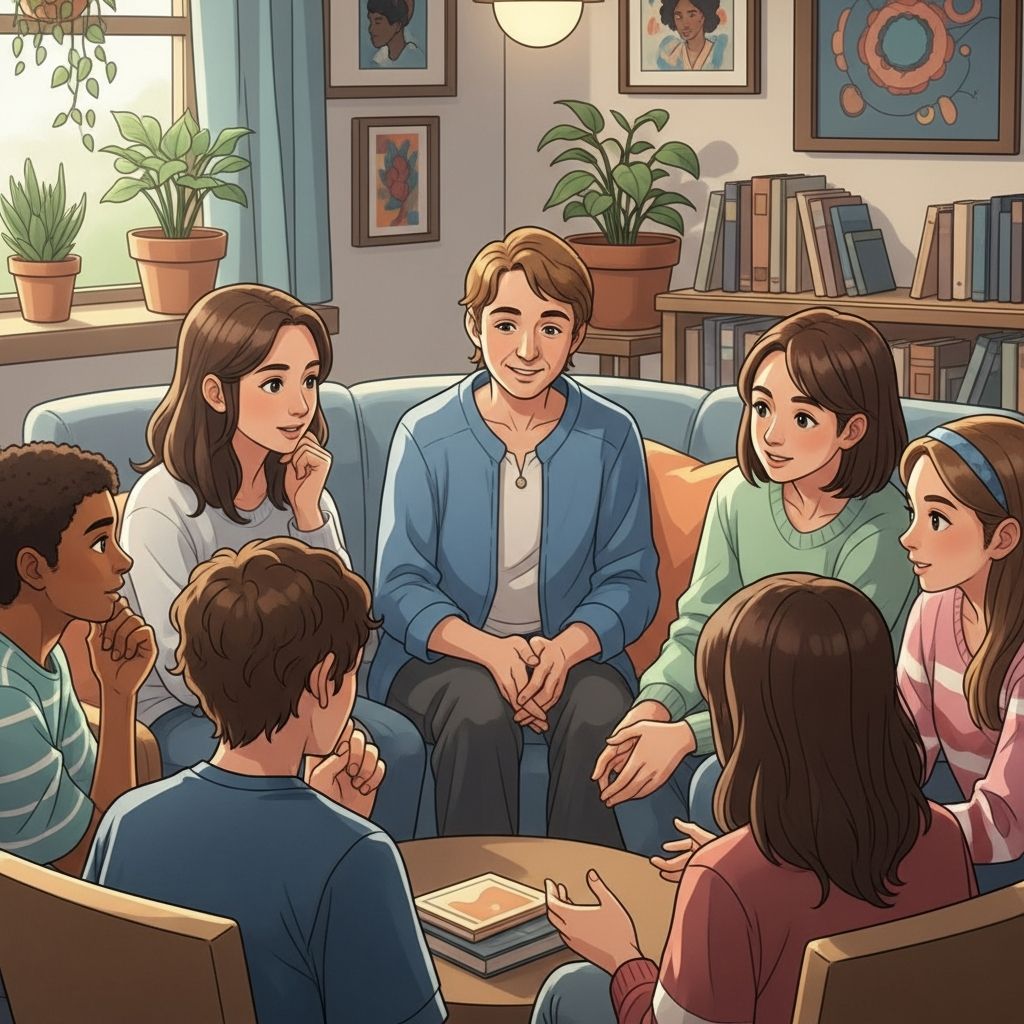
Turning badge-making into a group activity builds community and allows every student to contribute. The process becomes as meaningful as the final product, especially when students cooperate and share materials.
Organizing the Activity
- Break students into small teams and assign each team a specific task: cutting shapes, lettering words, decorating, or assembling backs.
- Prepare templates in advance so even reluctant crafters feel confident joining in.
- Display finished badges on a bulletin board before presenting them so students can admire everyone’s work.
Ideas for Multiple Teachers
If your school has many teachers and support staff you want to thank, streamline the process with a unified design that can be customized quickly.
- Use the same base shape and color palette for all, but change the central phrase for each person.
- Have each student choose one staff member (custodian, librarian, counselor, office staff) to honor with a badge.
- Create a simple badge-giving ceremony during morning meeting or an end-of-week circle time.
Creative Presentation Ideas
The way you present a badge can be just as delightful as the badge itself. Add a tiny bit of theater, and the moment turns into a memory that sticks.
- Mount the badge on a piece of folded cardstock decorated like an award certificate.
- Slip it onto a simple handmade lanyard so the teacher can wear it right away.
- Attach the badge to a small plant, book, or treat bag as an extra surprise.
- Invite students to take turns reading one sentence of appreciation as the teacher receives the badge.
Eco-Friendly and Budget-Wise Options
Thoughtful gifts do not need to be expensive or wasteful. With a bit of creativity, you can turn everyday items into beautiful, earth-friendly badges.
- Use cereal boxes or cardboard packaging as a sturdy base hidden beneath decorative paper.
- Cut ribbon tails from old gift wrap, fabric scraps, or even gently used gift bags.
- Decorate with hand-drawn patterns instead of purchasing lots of extra embellishments.
- Encourage students to bring in clean recyclables for a “badge from scraps” challenge.
FAQ: Teacher Badge Crafting Questions
How long does it take to make a badge?
For a simple paper badge with basic decoration, plan about 20–30 minutes, especially when working with children. More detailed felt badges or sets of badges for multiple teachers may take an hour or more, but you can spread the work across several short sessions.
What if I am not a “crafty” person?
You do not need artistic training to create something meaningful. Use basic shapes, choose two or three coordinating colors, and keep messages short. Most teachers appreciate the thought and effort far more than perfect lines or professional-looking lettering.
Can badges replace other teacher gifts?
They can stand alone or accompany another gift. Some families pair a badge with a handwritten note, a favorite snack, or a small gift card. The badge itself, however, already carries a powerful message of gratitude that many teachers will treasure just as much as larger presents.
Are there alternatives if my school does not allow pins?
Yes. Attach the badge to a magnet for a whiteboard or filing cabinet, turn it into a clip that can hang from a lanyard, or mount it onto a bookmark or notebook cover. You still honor the teacher without piercing clothing or breaking school rules.
How can I help younger children participate?
Pre-cut shapes and prepare bases in advance so little hands can focus on coloring and simple gluing. Offer just a few color choices to keep decisions manageable, and invite kids to dictate short phrases for an adult to write on the badge.
Turning a Small Craft into a Big Thank-You
A handmade teacher badge may seem like a small gesture, but it carries layers of meaning — time spent, thought given, and appreciation made visible. Whether your design is bold and graphic or soft and sentimental, the real gift is the message behind it: “You changed my year, and I noticed.”
With simple materials, a bit of planning, and a willingness to experiment, families and classrooms can create badges that teachers will pin to their jackets, tote bags, or bulletin boards with pride. Every time they see it, they will remember not just the craft, but the faces and hearts behind it.