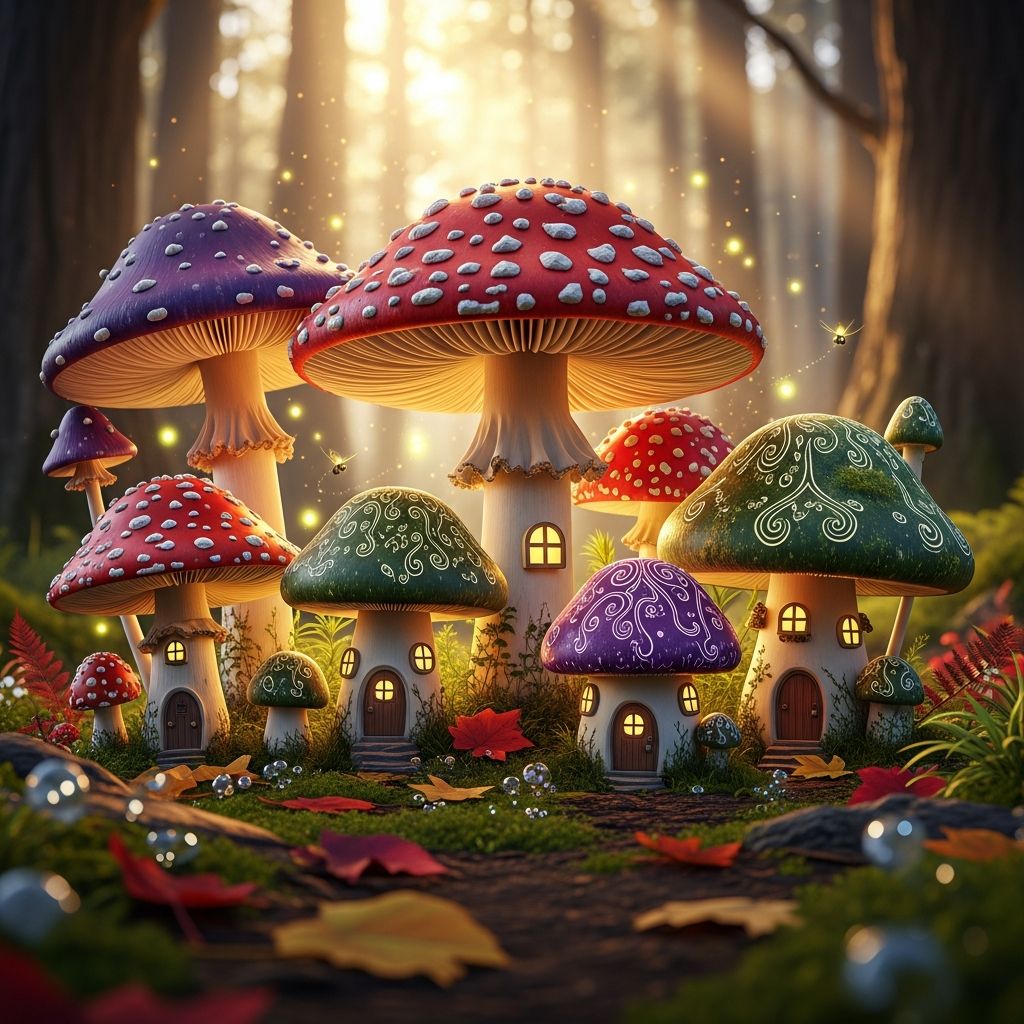
If tiny fairy houses, mossy gardens, and storybook forests make your imagination light up, magical toadstools are the perfect craft to bring that charm into your home. This guide walks you through designing and building your own woodland mushroom decorations from simple materials, with plenty of ideas for kids, cozy decor lovers, and fairy-garden fans.
Why Make Your Own Toadstools?
Handmade toadstools are more than just cute decorations; they are a playful way to introduce children to crafting, color, and nature-inspired design. Because the shapes are simple and forgiving, this project works beautifully for beginners while still offering room for creative detail if you enjoy more advanced techniques.
- They add instant character to fairy gardens, potted plants, and seasonal tablescapes.
- The basic mushroom form can be adapted for different themes: Halloween, spring, woodland nursery decor, or even party favors.
- This project can be scaled: create tiny miniatures for terrariums or tall statement toadstools for porch and mantel displays.
Choosing a Crafting Style: Soft, Solid, or Sculpted
Before gathering supplies, decide what type of toadstool best fits your space and your crafting comfort level. Different materials change both the look and the durability of your mushrooms, so it helps to choose with your final display in mind.
| Style | Best For | Materials | Difficulty |
|---|---|---|---|
| Soft & Squishy | Kids, sensory play, lightweight decor | Foam, felt, stuffing, pipe cleaners | Beginner |
| Solid & Sturdy | Planters, mantels, seasonal displays | Air-dry clay, wooden dowels, paper mache | Beginner–Intermediate |
| Fine Detail Sculpted | Collector pieces, miniature scenes | Polymer clay, sculpting tools, sealant | Intermediate–Advanced |
This article focuses on an accessible, family-friendly approach that blends soft and solid elements: a firm stem with a rounded cap that can be decorated in endless ways. You can adapt the suggestions to the materials you already have on hand.
Essential Materials and Helpful Substitutions
You do not need a dedicated craft room to build a miniature mushroom forest. Many of the suggested items can be pulled from your recycling bin or basic art supplies, and there are multiple options for each major component.
Core Components
- Caps: Use small bowls, plastic eggs, cardboard cones, foam balls cut in half, or hand-sculpted clay domes.
- Stems: Try wooden dowels, sturdy sticks from the yard, rolled cardstock, corks, or stacked wooden spools.
- Bases: Choose smooth rocks, scrap wood slices, bottle caps, or plant pots as foundations so your toadstools stand upright.
Finishing Supplies
- Acrylic craft paints in white, cream, red, green, and accent colors.
- Small brushes: one flat brush for broader coverage and one fine brush for dots and lines.
- Strong craft glue or a glue gun (adults only).
- Optional sealant: clear acrylic spray or brush-on varnish to protect the paint.
- Extras for texture: glitter, faux moss, felt scraps, tiny beads, or paper leaves.
Gather everything in one tray or box before you start, especially if crafting with young children. Having a contained setup makes cleanup faster and helps keep small pieces from rolling away.
Planning Your Mushroom Forest Design
Toadstools look most magical when they appear in clusters of varied sizes, much like wild mushrooms on a forest floor. Spend a few minutes sketching or imagining your cluster before you open the paint.
- Decide whether your palette will be classic (red caps with white dots) or whimsical (pastels, jewel tones, or metallics).
- Plan three to five different heights so your cluster has visual rhythm when displayed together.
- Consider your setting: low, squat mushrooms fit nicely in shallow trays, while tall stems pair well with potted plants.
If you enjoy mood boards, collect a few images of real mushrooms and stylized illustrations for color inspiration. This step helps you move beyond a single example and find a look that feels personal and unique.
Step-by-Step: Building the Basic Toadstool Shape
Once your plan is in place, it is time to create the familiar combination of round cap and sturdy stem. Work through these steps in order, but feel free to adapt based on your materials and the ages of your crafters.
1. Form or Select the Caps
- Choose an object or material that already has a curved top, such as a half foam sphere, a plastic egg, or a clay ball you can press gently into a dome.
- If using clay, roll a ball and flatten the bottom slightly so it sits comfortably on the stem later.
- Lightly sand or wipe smooth any rough edges to help paint adhere cleanly.
2. Prepare the Stems
- Cut your stems to varied lengths, from short stumps to tall, thin posts.
- Lightly score or roughen the top of each stem with sandpaper or scissors so glue can grip better.
- If you want stems that can be inserted into soil or foam, leave the bottom ends pointed or attach toothpicks or skewers.
3. Attach Caps to Stems
- Dry-fit each cap to a stem before adding glue, checking balance and proportion.
- Add a generous dot of glue to the connection point and hold the cap in place until it feels secure.
- Set the assembled mushrooms upright in a box of rice, sand, or crumpled paper while they dry so they do not topple.
Allow enough drying time for the adhesive before you move into painting. Rushing this step can cause caps to slide or tilt unexpectedly while you decorate.
Painting Techniques for Storybook Charm
Paint is where your toadstools truly shift from basic shapes to magical, personality-filled characters. You can stick with simple color blocking or experiment with shading and fine details to create depth.
Base Coats
- Start with a neutral shade such as cream or light brown on the stems to mimic natural mushroom textures.
- Paint the caps in your main colors: red for a classic look, or teal, mustard, lavender, or forest green for a more modern twist.
- Allow each coat to dry before adding another layer, especially on foam or clay where paint can soak in.
Details and Highlights
- Use the tip of a small brush or the end of a wooden skewer to create evenly spaced dots on the caps.
- Add a slightly lighter shade along one side of the cap to mimic a highlight where light would naturally fall.
- Draw thin vertical streaks on stems to suggest subtle ridges or bark-like texture.
- For a whimsical finish, blend tiny stars, hearts, or swirl motifs into the cap surface instead of traditional spots.
Once you are happy with the painted details, consider sealing your pieces with a clear varnish for durability, especially if the toadstools will live near soil, plants, or curious little hands.
Adding Texture, Sparkle, and Tiny Details
Texture is what makes your mushrooms feel as if they could have popped right out of a fairy tale. It also helps simple shapes look deliberate and finished, even if you are new to crafting.
- Glue small tufts of faux moss or green yarn around the base to give the impression of a forest floor.
- Wrap stems with narrow strips of torn fabric or twine if you prefer a rustic, wrapped look.
- Sprinkle fine glitter onto still-tacky paint for a subtle magical sheen on cap edges.
- Attach tiny paper butterflies, felt leaves, or miniature doors to suggest a hidden fairy village.
Encourage children to invent stories about who lives among the toadstools as they decorate. Naming each mushroom and giving it a personality can turn crafting time into a mini storytelling session.
Creative Ways to Display Your Toadstools
Once your mushrooms are painted and dry, the fun continues as you choose how to display them. A thoughtful arrangement can transform a small cluster into a complete woodland scene.
Indoor Display Ideas
- Fairy trays: Arrange toadstools on a shallow tray filled with pebbles, sand, or dried moss and place it on a coffee table or bookshelf.
- Plant companions: Tuck a few smaller mushrooms into the soil of houseplants to create the illusion of an enchanted forest floor.
- Story corner: Combine toadstools with children’s books about forests or fairies to create a themed reading nook.
Seasonal and Party Uses
- Group red-and-white mushrooms with evergreen branches for a winter woodland centerpiece.
- Use pastel caps and soft greens for springtime brunch decor or baby showers.
- Create individual mini mushrooms attached to name tags for whimsical place settings at a woodland-themed party.
If you plan to use your toadstools outdoors, place them in covered areas such as porches or sheltered planters and refresh the sealant periodically to protect against moisture.
Crafting with Kids: Safety and Simplicity
This project is particularly friendly for family craft sessions, but a few thoughtful adjustments can make it smoother and safer for children. Focus on steps that emphasize color and imagination rather than precision.
- Pre-assemble caps and stems for younger kids so they can concentrate on painting and decorating.
- Swap hot glue for strong, non-toxic craft glue when small hands are involved, even if it means a longer drying time.
- Offer washable paints and cover the table with a plastic cloth or newspaper to keep cleanup easy.
- Set a simple goal, such as “Let’s each make two mushrooms,” to prevent overwhelm and make success easy to reach.
As children work, talk about real mushrooms, forest ecosystems, and the creatures that might hide beneath toadstool caps. It is an effortless way to blend art, science, and storytelling in a single afternoon.
Eco-Friendly and Budget-Wise Variations
Toadstool crafts lend themselves beautifully to recycled and found materials. Choosing eco-friendly options is not only kind to the planet; it also sparks creativity as you reimagine ordinary objects in new forms.
- Turn bottle caps into tiny mushroom bases, pairing them with rolled paper stems and clay or cardboard caps.
- Use cardboard packaging to cut simple dome shapes, layering and gluing them for thickness before painting.
- Collect fallen twigs and small stones during a walk and incorporate them into the bases of your displays.
- Repurpose leftover paint from other projects rather than buying new colors; slightly mixed tones often look more natural.
If you want your craft session to double as a lesson in sustainability, invite kids to help sort and clean recyclables beforehand, then challenge everyone to design at least one mushroom using only reclaimed materials.
Frequently Asked Questions About DIY Toadstools
How long do handmade toadstools last?
Longevity depends on your materials and where you display the mushrooms. Indoor toadstools made from wood, clay, or foam and sealed with varnish can look bright for years, while pieces placed outdoors in damp soil may need occasional touch-ups or replacement if exposed to moisture and sun.
Are these crafts safe for young children?
With supervision and age-appropriate adjustments, yes. Use non-toxic, washable paints, avoid very small pieces with toddlers, and reserve hot glue or sharp cutting tools for adults. Let children focus on large brushes, basic color choices, and placing simple decorations on pre-built forms.
Can I place these toadstools directly into plant soil?
Yes, with a few precautions. Attach skewers or toothpicks to the bottoms of stems so they anchor easily into the soil, and seal the painted surfaces to resist humidity. In very damp pots, consider placing mushrooms in removable inserts so you can take them out for cleaning and repainting when needed.
Which paint works best on foam or clay?
Acrylic craft paint is a dependable choice for both foam and air-dry clay. It covers well, dries quickly, and is available in a huge range of colors. For foam, avoid solvent-based products that may melt the surface, and consider a primer coat if the material is very porous.
How can I store my toadstools when they are not on display?
Store finished mushrooms in a sturdy box lined with tissue paper or soft cloth, keeping caps from pressing against one another. If you have tall stems, lay them on their sides with padding between layers. Avoid extreme heat or moisture so paint and adhesives remain stable over time.