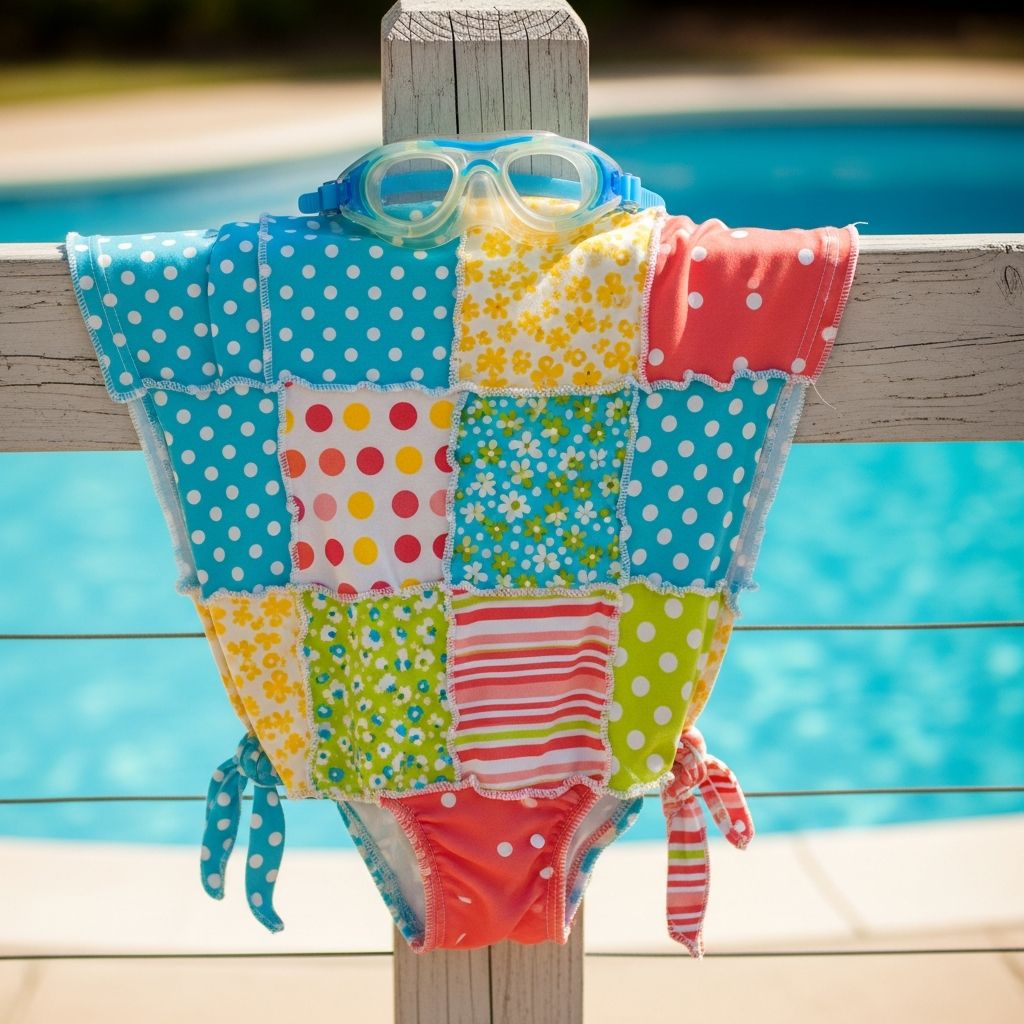
Oversized T-shirts can become bright, breezy swimsuit cover-ups that kids will be proud to wear to the pool or beach. This project uses simple supplies, kid-friendly techniques, and plenty of room for creativity.
Why This Project Is Perfect for Summer
On long, hot days, kids often bounce between boredom and screen time, and a hands-on project gives them something fresh and creative to focus on. A no-sew swimsuit cover-up made from a basic tee is practical, easy to personalize, and fun to show off at the pool.
- Great for playdates, birthday parties, or rainy-day boredom busters.
- Encourages creativity, color exploration, and basic design thinking.
- Results in a useful finished item that kids can wear immediately.
Choosing the Best T-Shirts
Start with soft, inexpensive T-shirts that are a few sizes bigger than the child normally wears. The extra length and width help the shirt drape more like a dress or tunic, which is ideal for a cover-up.
| T-Shirt Feature | Why It Matters | Recommended Choice |
|---|---|---|
| Size | Extra room creates a flowy, dress-like cover-up. | 1–3 sizes larger than the child’s usual size. |
| Fabric | Soft cotton is comfortable and easy to cut. | Lightweight or medium-weight 100% cotton. |
| Color | Acts as a blank canvas for paint or markers. | White or very light solid colors. |
| Fit Style | Straight sides are simpler for cutting and tying. | Classic unisex or men’s crew-neck tees. |
Supplies and Setup
Gather all materials before inviting kids to start so that the project feels smooth and organized. You can adapt the supply list to fit your budget and what you already have at home.
- Oversized cotton T-shirts (one per child, plus an extra or two for practice).
- Fabric-safe paint or fabric markers in assorted colors.
- Sharp fabric scissors for adults or older kids; blunt-tip scissors for younger helpers.
- Plastic table cover or old sheet to protect the work surface.
- Cardboard pieces or thick paper bags to slide inside each shirt to prevent bleed-through.
- Optional decorations: pony beads, ribbon, fabric scraps, stencils, painter’s tape, and foam brushes.
- A few clothespins or binder clips to hold folded fabric in place while cutting.
Safety and Mess Management
Because this is a kid-focused craft, a few guidelines help keep everyone safe and your home relatively clean. Talk through the boundaries before anyone picks up scissors or paint.
- Assign one adult or responsible teen to be “scissor supervisor,” especially for younger children.
- Have kids wear old clothes or smocks, and keep a roll of paper towels or wipes nearby for quick clean-up.
- Work in a well-ventilated area or outside if using spray-style fabric paint.
Step-by-Step: Basic Cover-Up Shape
This simple method turns a T-shirt into a loose beach cover-up without sewing. Kids can follow along while an adult handles any tricky cutting.
- Prepare the shirt: Lay the T-shirt flat on the table, smoothing out wrinkles. Slide cardboard inside so paint and markers do not soak through to the back.
- Adjust the neckline (optional): For a breezier fit, lightly mark a new scoop or V shape around the collar and carefully cut along the line.
- Shorten or remove sleeves: Decide whether you want standard sleeves, cap sleeves, or a tank style. Trace a gentle curve and cut both sleeves, using the first side as a guide for the second.
- Check the length: Have the child hold the shirt up to their body. If it puddles at the knees or below, mark a new hemline and trim a bit. Leave extra length if you plan to add fringe later.
- Create side shaping (optional): For a more fitted look, mark small vertical slits along the side seams and tie the pairs into knots to make a gentle waist.
Fun Painting and Decorating Ideas
The decoration stage is where each child’s cover-up becomes completely unique. Encourage experimentation on scrap fabric or old T-shirt pieces before working directly on the final shirt.
- Spray and splatter: Use fabric spray paint or watered-down fabric paint in spray bottles to mist color across the shirt, layering light passes for a soft, beachy effect.
- Stencil patterns: Tape down cardboard or plastic stencils and dab paint with a foam brush to create stars, shells, waves, or initials.
- Marker doodles: Outline suns, palm trees, or abstract geometric lines with fabric markers for a more controlled look.
- Negative space designs: Arrange painter’s tape in stripes or chevrons, paint over the entire area, and peel the tape away once dry to reveal crisp patterns.
Easy Fringe and Knot Techniques
Adding fringe and knots at the hem or sides introduces texture and movement. These little details make the cover-up look more like a custom beach dress than a basic shirt.
- Mark the fringe line: Decide how tall you want the fringe, then draw a light horizontal line across the shirt to show where you will stop cutting.
- Cut vertical strips: Cut from the bottom hem up to the line, making strips about 1–2 cm wide. Younger kids can cut fewer, wider strips to keep things simple.
- Double-knot for security: Tie each strip into a single or double knot. You can knot front and back layers together for a more closed hem.
- Add beads (optional): Slide pony beads onto each strip before tying the last knot for a playful, boho look.
Three Simple Design Styles to Try
To make planning easier, present a few design “recipes” that kids can follow or adapt. This also helps manage supplies when crafting with a group.
| Style Name | Main Features | Best For |
|---|---|---|
| Beach Sunset | Warm ombré colors blended from yellow to red, plus a simple sun or wave sketch. | Kids who enjoy blending colors and painting larger areas. |
| Ocean Doodles | Line-drawn shells, fish, bubbles, and seaweed made with fabric markers. | Kids who like drawing small details and cartoon-style art. |
| Festival Fringe | Bold geometric shapes, high-contrast colors, and heavy beaded fringe. | Older kids who want a dramatic, fashion-forward look. |
Adding Simple Shape Adjustments
Once the paint is mostly dry, small cuts and ties can change the silhouette from boxy to styled. Work slowly and try the cover-up on the child between adjustments.
- Back tie: Cut a small horizontal strip from the back waist area and tie the two ends together to pull in the middle and create a slight gathered effect.
- High-low hem: Trim the front hemline slightly shorter than the back to make walking easier and add movement.
- Shoulder ties: Snip a small slit at the top of each shoulder seam and thread a narrow strip from leftover fabric through the opening, then tie into bows.
Drying, Heat Setting, and First Wash
Each brand of fabric paint or marker has its own instructions, so check the label before washing the new cover-up. In general, the shirt should dry completely and may need a brief heat set to lock in the colors.
- Lay shirts flat or hang them up where they will not touch each other while drying.
- Once fully dry, heat set with an iron or clothes dryer only if the product directions recommend it.
- For the first wash, turn the cover-up inside out and use cold water to help preserve bright colors.
Making It a Group Activity
This craft scales well for families, scout groups, or summer camps. Planning ahead makes a group session feel fun instead of chaotic.
- Set up separate stations for cutting, painting, and fringe tying, and have kids rotate through in small groups.
- Label each shirt with the child’s name on masking tape to avoid mix-ups during drying.
- Offer simple design templates or printed idea sheets so kids who feel less confident still have clear options.
Encouraging Creativity and Ownership
Part of the magic of this project is that kids get to call the shots on color, pattern, and details. Adults can step back a bit and act more as guides than directors.
- Ask open-ended questions like “What colors feel like the beach to you?” or “Do you want your design to be calm or bold?”
- Celebrate happy accidents such as paint drips or uneven lines as part of the handmade charm.
- Invite kids to name their designs, like “Mermaid Tides” or “Sunrise Splash,” and write the name on the inside tag.
Ideas for Using the Finished Cover-Ups
Once the shirts are ready, kids will want to wear them everywhere. The light cotton and relaxed fit make these cover-ups versatile beyond just pool days.
- Throw on over swimsuits for beach trips, backyard sprinklers, or slip-and-slide sessions.
- Use as cozy loungewear on movie nights or summer sleepovers.
- Pack them for camps or vacations as an easy extra layer that folds small and dries quickly.
Frequently Asked Questions (FAQs)
What age group is this project best for?
School-age children and tweens usually have the coordination and patience to decorate and cut shirts with guidance. Younger kids can still participate, but an adult should handle all cutting and keep designs simple.
Do we need special fabric paint?
Fabric-specific paints and markers last longer through washing and feel softer on the fabric than regular craft paint. If all you have is standard acrylic paint, mixing in a fabric medium can improve durability and comfort.
Can the shirts be washed often?
Yes, as long as the paints or markers are intended for fabric and have been properly dried and heat set if required. Turning the cover-up inside out and washing in cold water on a gentle cycle helps the design stay bright.
How can we keep the project low mess?
Limit color choices for younger kids, cover the table, and line up a drying area before opening paint bottles. Using fabric markers instead of open paint cups is an easy way to reduce spills and splatters.
What if a child is nervous about making mistakes?
Offer a practice scrap from an old T-shirt or the trimmed hem pieces so they can test colors and strokes. Remind them that handmade projects look special precisely because they are not perfectly even or factory-made.