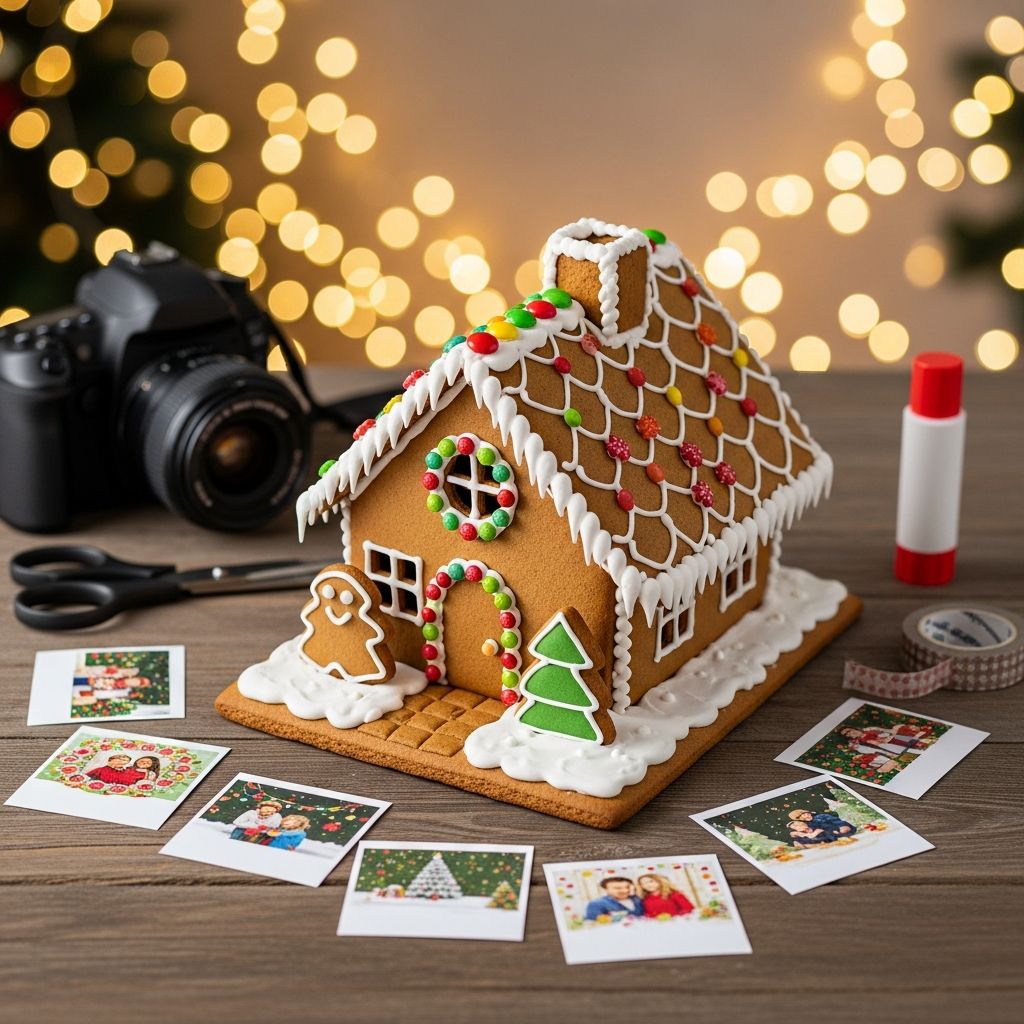
Nothing says cozy holidays quite like a gingerbread house, and nothing feels more personal than a handwritten photo card from your family. Combining the two turns an ordinary greeting into a keepsake that grandparents, friends, and neighbors will proudly display all season long.
This guide walks you through planning, building, decorating, and photographing a gingerbread house–themed holiday photo card from scratch. You will also find ideas for adapting the project for different ages, time constraints, and budgets, along with practical tips for mailing and displaying your creations.
Why Choose a Gingerbread House Photo Card?
Holiday cards often blur together on the mantle, but a gingerbread house photo card stands out as both craft and greeting. The combination of candy colors, frosting “snow,” and a favorite family photo creates a warm, storybook look that feels special and handmade.
- Personal and playful: Your card becomes a miniature scene starring your family or child instead of a generic winter design.
- Kid-friendly activity: Young children can help color, glue, and decorate, turning card-making into a family tradition.
- Flexible format: The gingerbread house motif works for traditional Christmas, winter greetings, or even “new home” announcements.
Because you are designing it yourself, you control the level of effort: you can keep it simple with printed templates and stickers, or go all out with hand-drawn icing swirls and layered paper details.
Planning Your Gingerbread House Card Concept
Before pulling out scissors and glue, spend a few minutes deciding what you want the final card to look like. Clear planning makes the project smoother and helps you gather the right supplies in one trip.
Questions to Ask Before You Start
- How many cards do you need? A handful of cards for close relatives can be more detailed than a batch of 40.
- Who is in the photo? Decide whether the star is your whole family, just the kids, or even a beloved pet.
- What mood do you want? Cozy and classic, bright and candy-colored, or minimalist and modern?
- How much time do you have? Weekend project or quick craft squeezed between school and bedtime?
Once you have answers, sketch a tiny thumbnail of your card: a basic house shape, where the photo window will sit, and where you might place details such as candy dots, snow, or a front door greeting.
Choosing Your Color Palette
Classic gingerbread houses use brown, white, and bright candy colors, but your card can follow any palette that fits your style.
- Traditional: Gingerbread brown, white icing, red and green candy, and golden yellow windows.
- Soft pastel: Pale pink, mint, light blue, and cream for a storybook village feel.
- Scandi-inspired: Kraft brown, white, and one accent color (like deep red or forest green) for a minimalist look.
Limiting yourself to three or four main colors keeps the design cohesive and makes it easier to repeat across multiple cards.
Gathering Supplies and Tools
This project can be done with basic craft supplies you probably already own, but a few extras make the gingerbread effect more convincing. Adjust the list to suit your preferred style and your children’s ages.
Suggested Supply List
- Blank cardstock or pre-cut folding cards in a gingerbread or kraft brown color
- White gel pens, paint pens, or white markers for “icing” details
- Colored markers, crayons, or colored pencils for kids to add accents
- Glue sticks or tacky craft glue
- Scissors or a craft knife (adults only)
- Printed or developed family photos, sized to fit as a window or door
- Patterned paper scraps in candy colors (reds, pinks, greens, yellows)
- Sequins, mini pom-poms, rhinestones, or sticker dots as “candy” decorations
- Thin ribbon or baker’s twine if you plan to hang the card like an ornament
For younger children, swap tiny embellishments for safer, larger stickers and foam shapes to reduce frustration and mess.
Designing the Gingerbread House Layout
The heart of this project is the house-shaped card front that frames your photo. You can use a simple rectangle for the house and a triangle for the roof, or freehand a more whimsical cottage silhouette.
Basic Layout Ideas
- Photo as front door: Cut a rectangular window near the bottom of the house and place the photo behind it so your family appears to “stand” at the entrance.
- Photo as window: Place the photo in the center or slightly off-center as a square or circular window surrounded by icing details.
- Photo as attic window: Use a small, rounded window at the top of the house for a single child or pet portrait.
You can keep the back of the card flat, or cut the entire card in a house shape by stacking two pieces of cardstock, cutting them together, and folding one edge to connect them as a hinge.
Sample Layout Overview Table
| Layout Style | Best For | Complexity | Photo Size |
|---|---|---|---|
| Photo as Front Door | Family group portrait | Moderate | Medium rectangle |
| Center Window Frame | Single child or sibling shot | Easy | Square or 4 x 6 crop |
| Attic Window | Pet or baby portrait | Moderate | Small circle or oval |
| Full-Front Photo House | Showcasing a scenic outdoor image | Easy | Large, almost full card |
Use this table as a quick reference when matching your favorite photo to a house layout that makes sense for your design and time frame.
Step-by-Step: Crafting the Card Base
Now that your design is planned, it is time to build the base of the card. Think of this step as assembling the gingerbread walls before you start piping the icing.
Creating the House Shape
- Cut your card base: Fold a piece of cardstock in half to create a standard card size, or use a pre-made blank card.
- Sketch the roof: On the front panel, draw a simple peaked roof or cottage shape with light pencil lines.
- Trim carefully: Cut along the roofline through both layers of the card so that the whole card becomes a house silhouette.
- Erase guidelines: Gently erase any visible pencil marks once the edges are smooth.
If you are making many cards, create a cardboard template of the house shape and trace it onto multiple card bases to save time and maintain consistency.
Adding the Photo Window
- Mark the window: Lightly draw a rectangle, square, or circle where you want the photo to appear
- Cut the opening: Use scissors or a craft knife (adults only) to remove the inner shape, leaving a clean border around the edge.
- Attach the photo: Place your photo behind the opening on the inside of the card front and secure it with glue or double-sided tape.
- Reinforce if needed: If the photo paper is thin, back it with an extra layer of cardstock to keep the front from bending.
Check that the card still opens and closes easily and that no adhesive shows through the window opening.
Decorating with “Icing” and “Candy”
This is the stage that makes the card truly feel like a gingerbread house. Encourage kids to treat the card as an edible cottage they are decorating, just with pens instead of real frosting.
Drawing Icing Details
- Use white pens or markers to trace along the roofline in scallops that mimic piped icing.
- Add zigzags, dots, and snowflake shapes along the edges of windows and doors.
- Draw icicles hanging from the roof and little swirls or hearts in the corners for extra charm.
For a dimensional look, you can lightly layer white paint pen strokes, letting each layer dry before adding more. Older kids enjoy inventing their own icing patterns and border designs.
Adding Candy Accents
- Glue sequins, rhinestones, or sticker dots along the roof to resemble gumdrops.
- Use striped paper or washi tape to create faux candy canes framing the door or window.
- Attach mini pom-poms or foam circles as oversized “candy” on the walls of the house.
Encourage children to balance their designs by placing details on both sides of the photo and varying the sizes of candy elements. A few well-placed decorations often look better than covering every inch of space.
Styling and Taking the Perfect Photo
If you have not already chosen your photo, you can plan a mini shoot that fits the gingerbread theme. The right image can make even a simple card design look polished and intentional.
Photo Ideas That Match the Theme
- Kids wearing aprons and chef hats, holding mixing bowls or wooden spoons as if they are baking gingerbread.
- Family members in cozy sweaters standing in front of your home, which metaphorically ties in with the “house” theme.
- Children holding a real gingerbread house or tray of cookies, smiling at the camera.
Natural window light or soft outdoor shade usually provides flattering, even illumination. Ask someone to snap a few photos vertically and horizontally so you have options that fit your chosen card layout.
Simple Tips for Better Card Photos
- Keep backgrounds clean and uncluttered so your faces remain the focus.
- Coordinate outfits loosely with your card colors but avoid overly busy patterns.
- Take several shots to capture relaxed expressions; the best smiles are rarely from the first picture.
Once you choose your favorite, crop it to match the shape of your photo window (square, rectangle, or circle) before printing.
Personalizing the Inside Message
The outside of the card carries most of the visual impact, but the inside message is where your personality and warmth truly shine. You can keep it short and sweet or add a more detailed family note.
Ideas for Inside Content
- A simple seasonal greeting that pairs with the gingerbread theme, such as references to sweetness, warmth, or home.
- A brief family update highlighting major milestones of the year.
- Kids’ signatures, doodles, or tiny drawings of cookies, snowflakes, or candy.
If multiple children are involved, give each one a section inside to decorate or sign. This shares ownership of the project and makes the card feel more like a collaborative keepsake.
Making the Card Display-Ready
Because gingerbread house cards are so decorative, recipients will often want to display them on a mantle, shelf, or tree. A few design tweaks can make this even easier.
Simple Display Enhancements
- Punch a small hole above the roof peak and add ribbon or twine so the card can hang like an ornament.
- Ensure the bottom of the card is trimmed straight so it stands reliably on a shelf.
- Add a tiny note on the back inviting recipients to hang or display the card as holiday decor.
You can also create a slightly heavier base by gluing an additional layer of cardstock inside the bottom third of the card to keep it from tipping over when displayed.
Scaling Up for Multiple Cards
If you plan to send gingerbread house photo cards to a long list of people, streamline the process. Small adjustments help maintain a handmade feel without overwhelming your schedule.
Batch-Production Tips
- Cut all house shapes and photo windows at once before involving kids in decorating.
- Limit each card to the same two or three decoration ideas to save time and supplies.
- Set up a production line: one person glues photos, the next adds icing lines, and the kids handle candy stickers.
Consider making a few “deluxe” versions with extra embellishments for close relatives and simpler versions for your broader mailing list.
Variations for Different Ages and Schedules
The gingerbread house concept is flexible enough to suit toddlers, teens, and busy adults alike. Adjust the level of detail and the materials based on who is crafting and how much time you have.
Quick and Simple Version
- Use pre-printed gingerbread house designs and simply cut a window for the photo.
- Limit decorations to markers and a few stickers to minimize drying time.
- Print a greeting directly on the inside of the card to avoid hand-writing each one.
Advanced Craft Version
- Layer multiple papers to create 3D roof shingles, door frames, and window boxes.
- Add tiny paper trees or a paper path leading up to the front door.
- Use metallic pens or subtle glitter accents for an extra festive touch.
Let older children take the lead on design once they understand the general structure. Their original twists often make the most memorable cards.
Mailing, Storage, and Keepsake Ideas
After investing time and creativity, a few practical details ensure your cards arrive safely and can be enjoyed for years to come.
Practical Considerations
- Choose envelopes slightly larger than the card to protect raised embellishments.
- Avoid extremely bulky decorations if you want to keep postage costs down.
- For special recipients, slip the card into a protective sleeve or wrap it in tissue paper before mailing.
Encourage recipients to store the card with their holiday decorations so it can reappear on mantles and trees in future years, turning this year’s craft into a repeated seasonal tradition.
Frequently Asked Questions (FAQs)
1. Do I need special art skills to make these cards?
No special art skills are required. The charm of a gingerbread house card comes from its handmade look and playful details rather than perfect drawing or advanced techniques. Simple shapes, repeated patterns, and a warm photo are enough to create a delightful result.
2. Can I do this project entirely with digital tools?
Yes, you can design a gingerbread house layout digitally using illustration or photo-editing software. Create a house frame, place your photo in a window, and add digital “icing” and “candy” graphics, then print the finished design on cardstock. This option is ideal if you are short on time but still want a custom look.
3. How can I involve very young children without making a big mess?
Pre-cut the house shapes and photo windows yourself, then let toddlers or preschoolers add large stickers, simple crayon marks, or washable marker dots as decorations. Offer a limited selection of colors and keep the session short and fun to avoid frustration or excess cleanup.
4. What if my photos are all different sizes?
You can design flexible frames to accommodate different photo sizes by making larger openings and backing the photo with a mat of contrasting paper. Another option is to trim photos into smaller shapes, such as circles or squares, and place them as windows of varying sizes across the front of the house.
5. Can this idea work beyond the winter holidays?
Absolutely. The house motif can be adapted for housewarming greetings, “we moved” announcements, or birthday invitations by shifting colors and changing the decorations. Swap snow and candy for flowers, trees, or balloons to match the season or occasion while keeping the cozy, home-centered theme.