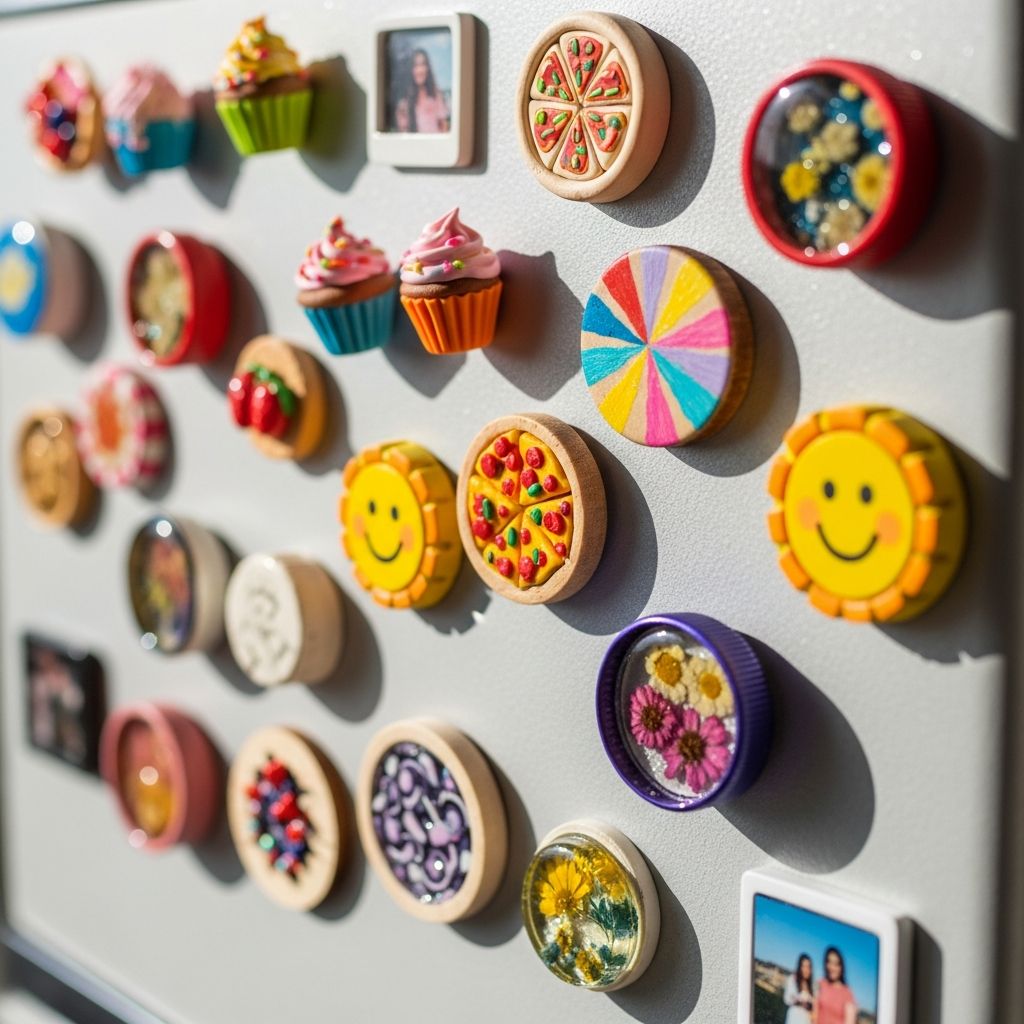
Why DIY Fridge Magnets Are a Must-Try Craft
DIY fridge magnets are more than just functional kitchen accessories—they’re a creative outlet for expressing personality and style. Whether you’re making them for yourself, as gifts, or as a fun activity with kids, these magnets can turn any refrigerator into a vibrant art gallery. Crafting your own magnets allows for endless customization, from playful shapes to meaningful designs, and the process itself is both relaxing and rewarding .
Materials You’ll Need for DIY Fridge Magnets
Creating fridge magnets at home is simple and affordable. Here’s a list of common materials you can use, depending on your preferred technique:
- Air-dry clay (for sculpting shapes like fruits, animals, or letters)
- Acrylic paints (for adding color and detail)
- Mod Podge or clear sealant (to protect and add shine)
- Strong magnet strips or discs (for attaching to the back)
- Printable magnet sheets or vinyl (for digital designs)
- Cricut machine (optional, for precise cutting)
- Blank wooden or ceramic magnets (for sublimation or painting)
- Scissors, craft glue, and a ruler
Most of these supplies are easy to find at craft stores or online, and you can mix and match materials to suit your project’s theme .
Step-by-Step Guide to Making Fridge Magnets
Using Air-Dry Clay
Air-dry clay is a popular choice for beginners and experienced crafters alike. It’s easy to shape, doesn’t require baking, and allows for creative freedom.
- Knead the clay thoroughly to remove air bubbles and ensure a smooth texture.
- Shape your desired design—try apples, avocados, hearts, or letters.
- Let the clay dry completely (usually 24–48 hours).
- Paint your magnets with acrylics, then seal with Mod Podge for durability.
- Attach a strong magnet to the back using craft glue.
This method is perfect for family projects and results in unique, handcrafted magnets .
Using Printable Magnet Sheets
For those who prefer digital designs, printable magnet sheets offer a quick and customizable option.
- Print your design on a compatible printer using magnet sheets.
- Cut out the shapes with scissors or a Cricut machine for precision.
- Apply a laminate sheet for extra protection and shine (optional).
- Attach magnets to the back if not already included.
This technique is ideal for creating themed magnets, photo magnets, or personalized gifts .
Sublimation and Painting on Blanks
Blank magnets made from wood or ceramic can be transformed with sublimation or hand-painting.
- Print your design on sublimation paper and transfer it to the magnet using a heat press.
- Alternatively, paint your design directly onto the blank with acrylics.
- Seal with a clear coat for protection.
This method is great for adding photos, quotes, or intricate artwork to your magnets .
Design Ideas and Creative Tips
Let your imagination run wild with these creative magnet ideas:
- Fruit-themed magnets (apples, avocados, strawberries)
- Alphabet or number magnets for kids
- Seasonal designs (hearts for Valentine’s Day, pumpkins for Halloween)
- Photo magnets featuring family memories
- Miniature art pieces or abstract shapes
Experiment with different colors, textures, and shapes to make each magnet unique. Don’t worry about perfection—handmade magnets are charming because of their individuality .
Benefits of DIY Fridge Magnets
Creating your own fridge magnets offers several benefits:
- Encourages creativity and self-expression
- Provides a fun, relaxing activity for all ages
- Results in personalized home decor or thoughtful gifts
- Teaches basic crafting skills and patience
- Can be adapted for holidays, parties, or special occasions
Whether you’re making magnets for your own kitchen or as gifts, the process is both enjoyable and rewarding .
FAQs About DIY Fridge Magnets
How long do air-dry clay magnets take to dry?
Air-dry clay magnets typically take 24–48 hours to dry completely, depending on thickness and humidity .
Can I use regular paper instead of magnet sheets?
No, regular paper won’t stick to the fridge. Use printable magnet sheets or attach a magnet to the back of your paper design .
What’s the best way to attach magnets to clay or painted blanks?
Use strong craft glue or epoxy to securely attach magnet strips or discs to the back of your magnets .
Can I make fridge magnets with kids?
Absolutely! Air-dry clay and simple painting projects are safe and fun for children. Always supervise when using glue or sharp tools .
Comparison Table: Magnet-Making Methods
| Method | Materials Needed | Best For | Time Required |
|---|---|---|---|
| Air-Dry Clay | Clay, paints, sealant, magnets | Hand-sculpted shapes, family projects | 24–48 hours (drying) |
| Printable Magnet Sheets | Printer, magnet sheets, laminator (optional) | Digital designs, photo magnets | 1–2 hours |
| Sublimation/Painting | Blanks, sublimation paper/heat press or paints | Photos, intricate artwork | 1–2 hours |
Each method offers unique advantages, so choose the one that best fits your skills and project goals .