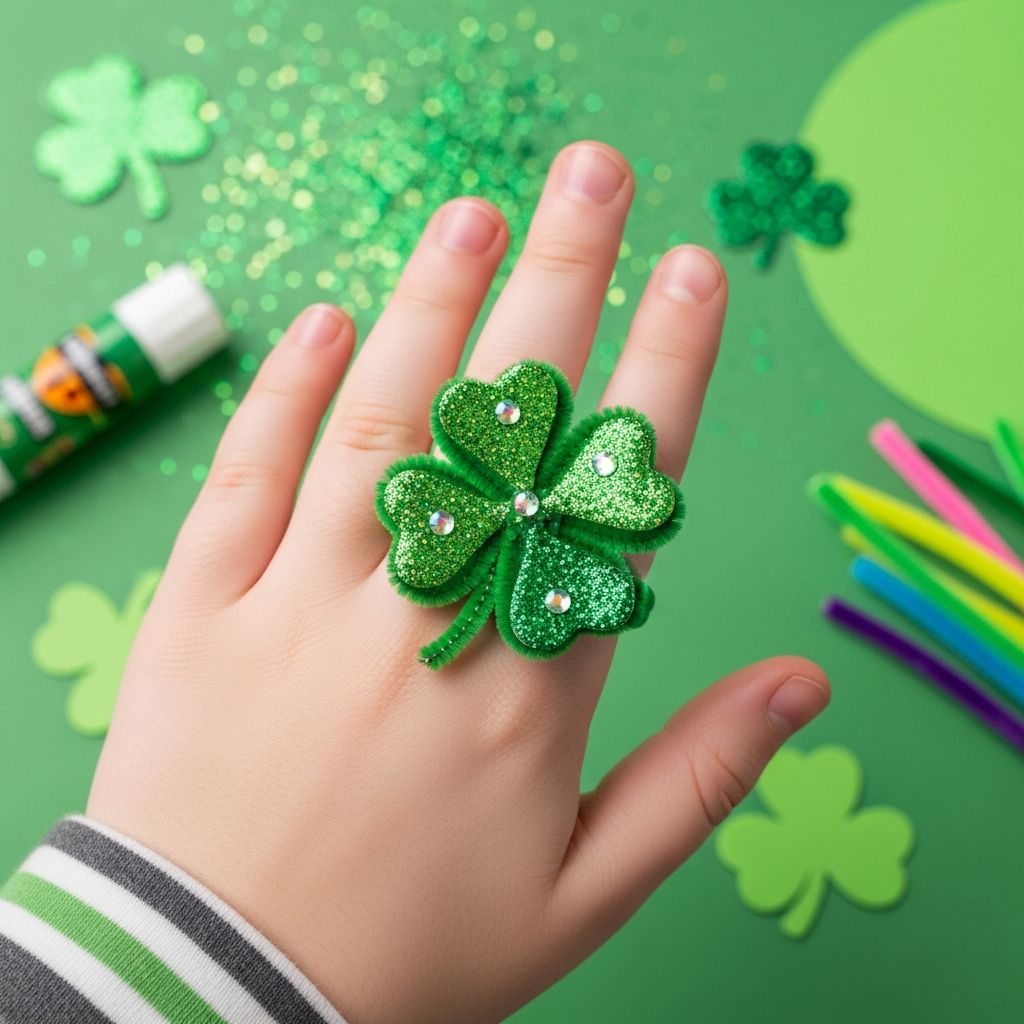
St. Patrick’s Day is the perfect excuse to add a little sparkle and a lot of green to your child’s day, and these chunky clover rings do both while giving kids a fun hands-on craft project.
Why Make Clover Rings for St. Patrick’s Day?
Clover rings are a playful alternative to the usual paper shamrocks and rainbow drawings. They turn a simple craft session into wearable art that kids can show off at school, at a parade, or during a family party.
Because each ring is handmade, children get to explore color, shape, texture, and personal style while practicing fine motor skills in a low-pressure, creative way.
Materials and Tools You Will Need
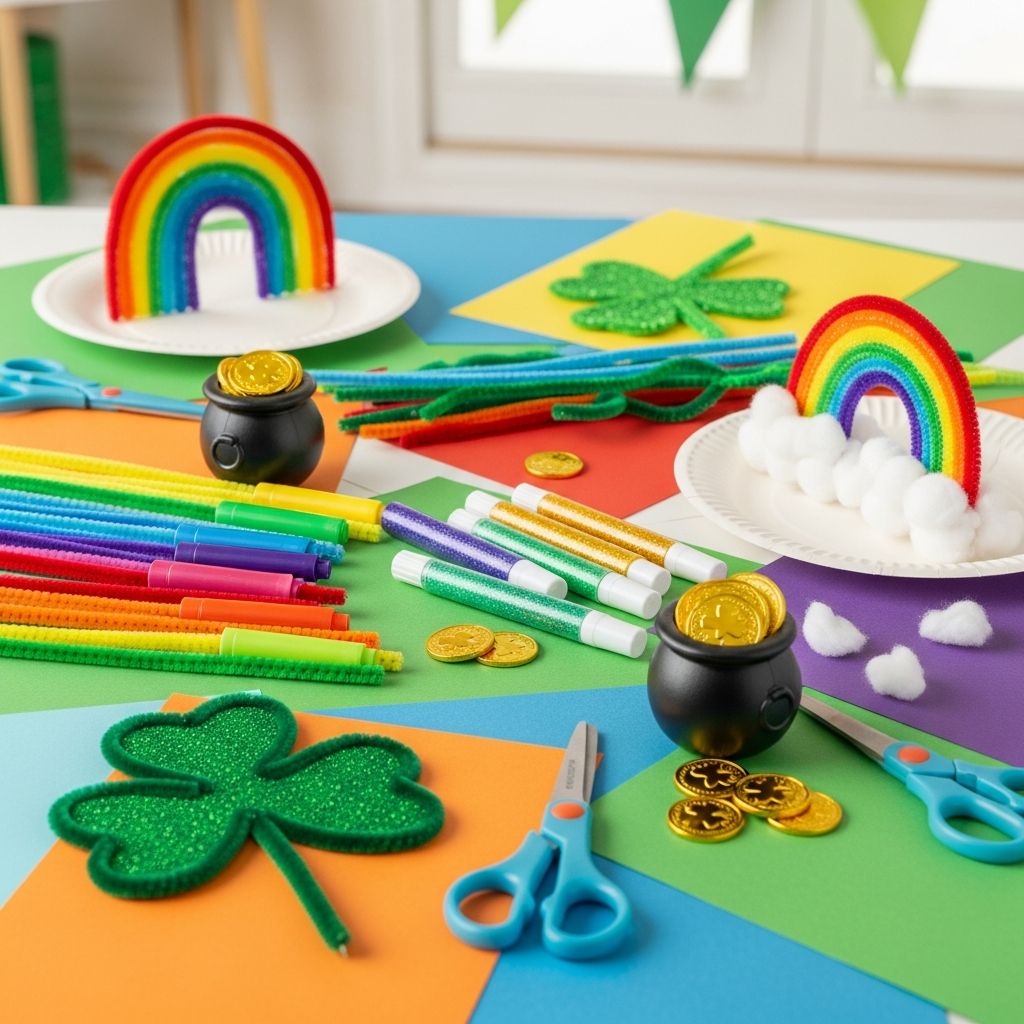
Most of what you need can be found in the craft aisle or in your own supplies at home. Choose sturdy materials so the finished rings survive a day of busy play.
- Thick craft foam sheets or lightweight cardboard (for the clover shapes)
- Adjustable ring bases, pipe cleaners, or strips of cardstock (for the band)
- Green acrylic paint or permanent markers (if using cardboard)
- Glitter, sequins, or metallic confetti in green and gold
- White craft glue or a low-temperature glue gun (for adults to use)
- Small paintbrushes or cotton swabs for spreading glue
- Pencil and scissors (child-safe scissors for younger kids)
- Optional: self-adhesive gems, small foam stickers, or tiny buttons
- Scrap paper or a disposable table covering to protect your work surface
Preparing Your Craft Space
A little setup goes a long way with kids’ crafts. Prepare the space so that children can focus on creativity instead of worrying about mess or clutter.
- Cover the table with newspaper, an old tablecloth, or a plastic mat to catch glue and glitter.
- Place all materials within easy reach, grouping items by type (cut shapes, ring bands, decorations).
- Have a trash container or scrap bowl nearby for snipped pieces and used wipes.
- Set up a separate drying area such as a baking tray lined with parchment paper.
Step-by-Step: Crafting the Clover Tops
The clover is the star of the ring, so this part focuses on shape and decoration. Adjust each step based on the age and skills of the children involved.
- Draw simple clover shapes.
Lightly sketch clovers on craft foam or cardboard using a pencil. For younger kids, create a reusable template from cardstock so they can trace around it. Emphasize that clovers do not have to be perfect—quirky shapes add charm.
- Cut out the clovers.
Older children can carefully cut their own shapes, while adults or older siblings can prepare a stack of clovers in advance for preschoolers. Aim for sizes between the diameter of a coin and a bottle cap so the rings feel bold but still wearable.
- Add color (if needed).
If you used cardboard instead of green foam, paint or color the shapes with green acrylic paint or markers. Allow them to dry completely before moving on to decorations.
- Decorate with texture and sparkle.
Brush a thin layer of glue onto the surface of each clover and sprinkle glitter or add sequins, gems, or confetti. Encourage children to experiment with patterns such as outlining the edges in gold or creating polka dots with small embellishments.
- Let the clovers dry.
Set the decorated clovers on your prepared drying tray. Dry time will vary based on how much glue and glitter is used, but waiting ensures that decorations stay in place once the clovers are turned into rings.
Making the Ring Bands
Your ring band choice can change the style and comfort of the finished piece. Try a few options and see which one your kids prefer.
Option 1: Adjustable Metal Ring Bases
This choice works well if you want the rings to feel like real jewelry. Look for smooth, nickel-free bases that adjust easily.
- Apply a dot of strong craft glue or hot glue to the top of the ring base.
- Press the underside of the dried clover shape onto the glue.
- Hold in place briefly until it feels secure, then set aside to cure.
Option 2: Pipe Cleaner Rings
Pipe cleaners produce soft, flexible bands that are excellent for younger children and are simple to size.
- Wrap a pipe cleaner loosely around the child’s finger once or twice and twist the ends together to create a loop.
- Leave a small flat area on top where the clover will sit.
- Glue the clover to the flat portion and allow it to dry before putting it on again.
Option 3: Paper or Cardstock Bands
Paper bands are a budget-friendly choice and work especially well for classroom projects when you need many rings.
- Cut cardstock into narrow strips sized to wrap around a child’s finger with a small overlap.
- Form a loop and tape or glue the ends together.
- Attach the clover to the front of the loop with glue and let it dry flat.
Suggested Clover Ring Variations
Once kids master the basic version, encourage them to put their own twist on the design. These variations help the craft grow with your child’s interests and skills.
- Rainbow accent: Add tiny stripes of rainbow-colored markers or adhesive gems along one leaf of the clover for a nod to the classic St. Patrick’s Day rainbow.
- Initial or name ring: Write a first initial or a short nickname in the center using a metallic paint pen. This works nicely for party favors or classroom exchanges.
- Glow-in-the-dark clover: Use glow paint or glow-in-the-dark stickers so the ring stands out at evening events.
- Textured leaves: Layer torn pieces of tissue paper, felt scraps, or fabric onto the clover shape before adding glitter for a more tactile design.
- Double or trio rings: Attach two or three smaller clovers side by side on a wider band for a dramatic, statement-style ring.
Age-Appropriate Adjustments and Safety Tips
This project can work for a wide age range if you simplify or expand certain steps. Always consider both skill level and safety when planning your craft session.
- Toddlers and preschoolers: Pre-cut clovers, use large foam shapes and stickers, and avoid small loose embellishments that could pose a choking risk.
- Elementary-aged kids: Allow them to trace and cut their own clovers, choose band styles, and experiment with more detailed decoration.
- Tweens and teens: Introduce metallic paints, more complex layering, and design challenges such as creating a matching bracelet or necklace.
- Glue gun use: Reserve hot glue for adults or teens and keep all heating tools away from younger children.
- Allergy and skin comfort: Use skin-friendly materials and remind kids to remove the rings if they experience any irritation.
Using Clover Rings in Parties and Classrooms
These handmade rings can become part of a larger celebration plan. Incorporate them into games, rewards, and dress-up activities to make St. Patrick’s Day feel extra special.
- Set up a ring-making station at a party where each child decorates one ring to take home as a favor.
- Use rings as prizes for scavenger hunts, trivia games, or classroom challenges.
- Create matching sets for family photos, with each person designing a ring that reflects their personality.
- Combine the craft with a short story about luck, kindness, or Irish folklore to add a learning component.
Simple Clover Ring Ideas Table
The table below can help you quickly decide which style of clover ring works best for your setting, budget, and age group.
| Ring Style | Best For | Pros | Considerations |
|---|---|---|---|
| Foam clover on pipe cleaner band | Preschool and early elementary | Soft, easy to size, inexpensive, quick to assemble | May lose shape if pulled or twisted repeatedly |
| Cardboard clover on cardstock band | Large groups and classrooms | Uses simple, recyclable materials; customizable with paint or markers | Less durable if exposed to water or heavy wear |
| Foam clover on metal ring base | Older kids, parties, and gifts | Feels like real jewelry; very sturdy; looks polished | Higher cost per ring; requires stronger glue and more supervision |
| Layered clover cluster ring | Crafters who enjoy detailed projects | Highly decorative; allows for complex designs and color combinations | Takes longer to assemble; may be bulky on small hands |
Cleaning Up with Less Stress
Glitter and tiny decorations can easily travel beyond the craft table, but a few habits keep cleanup manageable. Plan for cleanup before the project starts so kids know what to expect.
- Give each child a shallow tray or piece of paper to work on so stray glitter is easier to pour back into a container or discard.
- Use a handheld vacuum or lint roller on chairs and floors near the table once crafting is finished.
- Have wipes or damp cloths on hand for quick glue and paint spills.
- Encourage kids to help with simple tasks like gathering scissors and returning unused materials to containers.
Frequently Asked Questions About Clover Rings
How long do these clover rings last?
Longevity depends on the materials you choose and how gently the rings are treated. Foam and sturdy cardboard paired with strong glue or metal bases tend to hold up well through a full day of wear, while paper bands and pipe cleaners may stretch or bend sooner.
Can this craft be adapted for very large groups?
Yes. For big events, simplify by pre-cutting clovers, limiting the available decorations, and using paper or cardstock bands. Set up stations where adults handle cutting and gluing while kids focus on choosing colors, placing stickers, and adding safe embellishments.
How can I make the craft more eco-friendly?
Use recycled cardboard for clovers, paper scraps for decoration, and biodegradable glitter alternatives. Encourage kids to keep and reuse their rings as dress-up accessories rather than disposing of them after one day.
What if a child does not like wearing rings?
Transform the design into a clip-on accessory by gluing the clover onto a clothespin, safety-pin back, or hair clip instead of a ring band. This way, children can still enjoy the creative process and proudly display their work on a backpack, hat, or shirt.
Can I integrate learning activities into this craft?
Absolutely. Pair the craft with counting (number of leaves or sequins), color mixing, simple stories about traditions, or writing prompts about what makes each child feel lucky. This keeps the project fun while gently reinforcing classroom skills.
Bringing Extra Luck and Creativity to the Day
Chunky clover rings are a small project with a big impact, giving kids a chance to express their imaginations while celebrating a festive holiday. With flexible materials, easy customization, and room for learning, this craft can become a yearly tradition that children look forward to improving on as they grow.