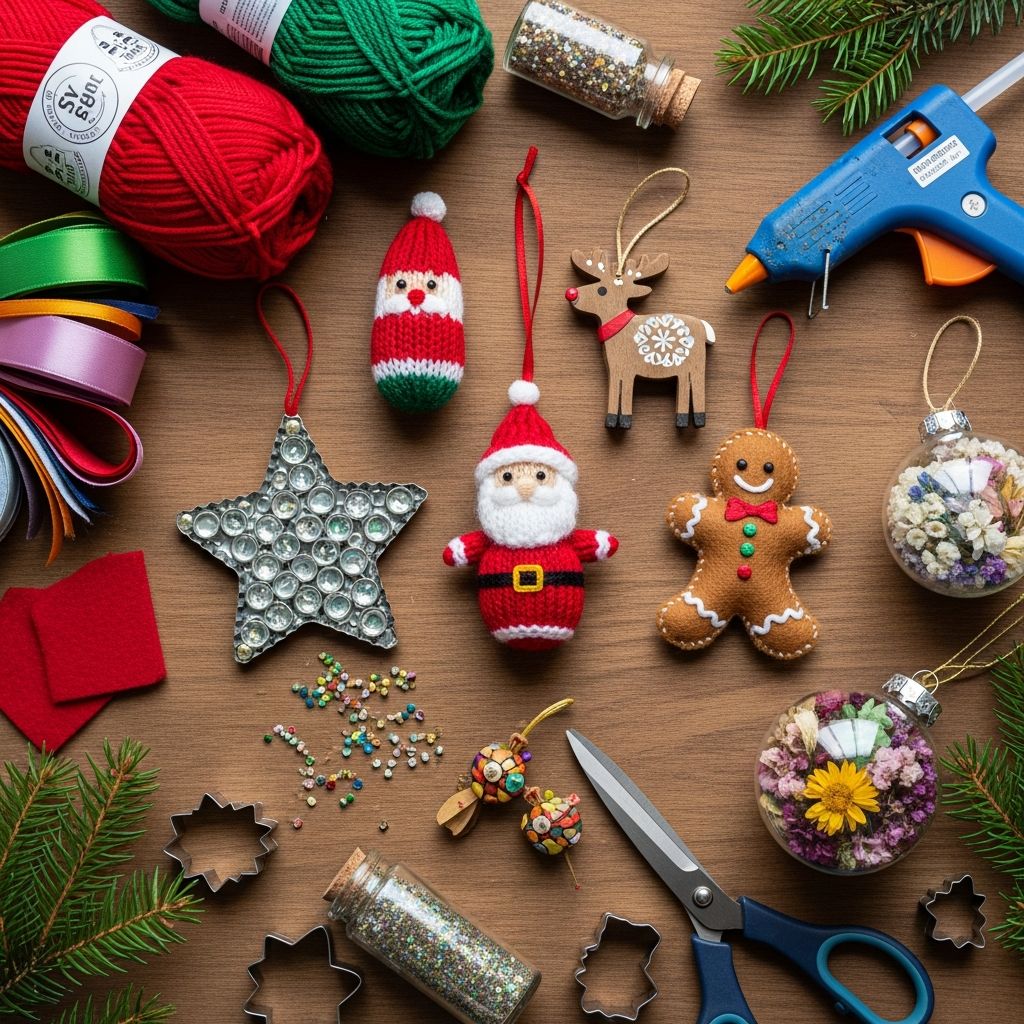
A Christmas tree filled with handmade ornaments feels completely different from one covered in store-bought decor. Each handmade piece holds a memory, a tiny story, or a favorite person, turning your tree into a living scrapbook of your family’s holidays.
This guide walks through fresh ideas, styles, and practical tips for crafting your own Christmas ornaments, whether you are creating with kids, decorating your first apartment, or building a collection of keepsakes you hope to pass down.
Why Handmade Ornaments Matter
Handmade ornaments slow down a busy season and give everyone an excuse to sit together, talk, and create something tangible. The results never look exactly the same twice, which is part of their charm.
You also gain control over color, style, and materials, so your tree feels like it actually belongs in your home rather than a storefront display.
Planning Your Ornament Crafting Session
A bit of planning makes crafting more relaxing and enjoyable. Before you start pulling out glue and glitter, decide who is crafting, where you’ll work, and how messy you are comfortable getting.
- Choose a focus: One afternoon might be for kid-safe projects, another for more detailed adult crafts.
- Gather in advance: Pull together scissors, glue, string, paint, and table covers so you are not hunting for supplies mid-project.
- Plan drying space: Line baking sheets or cardboard with parchment so finished ornaments have a safe place to cure.
Essential Supplies for Easy DIY Ornaments
You can create impressive ornaments from a very short supply list. Start with what you already have and add just a few basics.
| Material | Why It’s Useful | Great For |
|---|---|---|
| Cardboard & cardstock | Easy to cut into shapes; lightweight for hanging. | Kid projects, layered ornaments, photo frames. |
| Air-dry clay or salt dough | Can be shaped, stamped, and painted once dry. | Handprints, name tags, textured shapes. |
| Felt & fabric scraps | Soft, safe for kids, doesn’t fray much. | Stuffed shapes, garlands, patchwork ornaments. |
| Yarn, ribbon, twine | Adds texture and color with minimal effort. | Wrapped balls, tassels, hanging loops. |
| Natural finds (pinecones, branches) | Bring a rustic, outdoorsy feel indoors. | Nature-inspired ornaments and table accents. |
Kid-Friendly Ornament Projects
Children love seeing their creations on the tree year after year. The goal with kid crafts is durability, safety, and lots of open-ended creativity rather than perfection.
1. Story Shape Ornaments
Invite kids to turn favorite holiday stories or traditions into simple ornament shapes. Instead of copying characters, focus on symbols that remind them of the tale.
- Cut stars, hearts, circles, and trees from sturdy cardstock or thin cardboard.
- Provide crayons, markers, stickers, and washi tape to decorate each shape with scenes or symbols from a story they love.
- Punch holes and add yarn loops so they can hang their stories on the tree.
2. Texture Collage Baubles
Young children especially enjoy working with texture—smooth, bumpy, soft, or sparkly. Collage ornaments let them explore that sensory experience safely.
- Cut circles or simple shapes from cardboard.
- Offer small scraps of felt, ribbon, tissue paper, foil, and cotton balls.
- Have kids glue pieces randomly to create their own “winter texture collage.”
- Seal with a thin layer of decoupage glue if you want them to last for many seasons.
3. Painted Shape Garlands
When little hands can’t manage tiny pieces, turn ornaments into a hanging garland. Each piece is simple, but together they make a big impact.
- Cut large circles or tree silhouettes from lightweight cardboard.
- Let kids paint them with thick, washable paints and sprinkle on a bit of eco-friendly glitter while wet.
- Once dry, punch holes and string them along yarn to drape across the tree or mantle.
Sentimental Keepsake Ornaments
As children grow and traditions evolve, ornaments become markers of each year. Creating a specific keepsake annually turns your tree into a visible timeline of your family’s life.
4. Yearly Snapshot Frames
A tiny photo on the tree can capture first days of school, new pets, or big adventures. The frame does not need to be fancy to feel meaningful.
- Cut small rectangles or ovals from cardboard and paint or cover them with wrapping paper.
- Glue a small printed photo in the center and write the year on the back.
- Punch a hole and tie a ribbon loop at the top so each year’s frame is ready for hanging.
5. Memory Fabric Hearts
When clothing or linens hold special meaning, tiny stuffed ornaments let you keep those memories close in a subtle way.
- Trace a heart template onto meaningful fabric like a baby blanket, favorite shirt, or tablecloth scrap.
- Sew or glue two hearts together, leaving a small gap to stuff with cotton or fabric scraps.
- Insert a ribbon loop at the top before closing; write a short note inside if you like.
6. Milestone Tags
Simple tags can track milestones such as “first Christmas in this home” or “new baby’s first holiday.” These work well in any decorating style.
- Cut small tag shapes from chipboard or thick cardstock.
- Write the milestone and year using a metallic pen and add a small sketch or border.
- Lacquer or laminate if you want extra durability, then add ribbon or twine for hanging.
Style Guide: Matching Ornaments to Your Decor
While mismatched ornaments can be charming, you might prefer a more cohesive look. Think of your ornaments like an accessory collection that ties your entire space together.
| Style | Color Palette | Materials to Emphasize |
|---|---|---|
| Rustic & Cozy | Warm neutrals, forest green, deep red. | Twine, burlap, wood slices, pinecones. |
| Modern Minimal | White, soft gray, metallic accents. | Simple geometric shapes, unpainted wood, matte finishes. |
| Bright & Playful | Bold primary or rainbow colors. | Pom-poms, felt shapes, colorful yarn, patterned paper. |
| Nature Inspired | Earth tones, icy blues, soft greens. | Leaves, pressed flowers, cinnamon sticks, dried citrus. |
Ideas for Different Ornament Styles
Once you settle on a style, adapt your projects with color and material choices rather than reinventing every idea. The same basic shape can look completely different in wood versus bright felt.
- Woodland disks: Paint plain wood circles with tiny trees, stars, or initials, then add twine for hanging.
- Paper medallions: Fold strips of patterned paper into accordions, join the ends in a circle, and glue the center to hold the medallion shape.
- Stuffed stars: Sew or glue two felt stars together with light stuffing inside and contrast stitching around the edges.
- Mini wreaths: Wrap wire or small embroidery hoops with greenery, yarn, or ribbon and finish with a bow.
Budget-Friendly and Eco-Conscious Ornament Making
Handmade ornaments do not need to be expensive. In many cases, the most charming designs rely on items you already have or things you can collect outdoors.
- Reuse cardboard from shipping boxes for shapes and backings.
- Cut ornaments from last year’s holiday cards and turn them into layered designs.
- Use fabric scraps, old scarves, or worn-out shirts for stuffed ornaments instead of buying new yardage.
- Collect pinecones, small branches, acorns, and seed pods to decorate with a little paint or ribbon.
Finishing Touches: Hangers, Labels, and Protection
The small details determine how well your ornaments survive from one year to the next. A sturdy hanging loop and a bit of protection can keep them in rotation for decades.
- Hanging loops: Use narrow ribbon, embroidery floss, or twine doubled for strength. Glue or tie securely to the ornament base.
- Labeling: Write the maker’s name and year on the back of each ornament with a permanent pen.
- Sealing: For paper ornaments, brush on a thin layer of clear-drying glue or sealer to guard against moisture.
Storing Handmade Ornaments Safely
Thoughtful storage prevents crushing, fading, and tangling. Treat your handmade pieces with the same care you would give to delicate store-bought glass ornaments.
- Wrap fragile ornaments in tissue paper or fabric scraps and place them in small boxes or compartments.
- Group ornaments by material so you can quickly find what you need next year.
- Store in a cool, dry place away from direct sunlight to prevent yellowing and fading.
Simple Ornament Project Timeline
If you want to spread projects across the season, use a rough schedule rather than trying to make everything in a single weekend.
| Week | Focus | Project Types |
|---|---|---|
| Early December | Planning & Kid Crafts | Story shapes, collages, simple painted pieces. |
| Mid December | Keepsakes & Photo Ornaments | Photo frames, milestone tags, memory hearts. |
| Late December | Finishing Touches | Labeling, sealing, and storage prep for next year. |
Frequently Asked Questions About Handmade Ornaments
How early should I start making ornaments?
Starting one to two months before the holidays gives plenty of time for paint, glue, or clay to dry without pressure. If you begin later, focus on quick projects like paper shapes, felt cutouts, and simple photo tags.
What’s the best ornament project for total beginners?
Flat cardboard or felt shapes are the most forgiving. You can decorate them with markers, paint, or collage materials, and if something goes wrong, you simply make a new shape and try again.
How do I involve kids of different ages?
Offer the same basic project with different responsibilities. Younger children can paint or stick decorations, while older kids handle cutting shapes, tying bows, and writing labels on the backs.
Can handmade ornaments look polished enough for a themed tree?
Yes. Stick to a limited palette of two or three colors and repeat similar shapes across the tree. Even very simple handmade ornaments feel coordinated when the colors and basic forms are consistent.
How do I protect paper ornaments from damage?
Use thicker card or layered paper, avoid hanging them directly against light strings, and seal the surface with a clear, matte sealer. Store them flat in boxes between layers of tissue paper once the season is over.
Bringing It All Together
Whether you craft a single memory ornament each year or fill your entire tree with handmade pieces, the real value lies in the time and intention behind them. Over time, these small projects grow into a collection of family stories that only your tree can tell.